Though it’s the subject of many aftermarket customization books, articles and internet videos, the best source for learning how to field-strip your Glock is the owner’s manual that shipped with your pistol. Field-stripping and disassembly are two different actions, the former separate each of the pistol’s functional assemblies to allow you access to its key components for cleaning, lubrication and routine maintenance—whereas the latter refers to completely taking the pistol apart (including all internals) leaving a bare frame and slide.
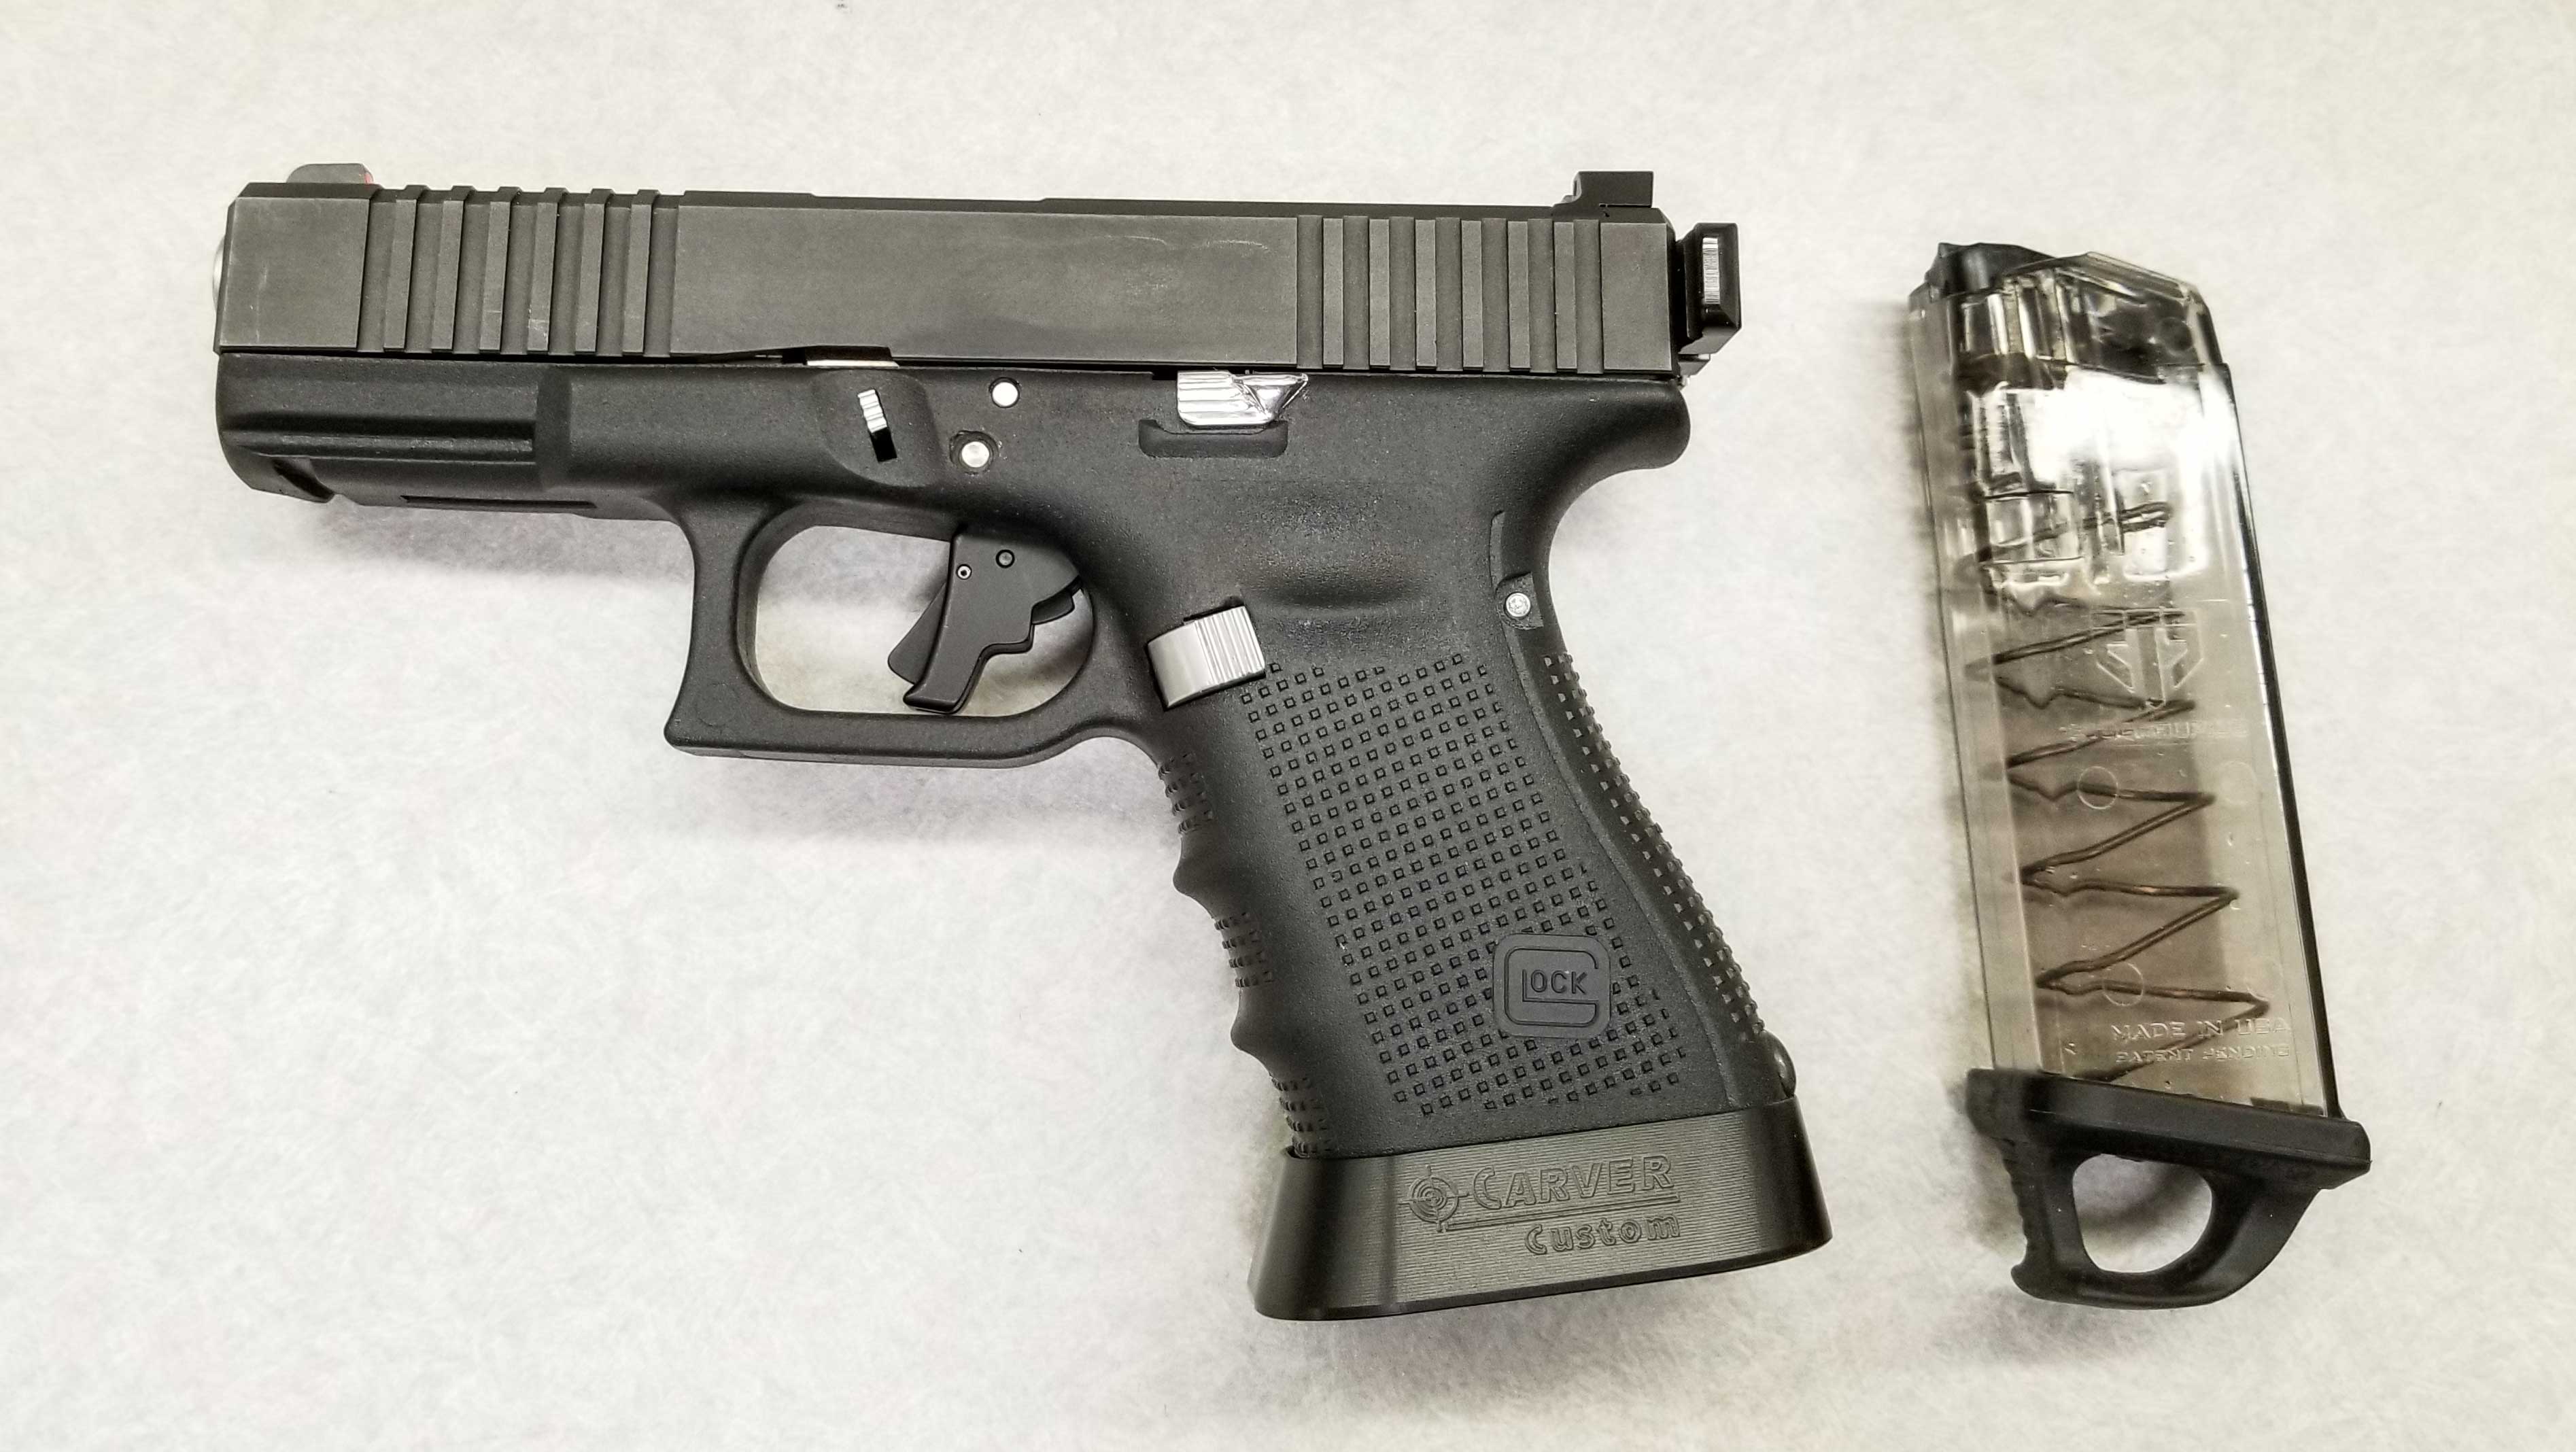
Prior to field-stripping your Glock, make sure your pistol is unloaded. (Check once, twice—even a third time to make sure it empty—and that no live ammo is in the vicinity of your work area—before proceeding. If it is, remove it from your work area, then come back and start over.) With the pistol pointed in a safe direction and your finger off the trigger, actuate the magazine release and remove the magazine, verify it’s empty and set it aside.
Next, with your finger off the trigger and with the muzzle pointed in a safe direction, push up on the slide-stop lever and lock the slide to the rear with your support hand.
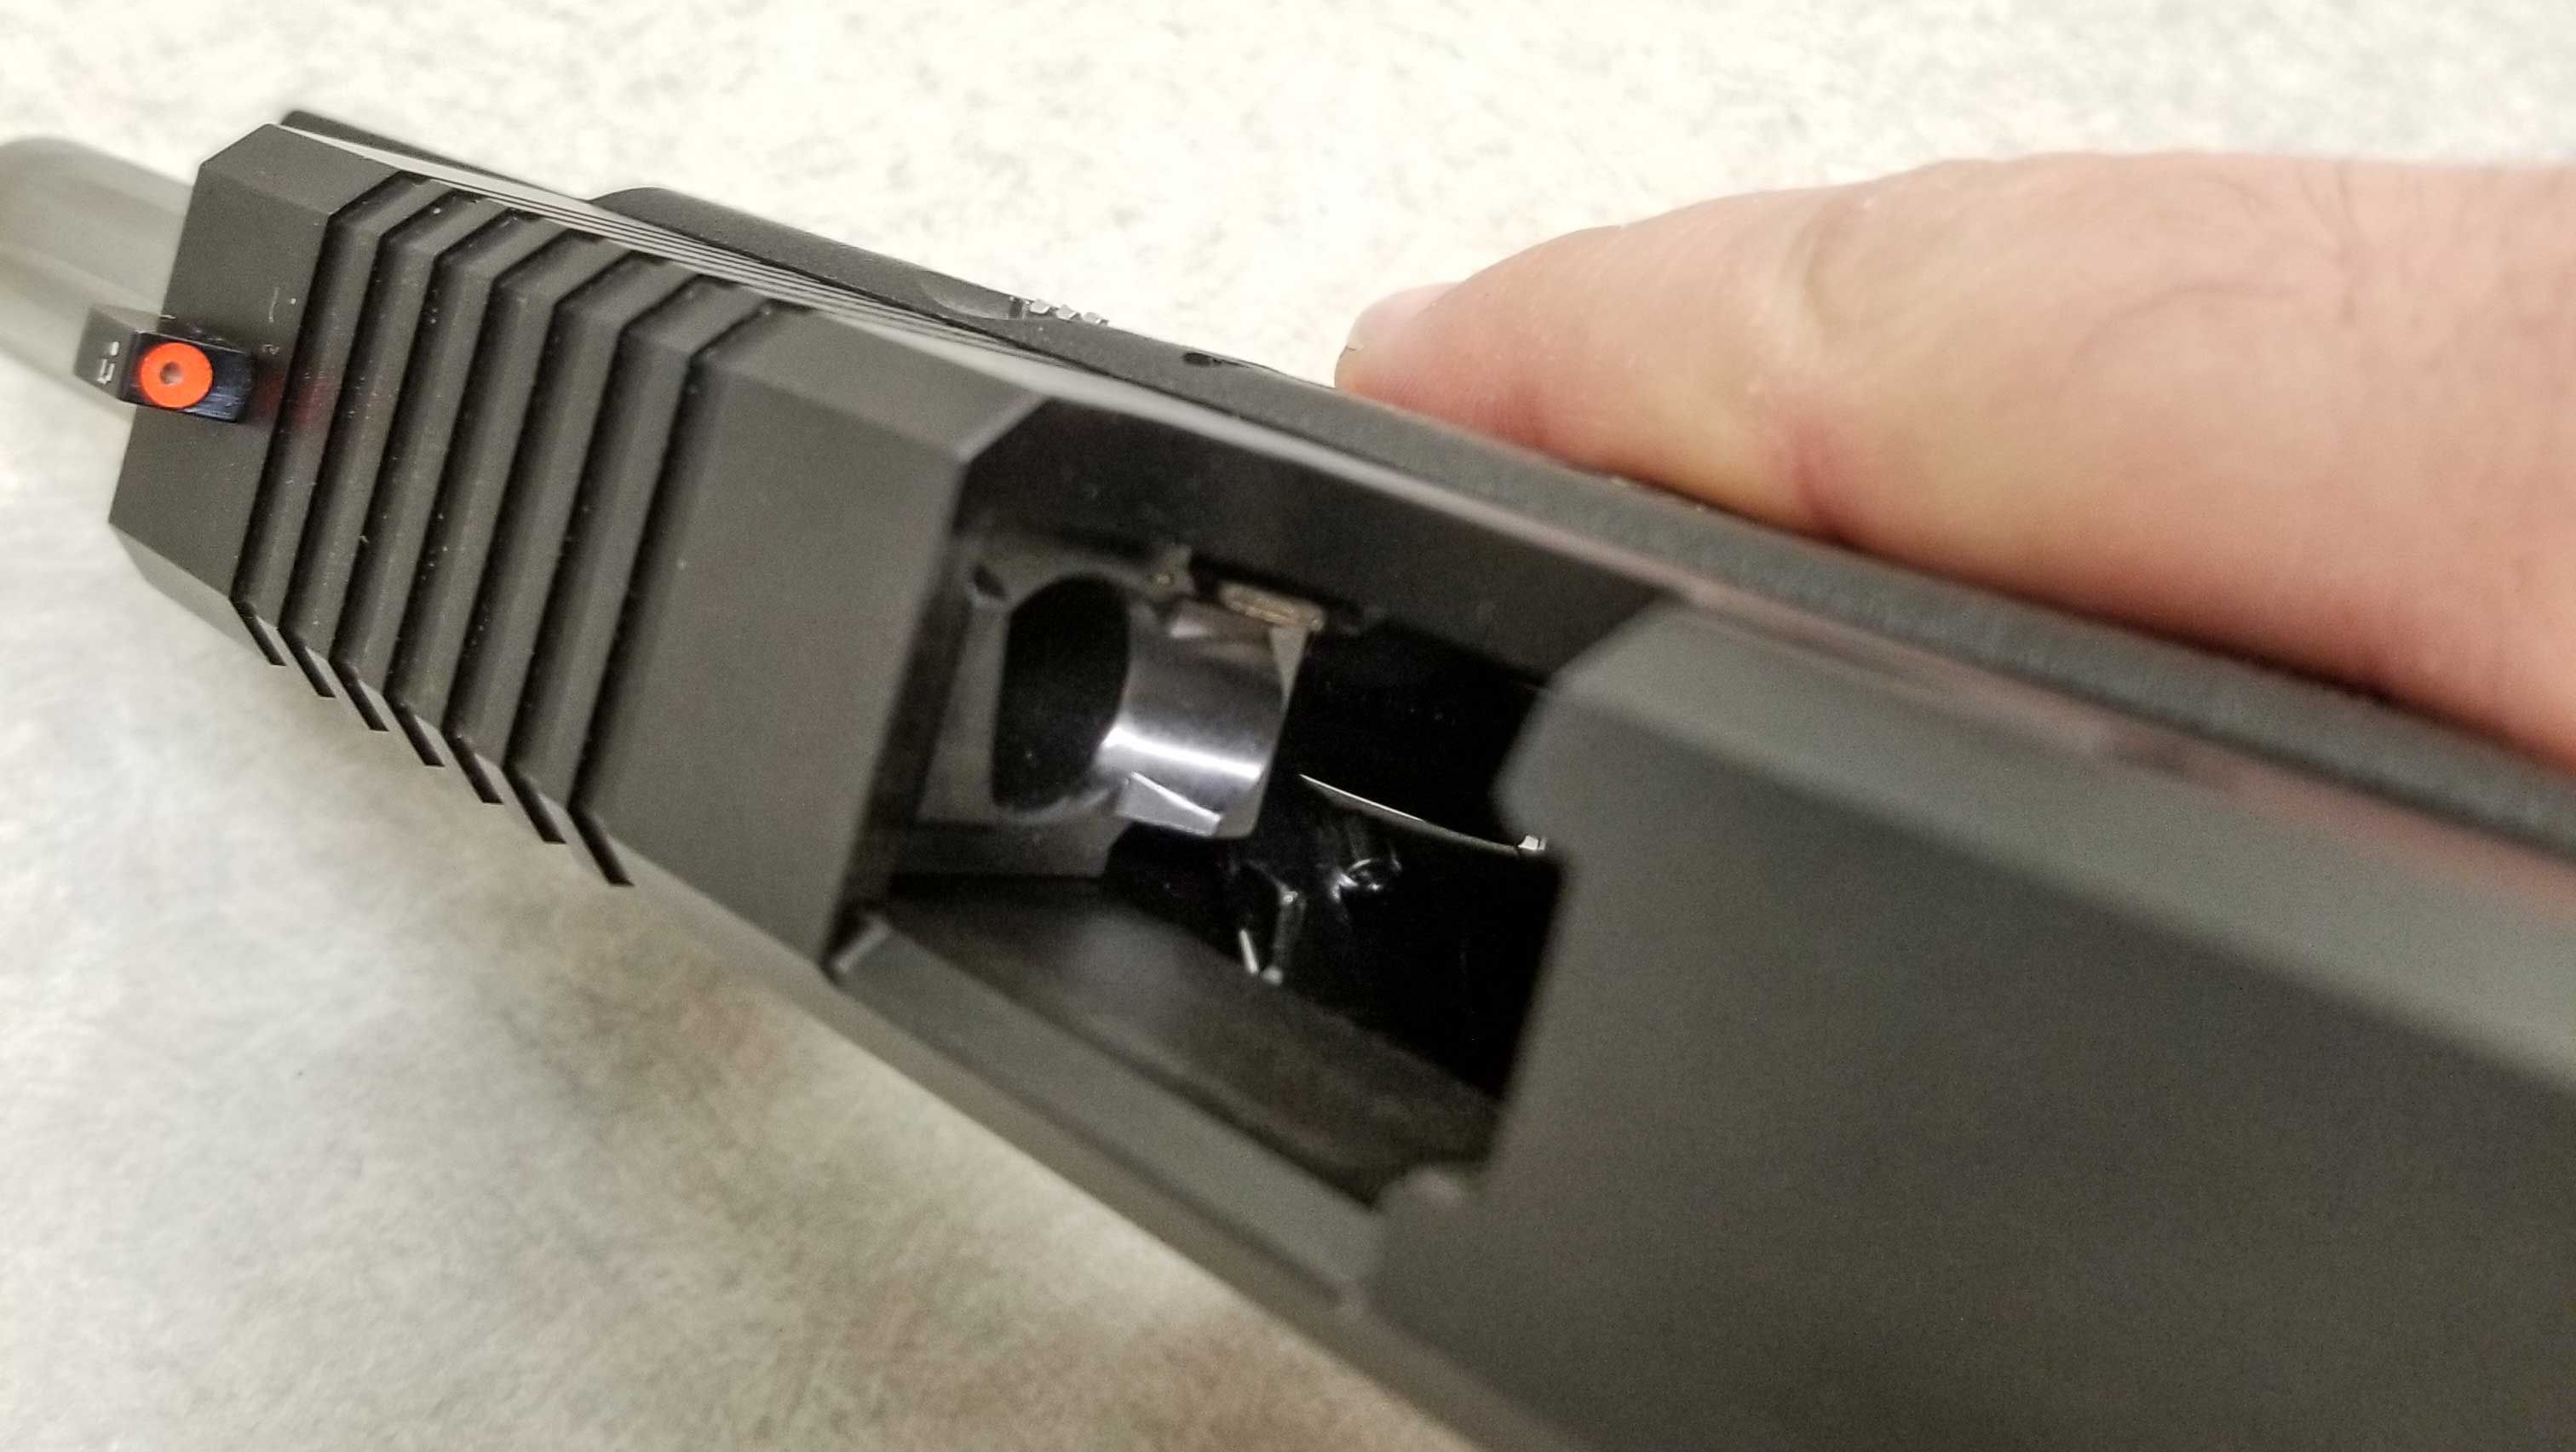
This allows for a visual and tactile inspection of the pistol’s chamber and magazine well to confirm the chamber is empty and a live cartridge hasn’t become lodged between the ejector and the magazine well.
Once you’re completely satisfied the pistol is empty, release the slide-stop lever allowing the pistol to go into battery and—with the pistol pointing in a safe direction—pull the trigger. Note: The trigger must be in its rearward position before the slide can be removed.
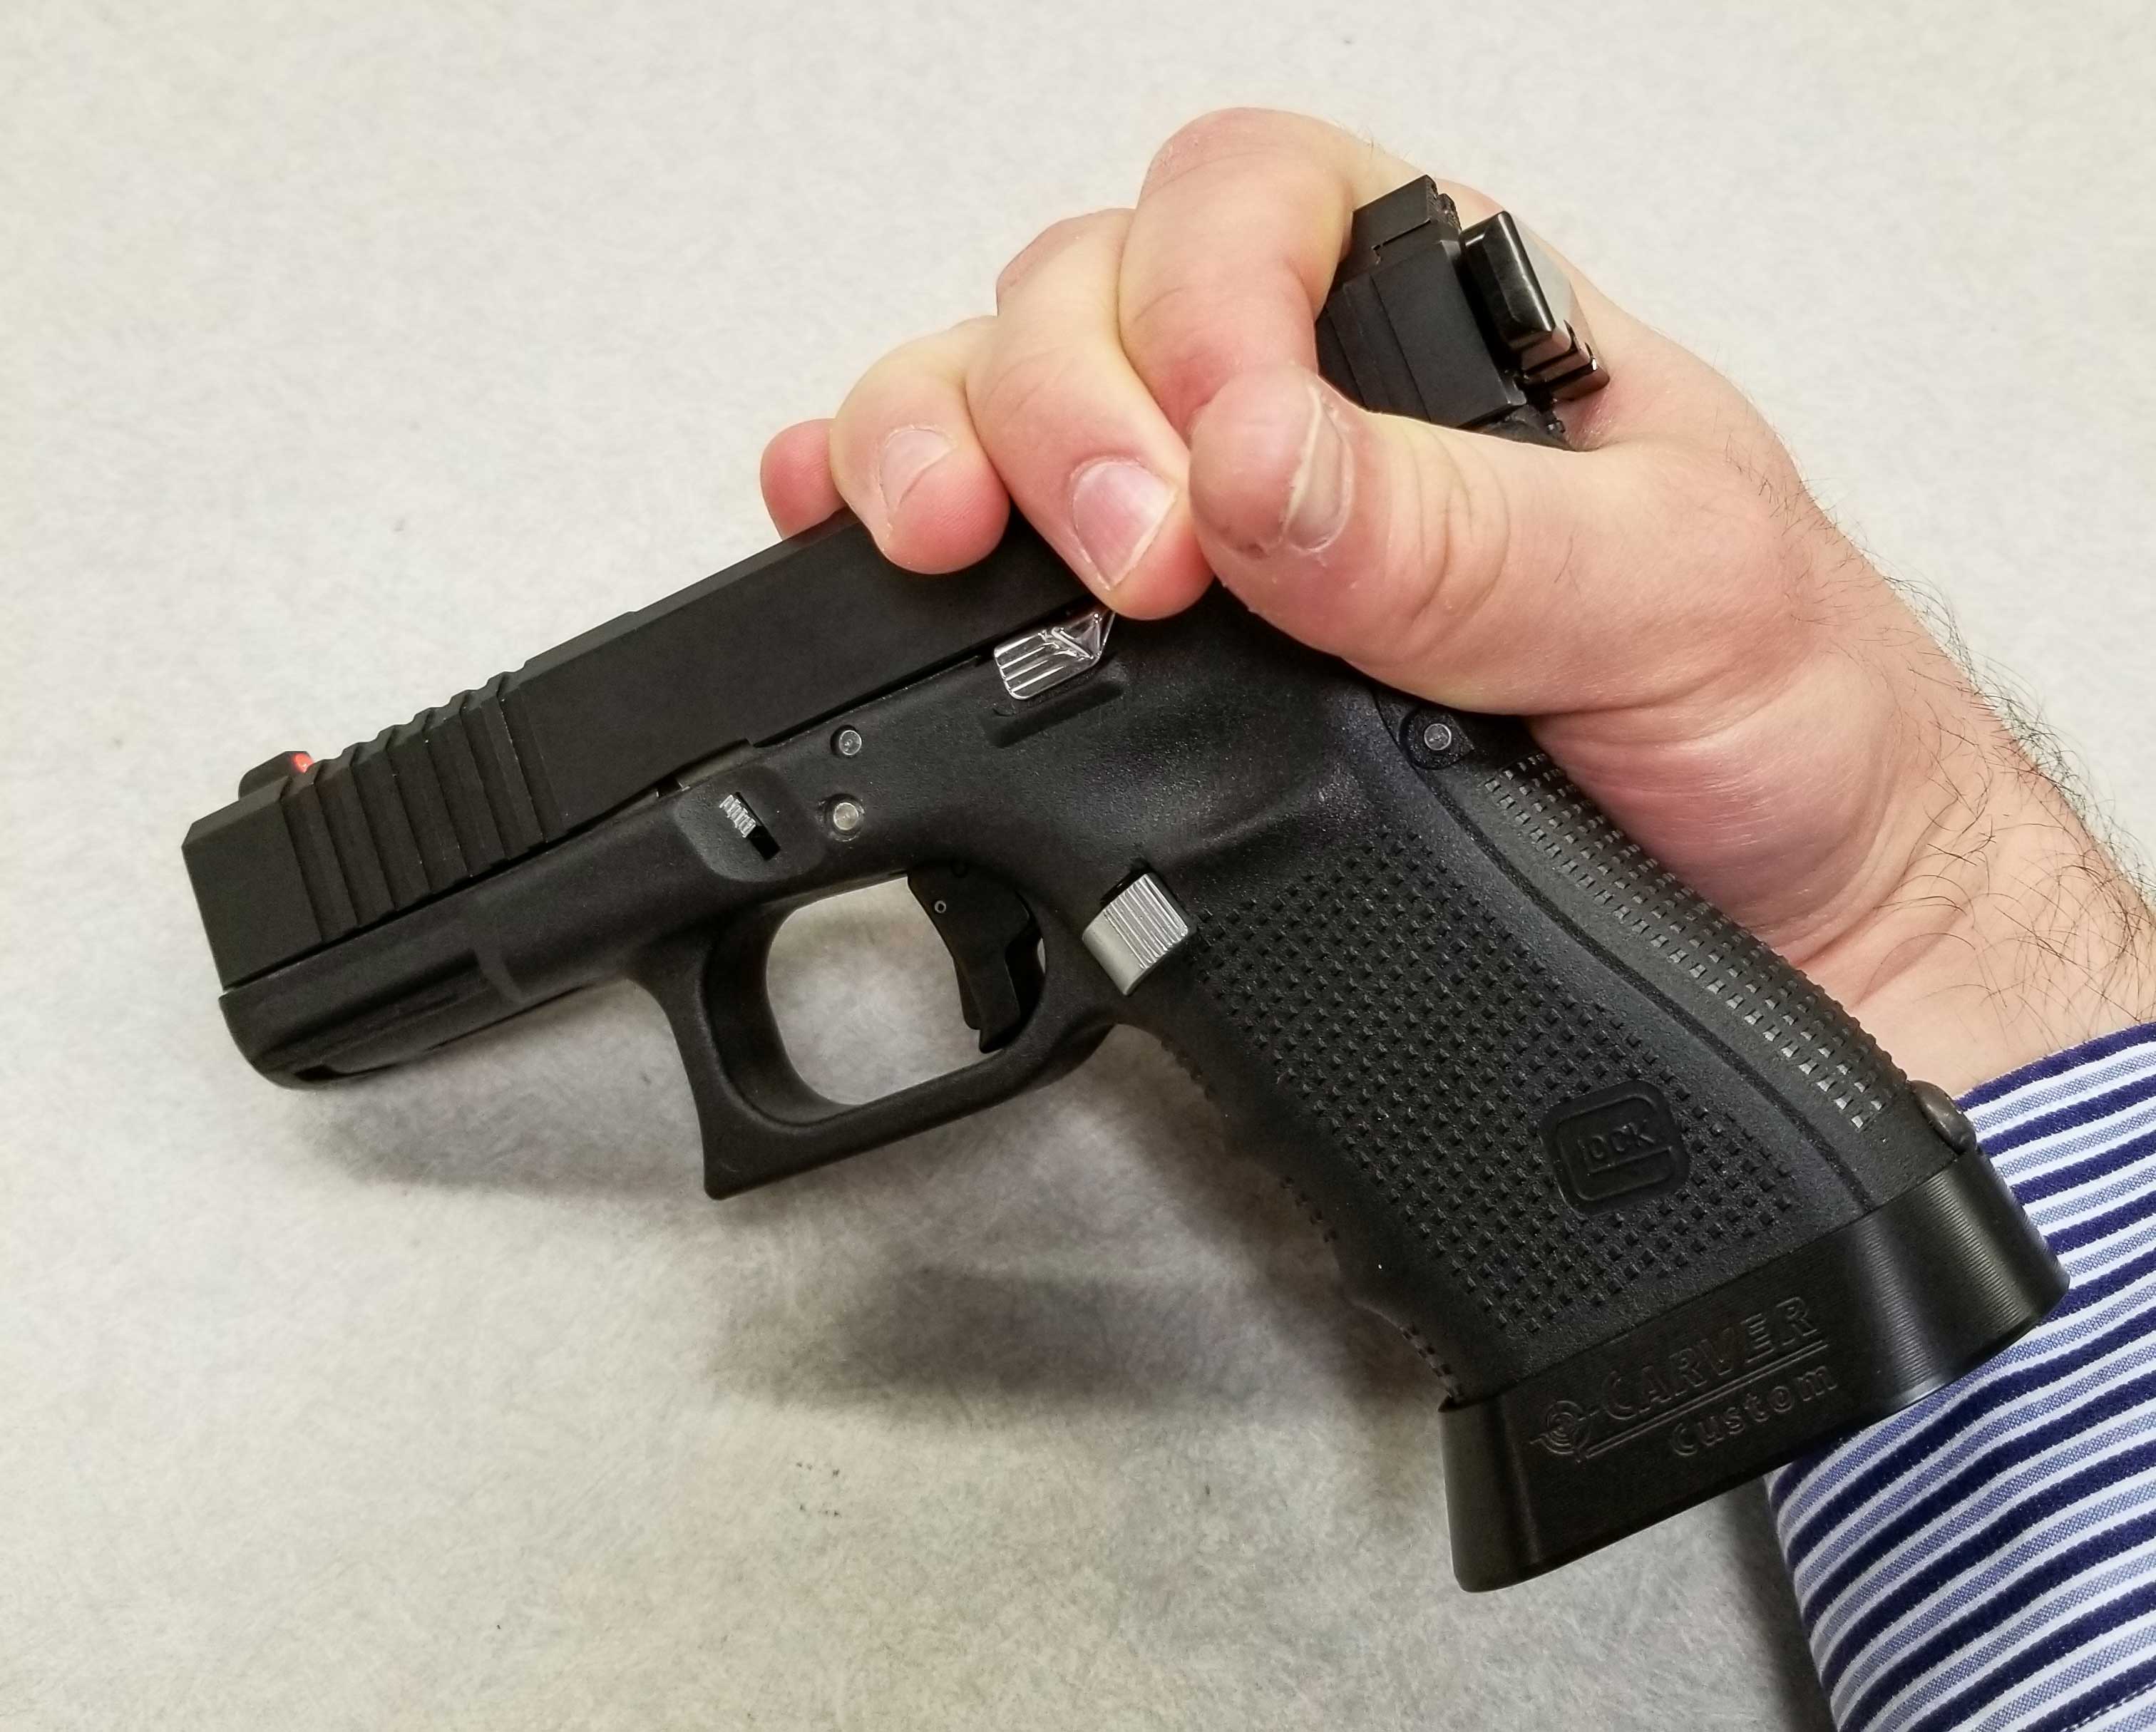
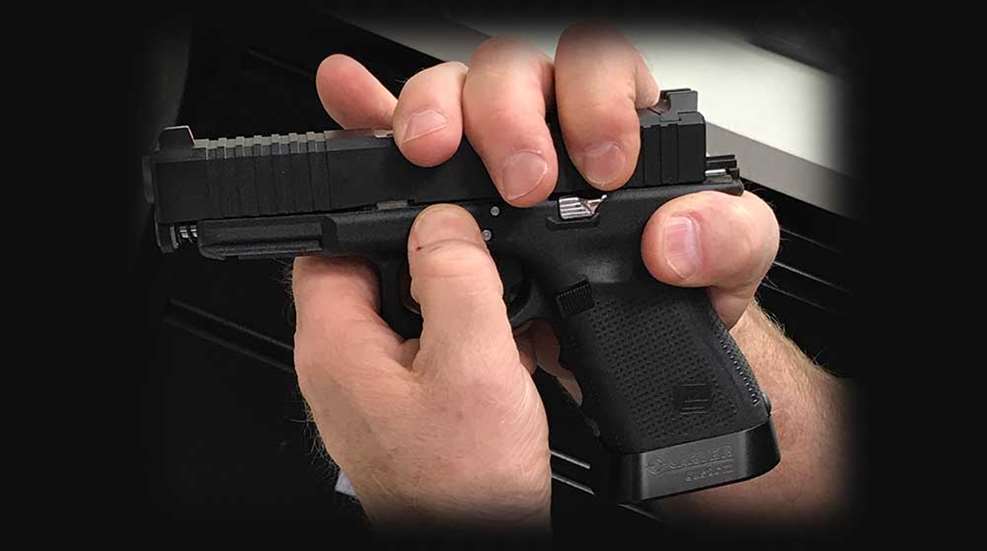
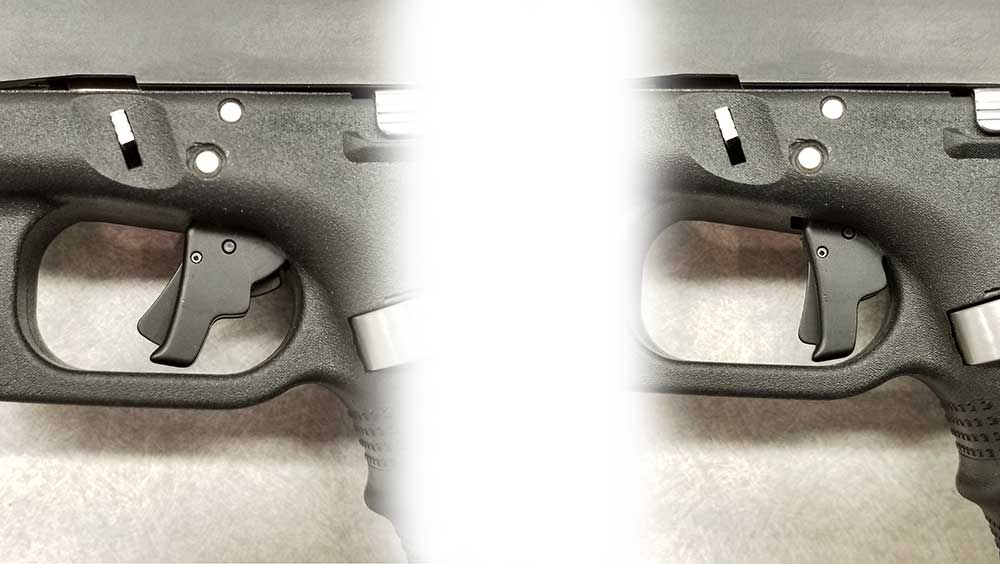
Next, hold the pistol in either hand so your fingers span the rear portion of the slide (from the ejection port rearward) and your thumb curls around the backstrap. Now, simply close your grip. Doing so should cause the slide move slightly rearward in your hand. Move it rearward approximately 1/10th of an inch. (Note: be careful not to pull the slide back too far. Doing so will inadvertently cock the pistol and prevent it from being field-stripped).
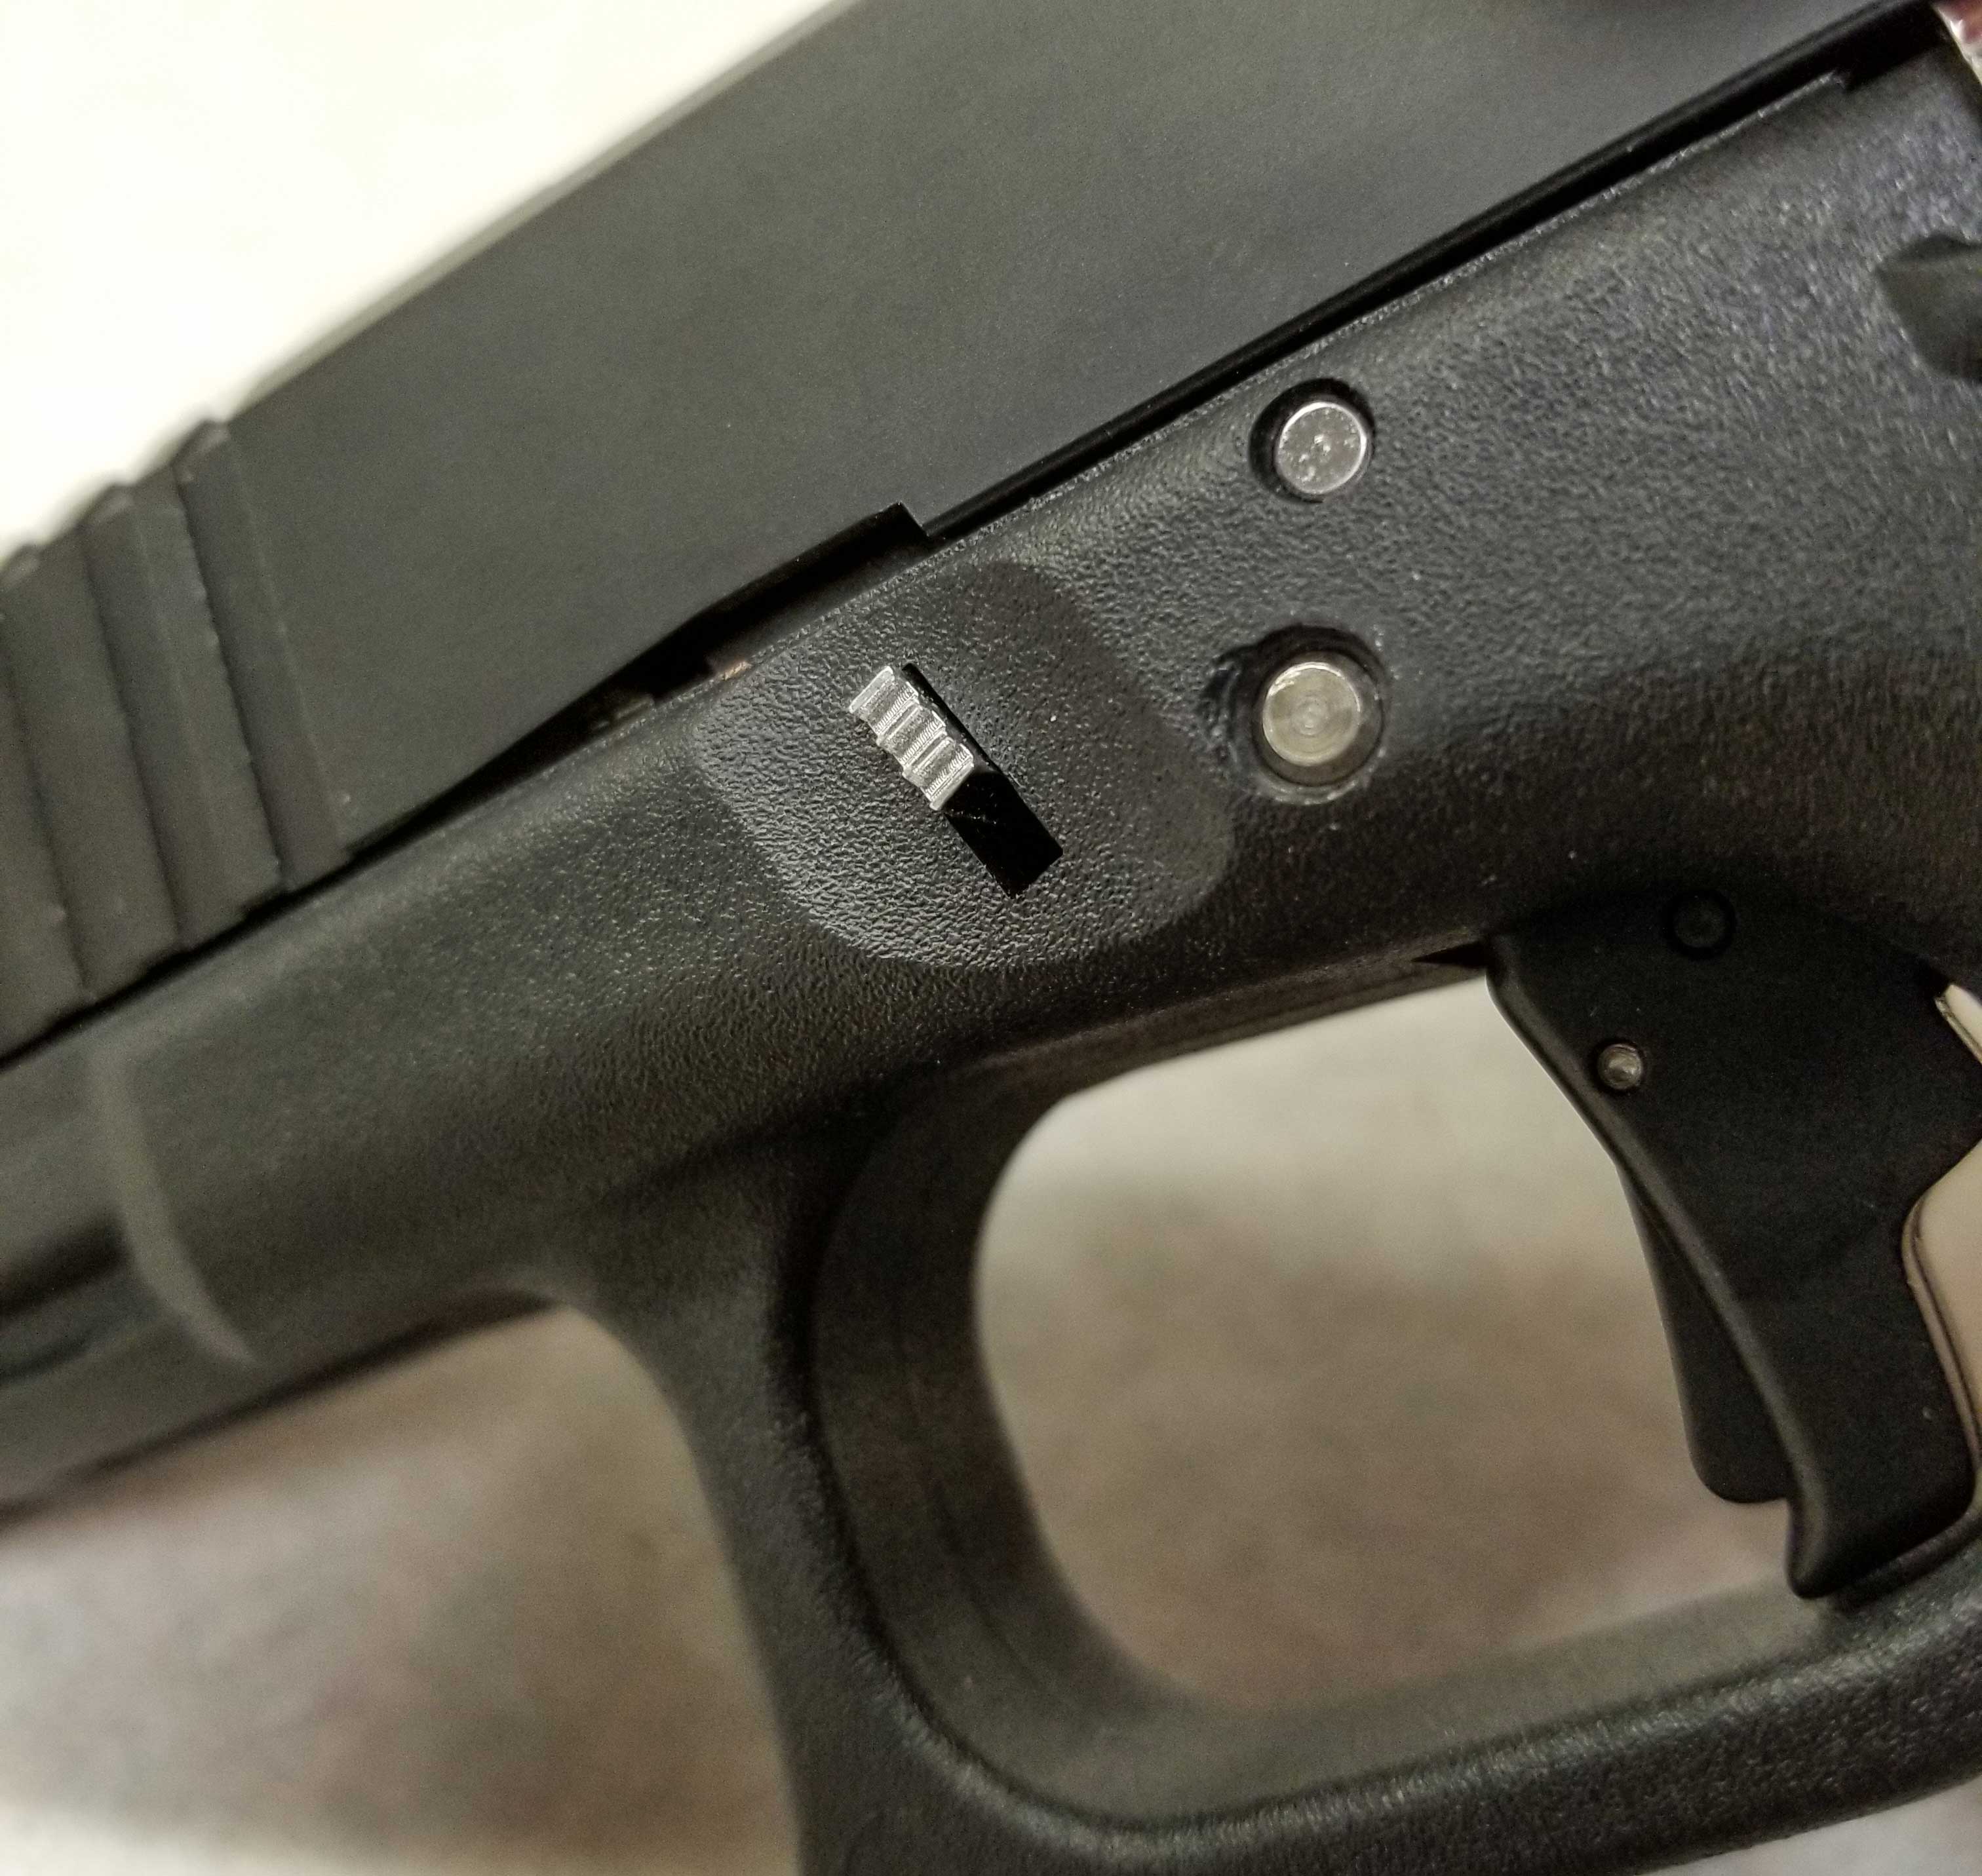
Next, while holding the slide back, use the thumb and index finger of your free hand to pull down on both sides of the slide lock.
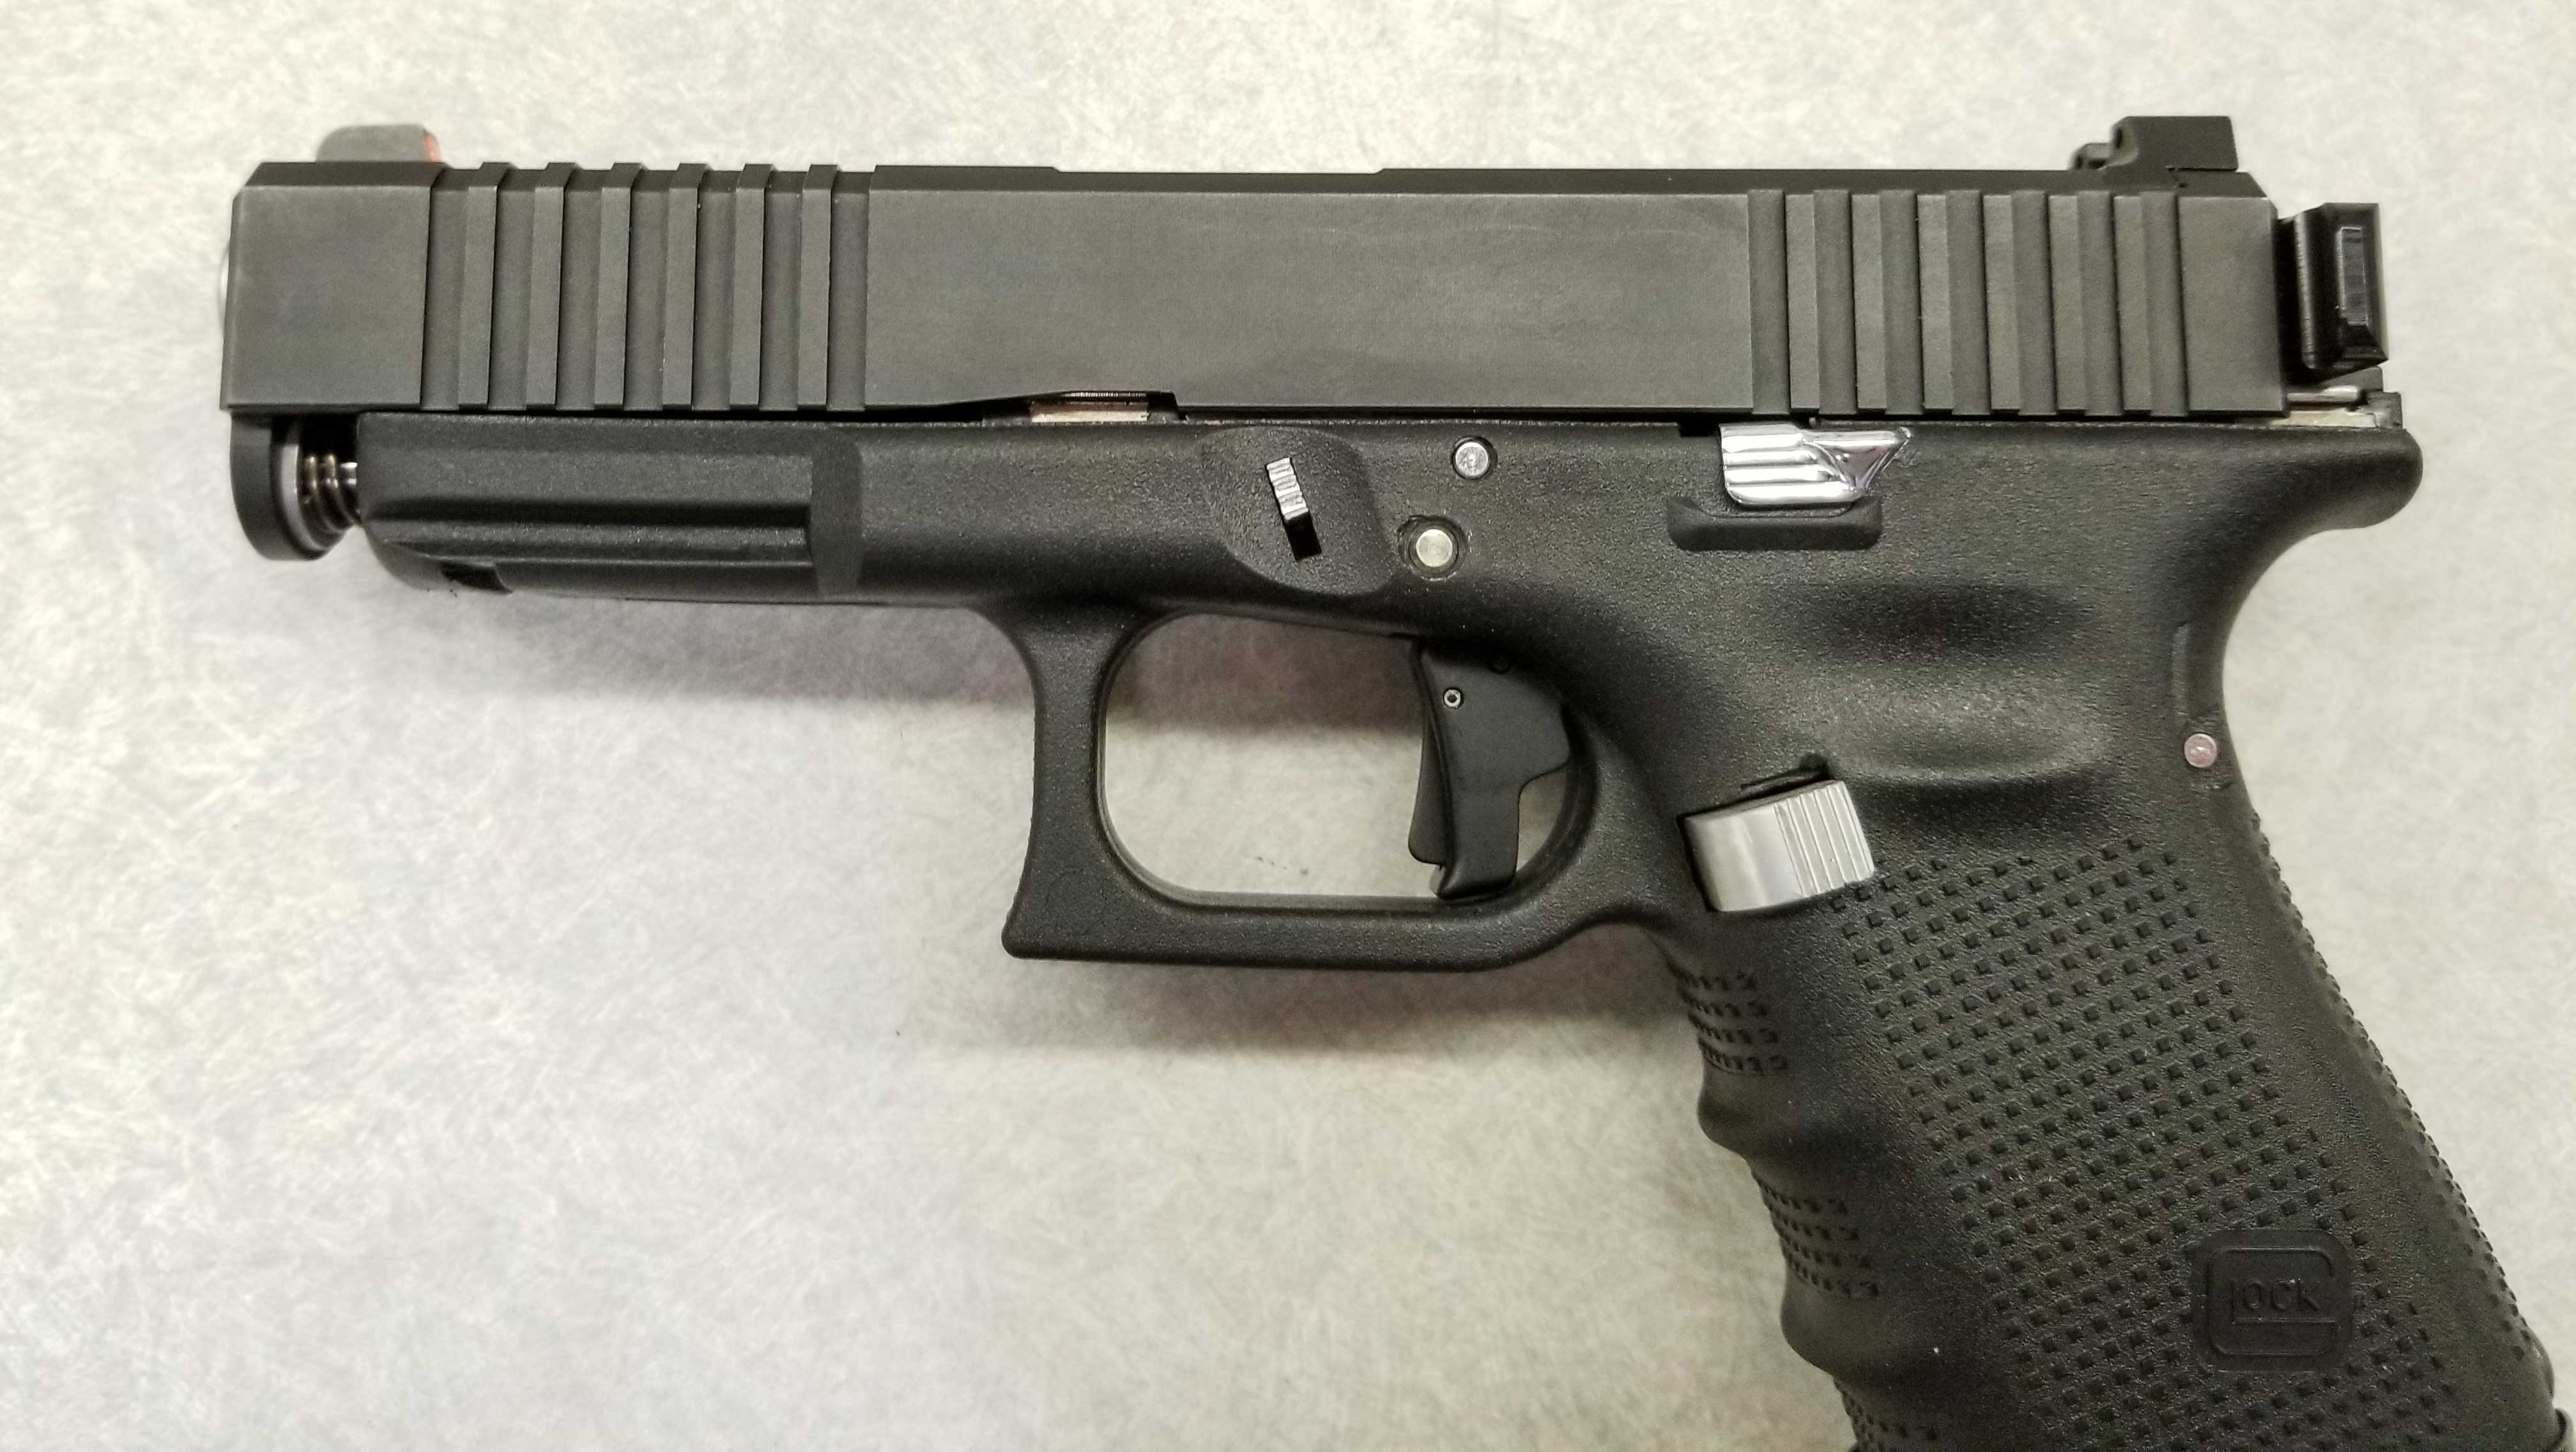
Now, while holding the slide lock down, release the slide, which should gently rebound forward and over its normal in-battery position. Release the slide lock and ease the slide off the frame.
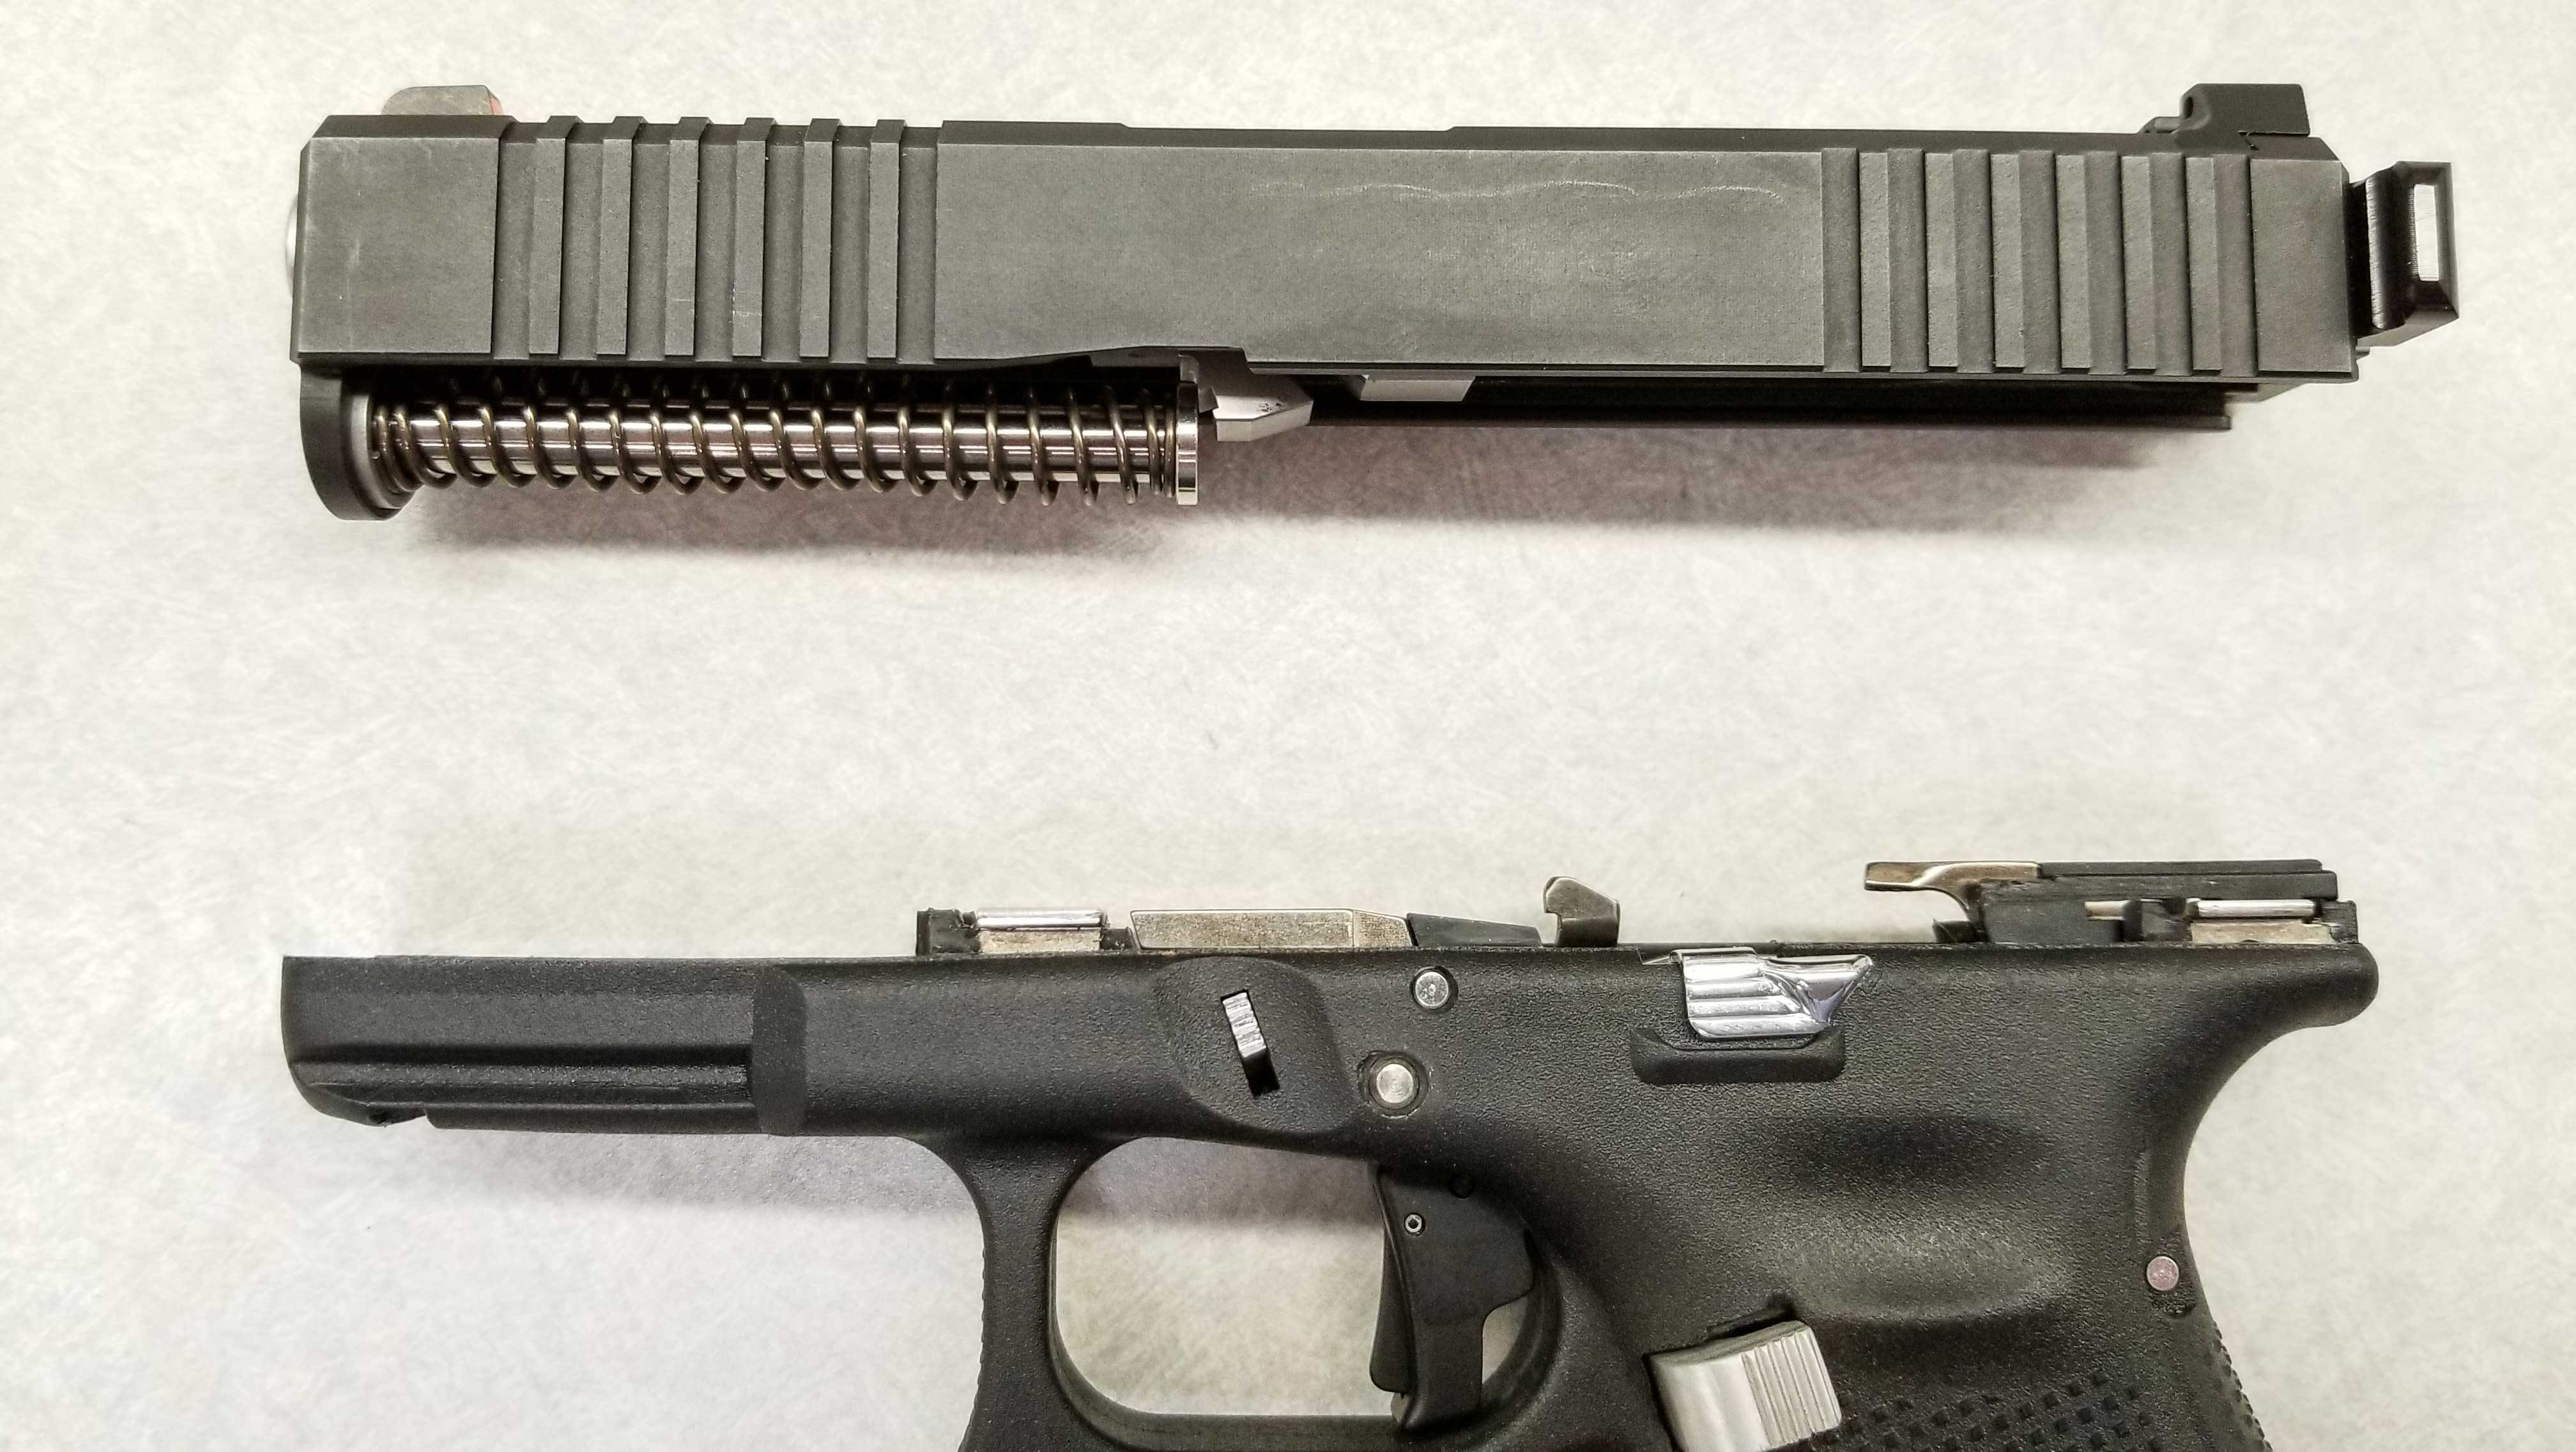
Once the slide and the frame are separate, set the frame aside and either place the slide (sights down) on your workbench or hold the slide muzzle-end up in your hand.
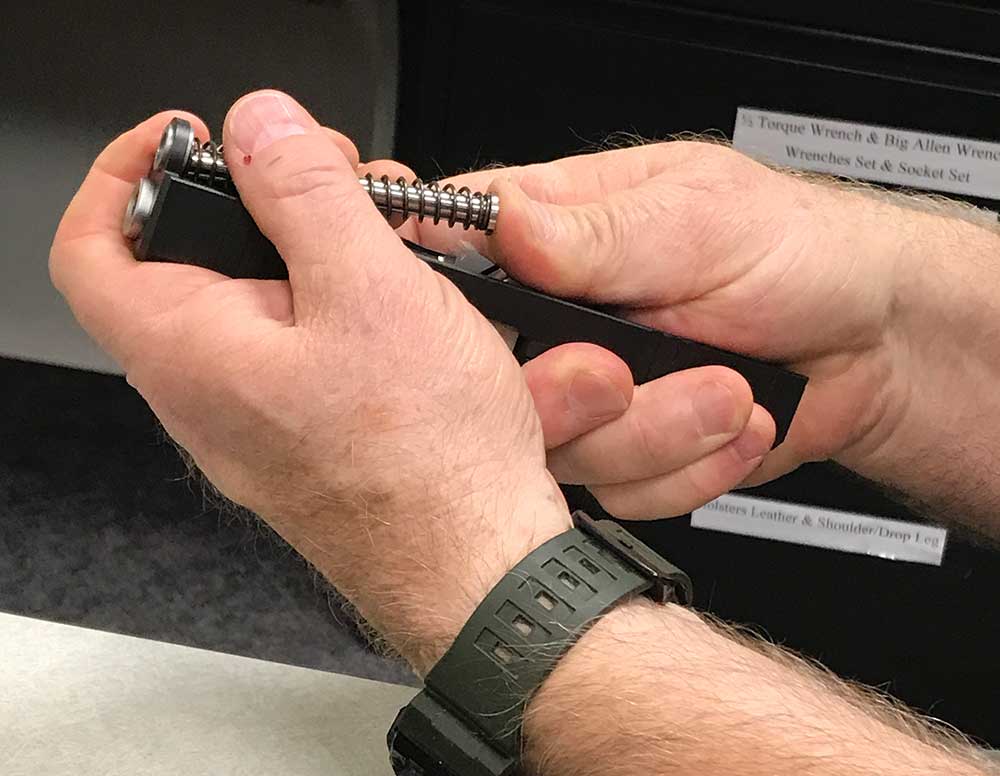
Pry the recoil-spring assembly away from the barrel and set it aside.
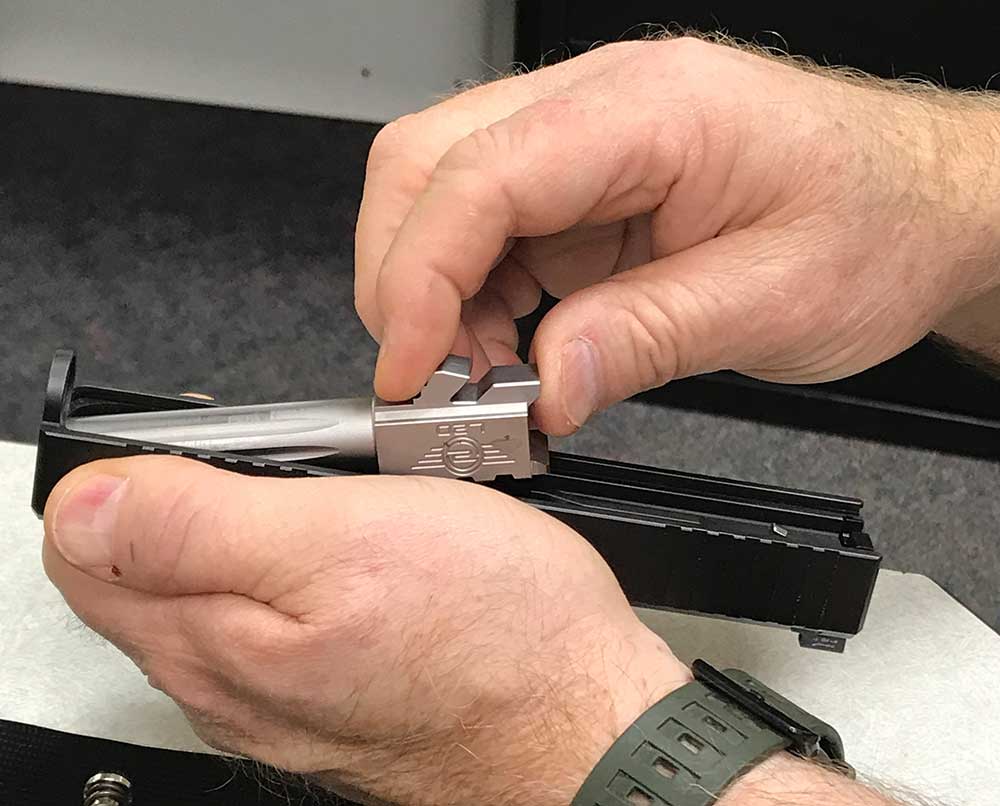
Grasp the barrel lug below the chamber and while raising the chamber end move the barrel slightly forward until you can freely lift the barrel free from the slide.
To reassembly the pistol, simply repeat this process or consult your owner’s manual.
The next installment will cover detailed disassembly of the slide in order to prep the groundwork for a custom Glock build.