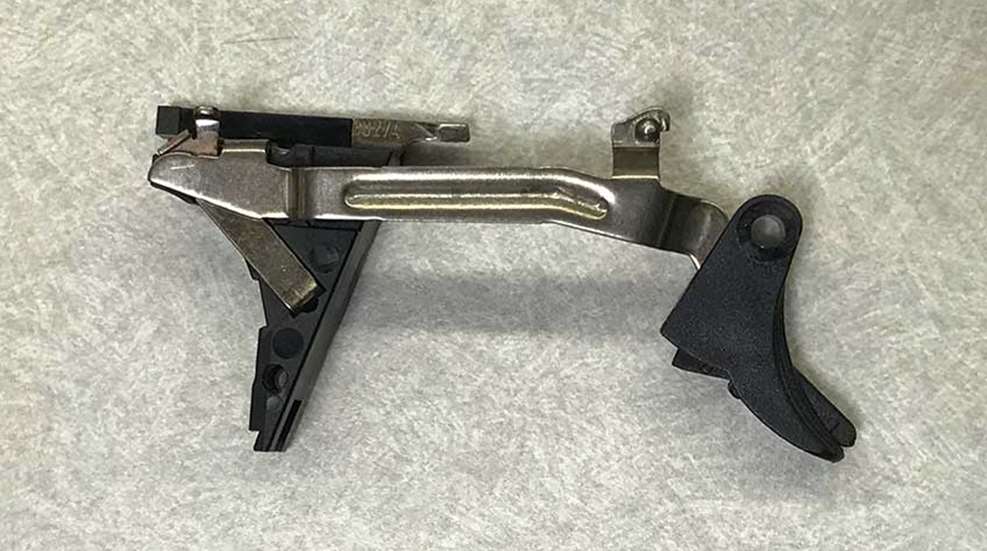
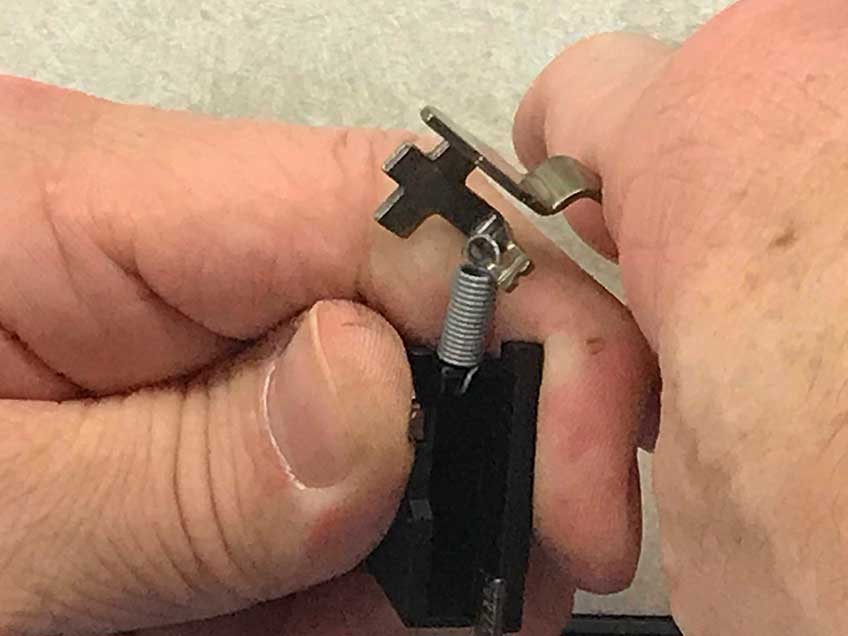
To separate the trigger with trigger bar from the trigger mechanism housing, rotate the cruciform-bearing surface of the trigger bar out of the housing’s drop-safety slot. Both parts will still be attached by the trigger spring.
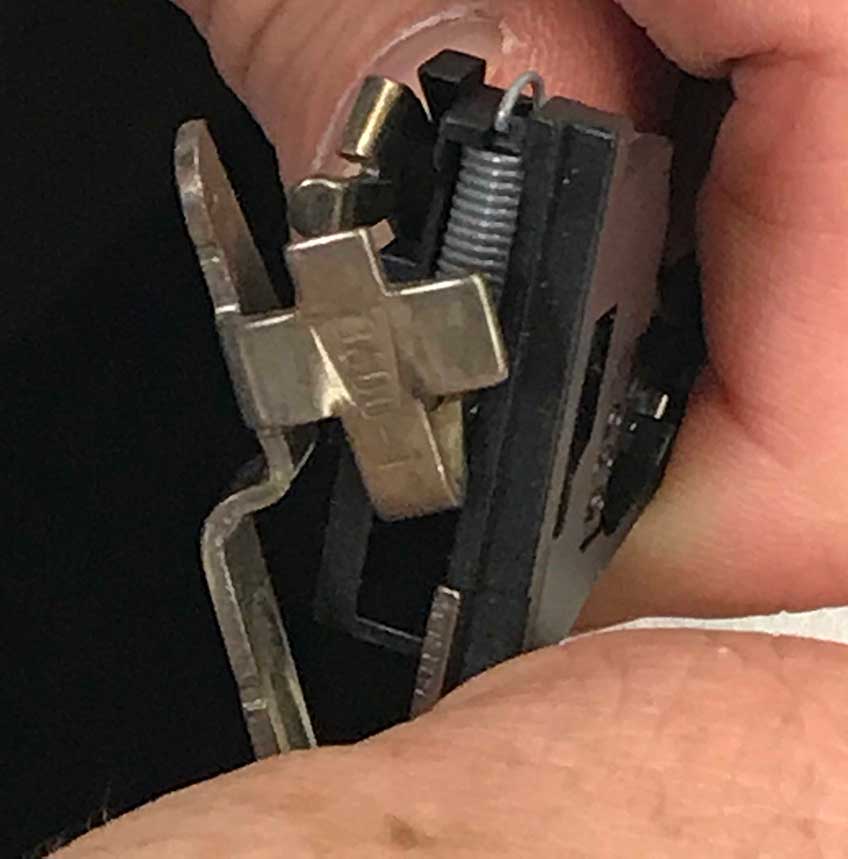
Then, simply disconnect hooked ends of the spring from the trigger bar and housing. Set the trigger bar and spring aside.
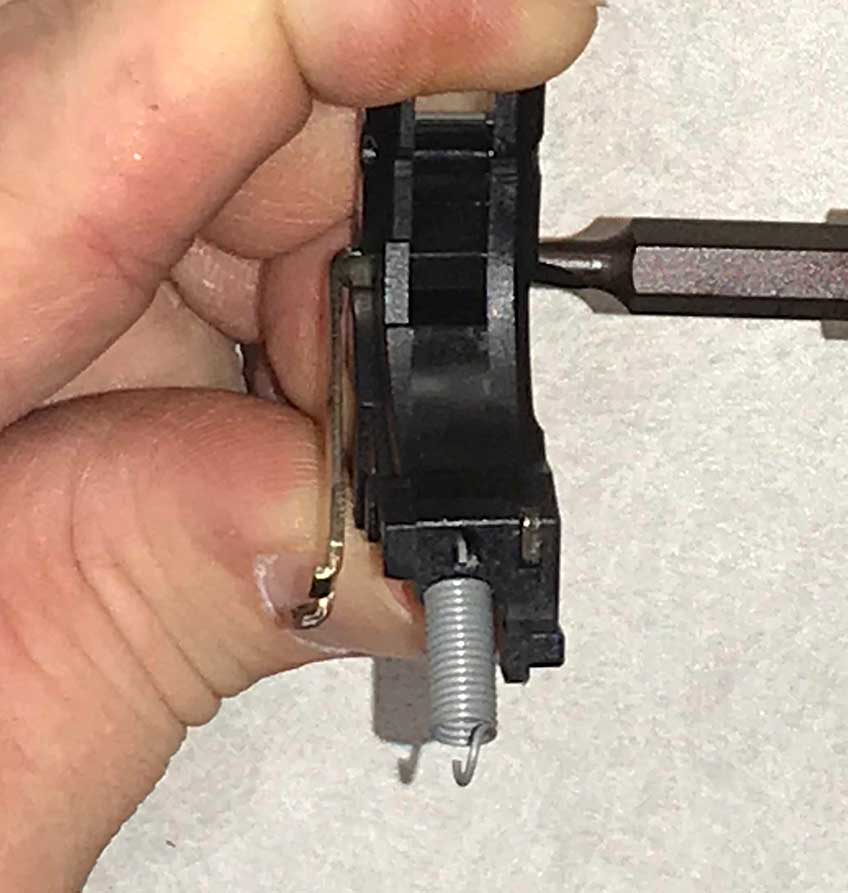
Grasp the trigger-mechanism housing in one hand, and use a small flat-blade screwdriver, insert the blade into a hole in the left side, opposite of the connector. Slight pressure from the tip of the screwdriver will partially separate the connector from the body of the trigger-mechanism housing and allow you to pull it free with your fingers. (Note: this is the only way to properly remove the connector. Don’t attempt to lever it out the screwdriver, as it will bend, warp and subsequently ruin the connector.
Having completely disassembled your frame and slide, those two core components are now blank canvases, ready for new accessories that will make the pistol uniquely yours.
The next installment will focus on building the pistol from scratch, beginning with the installation of the slide lock, magazine release and the trigger module.


