I’m a relative newcomer to the world of the AR-15-pattern rifle. Until fairly recently, I languished in the People’s Republic of Massachusetts, where such rifles are still subject to the vagaries of the 1994 Assault Weapons Ban that expired in 2004 in Free America. Because of that, I hadn’t taken much notice of the AR, given that I couldn’t make use of the collapsible stock, flash hider or standard capacity magazines. All that changed when I moved to Virginia and could make full use of the platform.
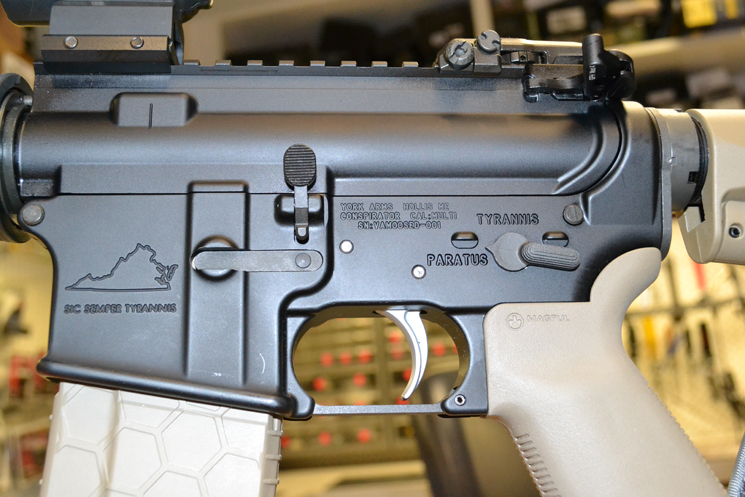
I started small, acquiring a special AR-15 from a friend who ran a small shop in Maine. Custom SAFE/FIRE markings, an engraving of the outline of the State of VA and (of course) full “assault weapon” characteristics—collapsible stock, flash hider and even a bayonet lug—adorned this new rifle. I outfitted my Bushmaster XM-15 with a real collapsible stock (it had a “pinned” version from when I lived in MA). Then I took the plunge and learned how to turn a stripped lower receiver into a complete lower receiver, with copious help from Brownell’s excellent video series.
Naturally, I started to get curious about building a complete rifle. Talking to friends who had undertaken the task, the consensus was that the lower receiver was more difficult than the upper, so I decided to give it a try. As it turns out, “they” were right—I found the upper receiver to be slightly easier to put together than the lower receiver.
Now, my co-worker Bob Boyd has done a fantastic job of detailing the steps in building an AR-15:
Lower: AR Lower-Receiver Build: Switching Gears
AR Lower-Receiver Build: Bolt-Catch Installation
AR Lower-Receiver Build: Pivot Pin Installation
AR Lower-Receiver Build: Trigger Group Installation
AR Lower-Receiver Build: Grip and Fire Control Selector Installation
AR Lower-Receiver Build: Magazine-Release Installation
AR Lower-Receiver Build: Trigger Guard Installation
AR Lower-Receiver Build: Buttstock Installation
Upper: AR-15 Upper-Receiver Build: Installing the Forward-Assist Assembly
AR Upper-Receiver Build: Dust Cover Installation
AR Upper-Receiver Build: Bolt-Carrier Group and Changing Handle Installation
AR Upper-Receiver Build: Barrel Installation
AR Upper-Receiver Build: Gas Block/Gas Tube Installation
AR Upper-Receiver Build: Fore-end Installation
AR Upper-Receiver Build: Muzzle Device Installation
AR Upper-Receiver Build: Checking Headspace
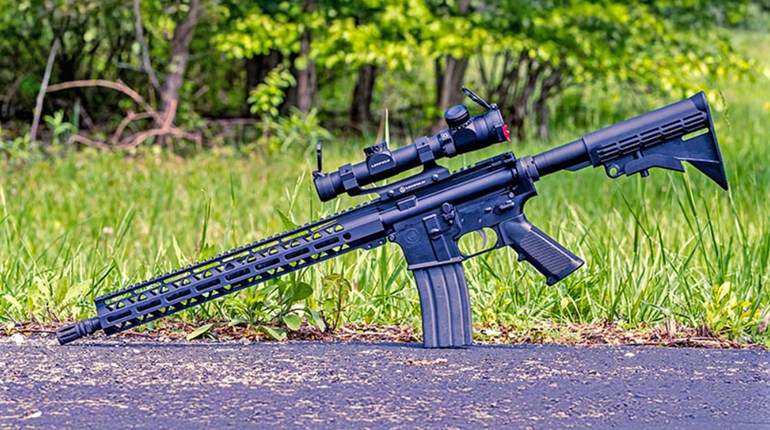
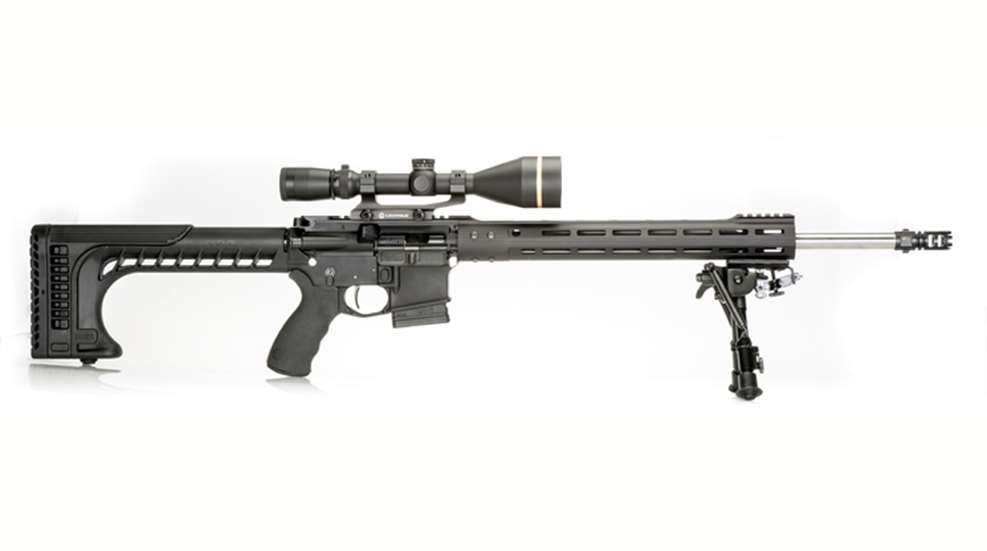
My build employed the very same steps, but different components. For the lower, I opted for an Anderson stripped lower, CMMG parts kit, ErgoGrips pistol grip, Velocity Triggers 3-pound single stage trigger, Seekins Precision billet magazine release, Battle Arms Development Ambidextrous Safety selector, Strike Industries enhanced take-down pins, Magpul oversize aluminum trigger guard and Fab Defense SSR-25 fixed stock. Total lower receiver cost: $580.
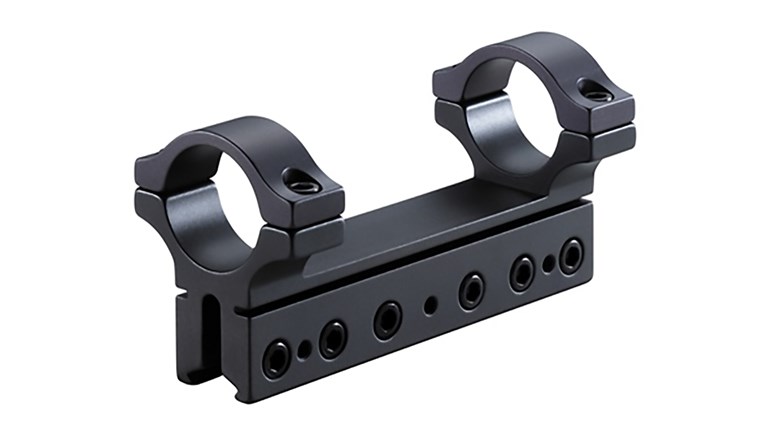
For the upper, I chose an Aero Precision stripped upper receiver, a Brownells 20-inch heavy barrel, DPMS forward assist and dustcover, Troy Industries gas block, Spike’s Tactical rifle-length gas tube, ALG Defense EMR V-2 M-LOK handguard and Gemtech 5.56 mm muzzle brake/suppressor mount. A complete American Built Arms hybrid bolt carrier group and a DPMS charging handle rounded out the upper, and a Leupold VX-3L scope in a Leupold Mark II IMS mount provided magnified optics. Total upper receiver cost: $868
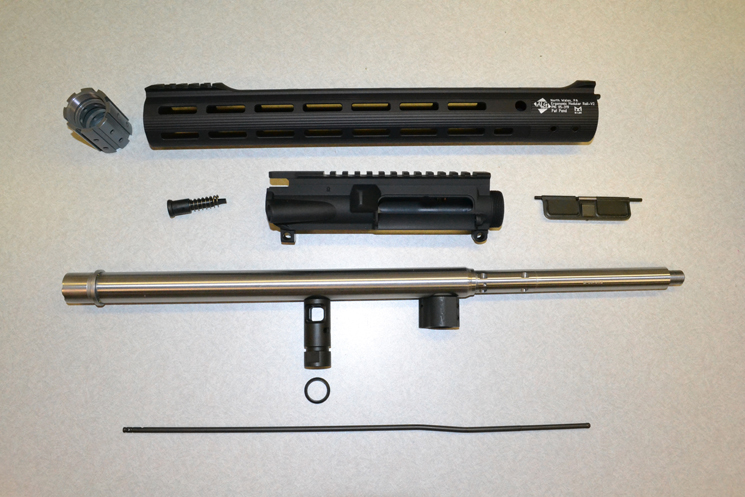
Total cost: $2,598 (optic and mount adds $1,150).
As I mentioned before, I’ve built a few lower receivers. I’m at the point now where I only have to watch one or two of the Brownells videos rather than repeated viewing of all seven lower receiver videos. The only problem I encounter centers on that darn bolt catch roll pin—I just can’t seem to get one in place without scratching the receiver at least once… Putting together a lower with a fixed stock is almost like cheating, but for the intended purposes of this rifle (target shooting and possible varmint/predator eradication), it seemed like the better choice. Alternately, a rigid telescoping stock like the Magpul UBR would have worked well for this purpose. The lower went together simply and without incident.
The only “incidents” to report in the upper build were minor. My fingers were simply too clumsy to get the upper parts kit in place, so our Firearms Inventory Manager helped out (I think she was eager to use her AR-15 armorer’s course knowledge, too!). Getting the barrel installed was absolutely anti-climactic, as the AR-15 is nearly idiot-proof when it comes to lining things up. Installing the gas block was equally simple, merely requiring a bit of patience and some Loctite to square away.
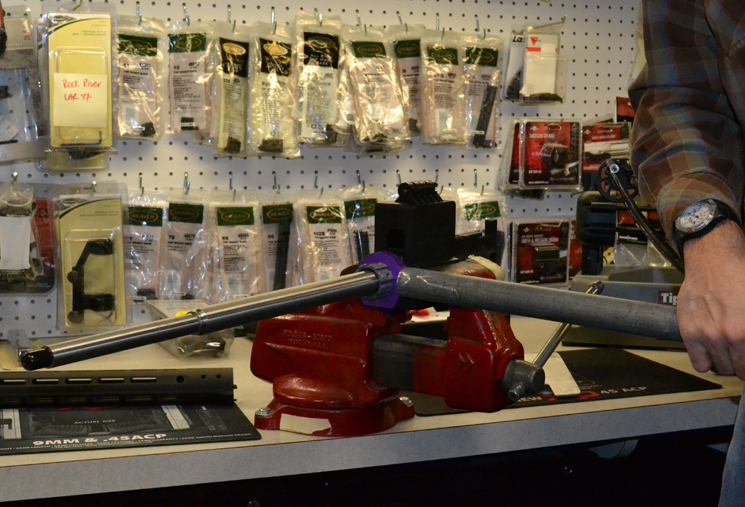
One minor bump, and it really wasn’t one, was getting the ALG Defense handguard installed. The company provides a simple installation wrench with handy markings to make sure it is properly clocked, but you have to supply a length of one-inch-diameter pipe to have the necessary leverage. Once a section of pipe was secured, installation was a breeze. Ditto the Gemtech muzzle brake—with a proper torque wrench, getting it on and properly aligned was simple.
The last addition to the rifle was a TacShield heavy duty 6-9-inch adjustable bipod. Getting it onto the rifle was dirt simple—once I figured out how to attach the M-LOK bipod mount. One thing I hadn’t anticipated when selecting the gas block, barrel and freefloat handguard was clearance inside the handguard. You see, when I went to install the M-LOK bipod mount, I couldn’t properly tighten the inside M-LOK attachment screw. I debated back and forth about grinding the screw down, cutting it with a hacksaw or trying a different method of attachment when I had a revelation: it’s a bipod mount. The one screw that was tight was sufficient to hold the bipod firmly in place.
All the quality components in the world mean nothing if they don’t come together properly. The true test of any rifle is getting it on the range and seeing what happens—and in this case, magic happened. I zeroed the rifle on our 50-yard range here at HQ, and wound up with several three-shot groups that all touched. On the 100-yard range, sub-MOA groups were easy to achieve, and I had an even better test for the rifle with my 10-inch steel plate. Yes, 10 inches at 100 yards is a ridiculously large target for an accurate rifle… right up until you break the support chain and it winds up facing you edge-on. Then it represents a 0.5-inch target.
Which I was able to hit. Twice. And then I stopped trying, because I didn’t want to damage the steel. I figure a 0.5-MOA group is pretty darn good enough for a rifle I built myself. Sure, the Federal Premium Match-grade, 69-grain .223 Rem. BTHP helped, as did the crystal-clear Leupold glass, but for an outdoor range using a simple wooden bench, I was very pleased with the end result.
One final note on cost: I was able to save money over a custom AR-15, dropping slightly less than $1,500 on a sub-MOA rifle with custom touches. Comparable rifles can easily run for well over $2,000, and still won’t have the exact components I wanted for this build. Were I building a plain-jane carbine, though, I don’t think I could save enough money by doing it myself to justify the sweat equity. Then again, sometimes you just want to be able to say “I built it myself”—and how do you put a price on that?