[Editor's note: As with all DIY gunsmithing projects, if you are the least bit apprehensive about your skill level and completing the work in a safe manner, let a professional handle it.]
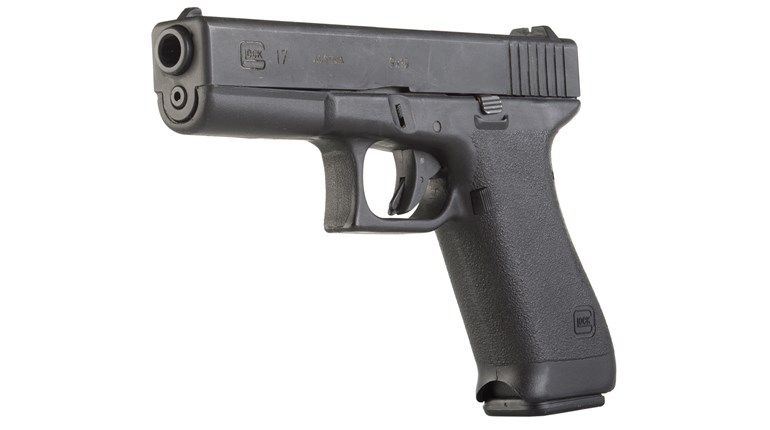
If you’re like me, any gun you buy doesn’t stay in the safe long enough to collect dust before being whisked off to your local gunsmith for key EDC refinements. While it wasn’t that long ago, these days in the wake of the COVID-19 pandemic, many of us are have tightened our purse strings and are striving to stretch our dollars farther. With that in mind, the following is a project that will focus on improving your Glock’s trigger pull using its OEM internals and with a minimum of tools. (The majority of which you probably already have laying around your home. Any you don’t have are inexpensive, so don’t worry.) You don’t even need a work bench. The kitchen table will do just fine - just be sure to clean up afterward!
If your Glock knowledge base includes being able to completely disassemble your pistol: frame, slide, striker assembly and trigger module, you can do this.
For those who consider the Glock trigger pull awkward, with a bit of knowledge, a tad of elbow grease, some patience and minimal tools you can make it much better. Those who have always wanted to gain such knowledge but have never taken the time and—who presently find themselves faced with an abundance of it due to quarantine—there’s no time like the present to take that leap.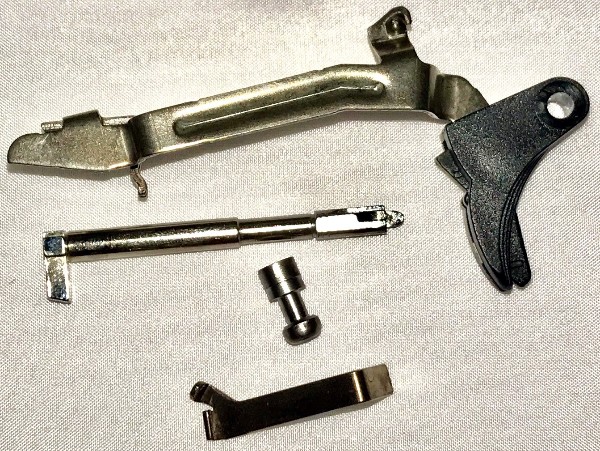
After becoming a Glock-certified armorer last year I chronicled a DIY-style Glock build for shootingillustrated.com, which includes easy-to-follow instructions.
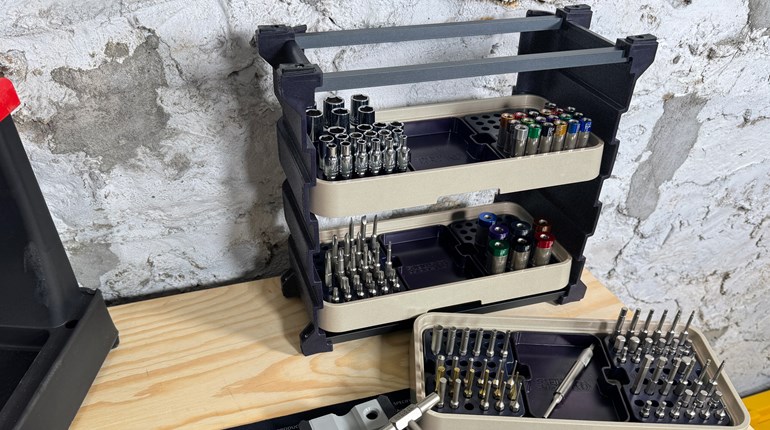
For a list of possible tools, check out the following link. Otherwise, for a makeshift grab-and-go list, find the following below:
∙ A 2-inch roll of tape (duct/painter’s tape)
∙ A 5/16-inch punch
∙ A small, shallow bowl/container and a scrap of cardboard and/or leather
∙ Assorted wet/dry (500-, 600-, 800-, 1,000-grit) sandpaper or toothpaste
∙ A lint-free cleaning cloth
Although not essential, the following tools may come in handy:
∙ A small hammer
∙ A flat-bladed screwdriver
∙ A pair of needle nose pliers
∙ buffing wheel, Dremel/Foredom tool or electric drill
∙ Felt bobs or Q-Tips
∙ Polishing compound such as Brownell’s 555 White, Flitz paste or Simichrome
After selecting the tools you wish to use, begin by checking to make sure your pistol is unloaded. (Confirm it through visual and tactile. Then do it again, and then a third time for good measure.) Once you’re sure it’s empty and that the immediate area is devoid of life ammunition, follow this link to fieldstrip the pistol.
Once your Glock is fieldstripped, detail strip the frame and the trigger module. Begin by examining your connector. (A 5-pound connector will be unmarked, and an 8-pound variant will have a plus (+) rollmark. If your Glock has either of these connectors, replace your connector with a 3.5-pound model, which will contain a minus (-) rollmark. Reassemble the trigger module and the frame before reassembling the rest of your pistol. Perform these necessary safety checks to ensure your Glock is functioning properly before taking it to the range. Putting a 500-1,000 rounds through it should smooth out the pull. If, however, you want to save your ammo and/or the change is not quite to you liking, the pull weight can be improved further by judicious polishing of a few select parts: the connector, the striker, the trigger bar and the striker/firing-pin safety plunger.
Disassemble the slide and the striker assembly (which is part of the aforementioned link) and place the connector, the striker, the trigger bar and the striker/firing-pin safety plunger in a shallow dish and set the other Glock components aside.
Contrary to the opinion of some, the key to any trigger job—no matter what the firearm is—doesn’t pertain to the judicious removal of metal, the goal is to remove friction between key bearing surfaces. (Notice there are no files, grinding wheels of stones in the parts list? That’s because they aren’t necessary.)
Taking the time to polish the sides of all the parts involved: the connector, the striker, the striker/firing-pin safety plunger and the trigger bar not only removes any unwanted burrs, it serves to ultimately minimize friction between the aforementioned parts, where they bear against themselves and inside the frame and slide.
Such collective measures reduce friction against the parts and is an easy way to improve a Glock’s trigger pull without the potential pitfalls that come with modifying critical geometry points. Regardless, there are those who consider this a mere “fluff-and-buff” trigger job for that reason. Rather, the reality is it’s a series of steps toward getting the trigger pull you want—without opening yourself to damaging parts or compromising safety. The key is to use minimal pressure to lightly polish select areas of the parts—without removing any of the OEM protective coating—which would leave the parts susceptible to corrosion/rust.
Whether you chose to so manually or with a motorized tool, such as a Dremel/Foredom tool, or drill with a felt wheel or even a Q-Tip topped with common toothpaste to polish the parts, the key is to take your time. (Many Glocks have been ruined by overzealous, yet well-meaning Dremel-wielding pseudo-gunsmiths.) Moreover, always wear eye protection while working. According to Lonewolf Distributors’ “The Complete Glock Reference Guide,” the areas highlighted in sharpie marker are the only regions that should be polished. Do not polish anywhere else:
The Connector:
Focus on polishing two areas: The flat surface where the birds head contacts the trigger bar: 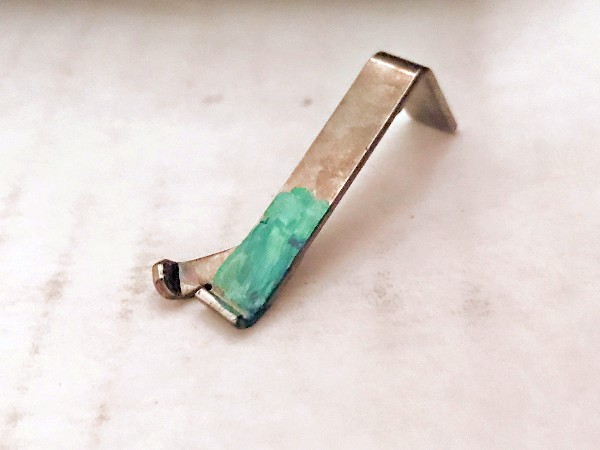
and the small flat of the raised, angled edge: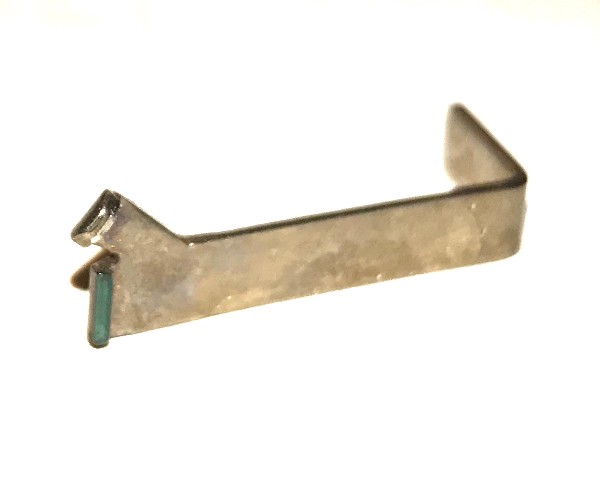
The Striker:
Focus on polishing the face of the striker lug, the flat portion that contacts the trigger bar’s cruciform. Note: If the side of the striker lug show scrapes or signs of wear, lightly polish them also: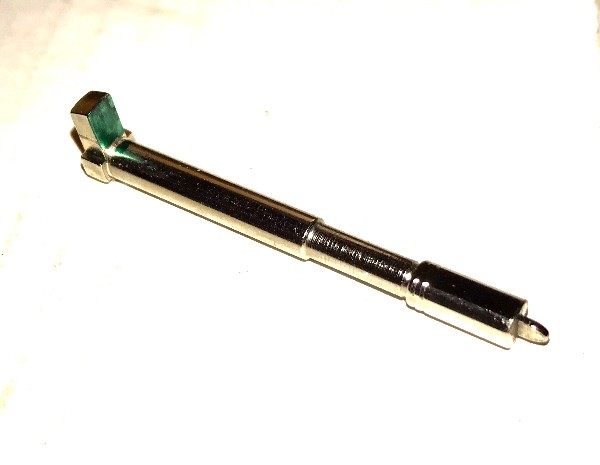
The Striker/Firing-pin Safety Plunger:
Focus on polishing the exposed face and beveled instead of the entire part. (Needle-nose pliers may be needed if using a Dremel/ Foredom tool, or drill: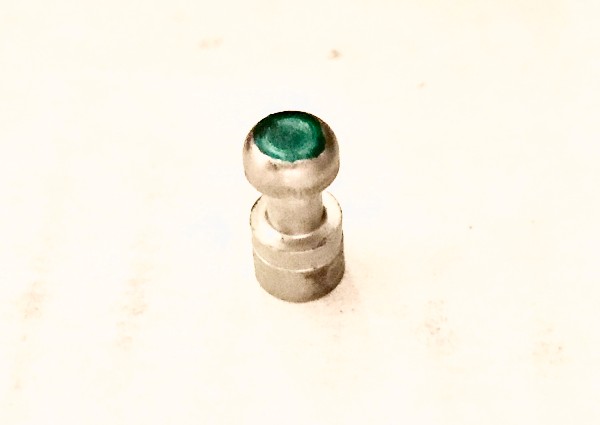
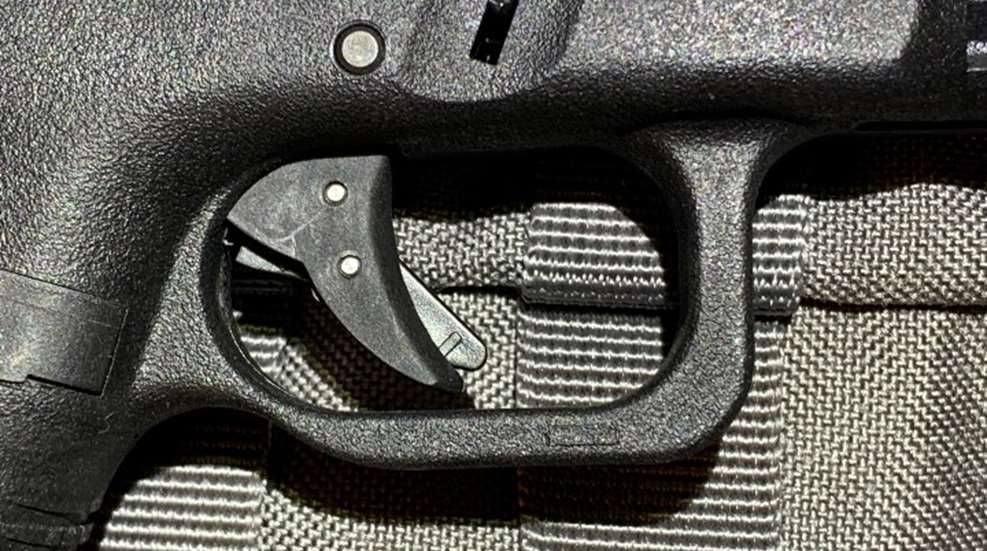
The Trigger Bar:
Focus on polishing four areas: The surface where the bird’s head portion of the trigger bar contacts the side of the connector: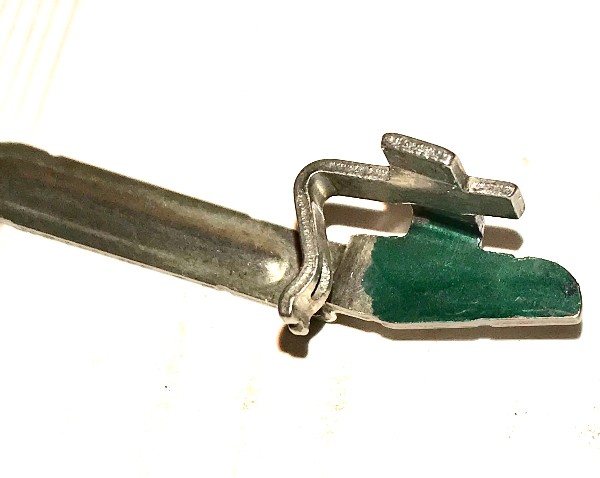
The edge of the cruciform (i.e., the portion that directly contacts the striker lug and the edge of the bird’s head:
The edge or riser portion of vertical extension: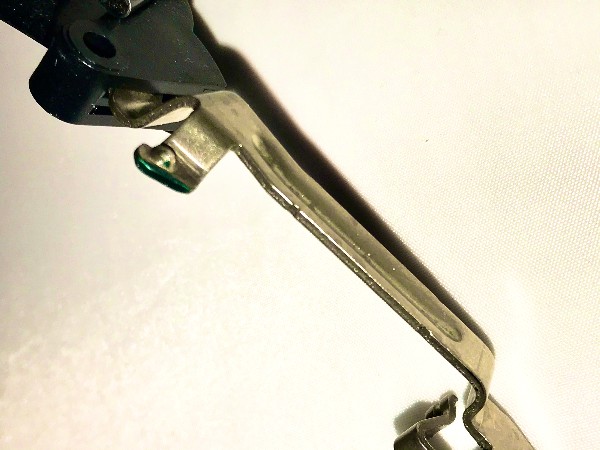
When done, clean excess polish from the parts, the add a small amount of lubricant to the areas you polished before reassembling the trigger module, frame, striker assembly and slide. Afterward, reassemble your Glock and perform these necessary safety checks to ensure your pistol is functioning properly.
For those who wish to polish the parts manually, the process is simple: Apply a small amount of your preferred polishing medium (I believe toothpaste contains the least amount of abrasive) to either the cardboard or to the hide (coarse) side of the leather scrap and gently draw the highlighted surface across the medium-coated surface, back and forth, several times—with minimal pressure—as too much could bend or flex the parts and make them unusable. When finished, wipe the parts clean with a cloth, then use the hair (smooth) side of the leather and repeat the process (similarly to how a barber glides a straight razor across a leather strop block to polish and work off any burrs prior to shaving a customer). If you don’t have leather, no worries. Wipe the parts clean, lubricate and reassemble the trigger module, frame, striker assembly and slide. Afterward, reassemble your Glock and perform these necessary safety checks to ensure your everything is functioning properly. Now it’s time to head to range to enjoy the fruits of your labor.
Other manual options using the sandpaper or fret erasers, which serve as their own medium. Simply glide the highlighted area of each part across through ascending grits (beginning with 500 grit) until the desired level of polish is achieved.
Similar in appearance and size to the pencil erasers you probably used in school, fret erasers are sold either individually or in a set of seven blocks (in the following grits: 220, 400, 800, 1,200, 2,000, 4,000 and 8,000). To me these are worth their weight in gunsmith gold. I use them for many related tasks, and of all the methods I listed—including motorized—this is my favorite because it allows for maximum control and at 8,000 grit parts will absolutely glimmer. At less than $65 for seven polishers it you plan on doing multiple trigger jobs or other forms of gunsmithing, they will rapidly pay for themselves, and you’ll find more and more uses for them over time. One point of caution: When it comes to any other trigger job—start at 800 grit (no lower) anything coarser than 500 grit will remove precious metal. Polish each of the highlighted surfaces and no others, progressing through the remaining four grits accordingly, up to 8,000 grit. While the process will certainly take longer than with motorized tools, in the end your parts will look as though you did your due diligence with a machine.