Glock’s loose tolerances make swapping parts plug-and-play simple, so much so that tinkerers familiar with the platform can build a complete pistol in about an hour.
One thing to remember during the reassembly process is the frame should be oriented so components, pins and other assorted fiddley bits can be inserted into from right to left.
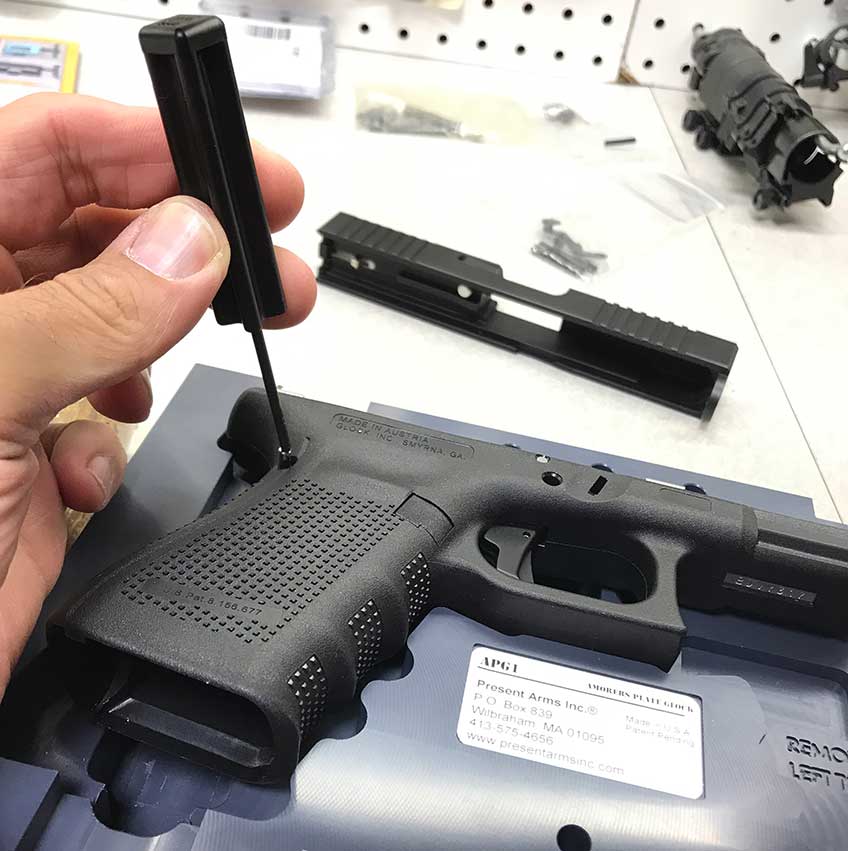
Begin by reinstalling the slide-lock spring in the frame. Using either pair of needle-nose pliers or a homostat clamp to hold the slide-lock spring while orienting the vertical portion of it into the frame, with the raised or “hump” portion facing toward the rear.
Once the spring is successfully seated in the frame, use a Glock Tool or a punch to fully depress the slide-lock while installing the slide lock through the frame. (Properly installed, the narrow portion faces up and the retaining notch faces the mag well.) When released, spring tension will hold the slide lock in place.
The next part to replace is the magazine-catch spring. To do so, simply place it in the base of the vertical cutout located in front portion of the mag well. (Needle-nose pliers may be needed.)
Once it’s secured in the cutout, try to install the magazine catch/release through the right side of the frame. (Notice how the spring’s position impinges on the magazine catch preventing installation.) Using a flat-head screwdriver to carefully pry the top of the spring far enough until the magazine catch slides into place.) Then use the screwdriver to slide the spring into the notch, locking the magazine catch into place.
At this point, the only tasks remaining is to replace the trigger module in the frame and replace the pins.
To reinstall the completed trigger module in the frame, hold it by the rear of the module and align the shoe with its corresponding hole in the frame. Once the trigger is indexed in the trigger guard, simply seat the remaining portion of the module in the frame.
Then place the locking block in place, making sure it’s flush in the frame.
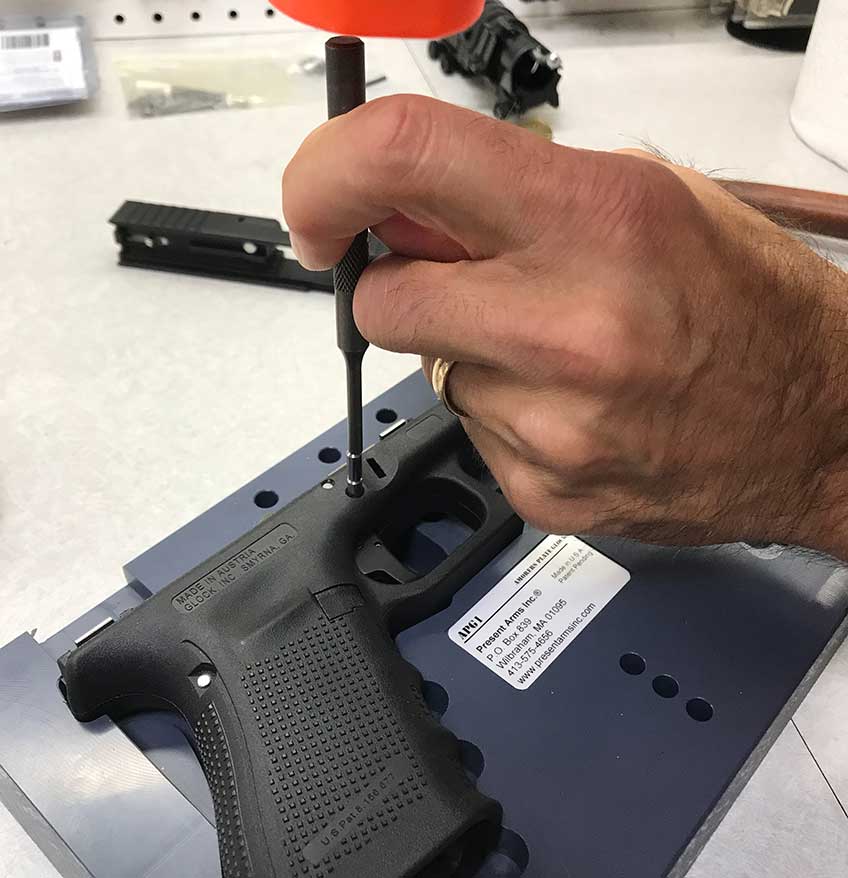
Next, use a Glock Tool or punch to center the holes in the trigger module and locking block with the holes in the frame.
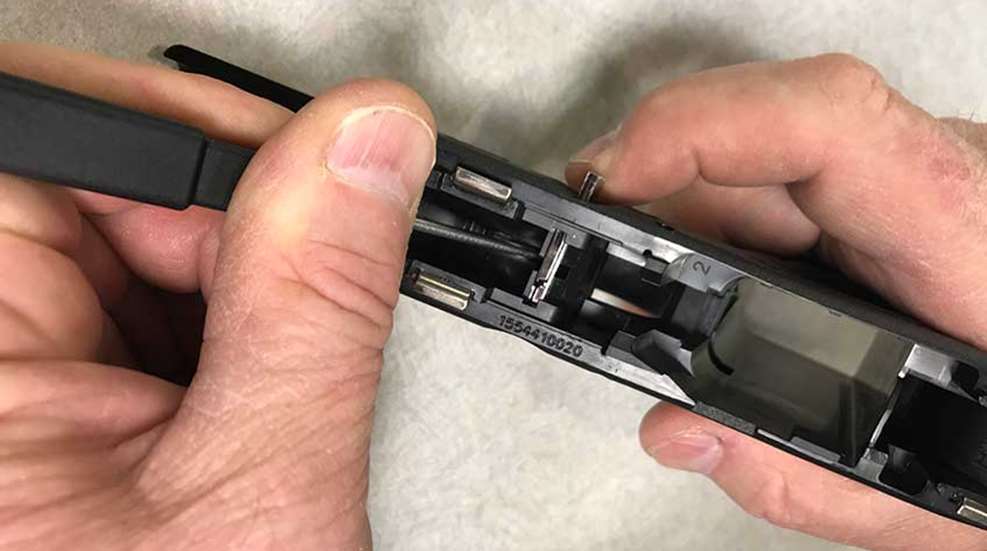
The only thing left to install are the pins. (Note: They must be installed in a particular order.)
Begin with the locking-block pin. (Note: Early model Glocks may not have this pin.) Install it in the frame, from right to left, and then use the corner of a punch or Glock Tool to center the pin.
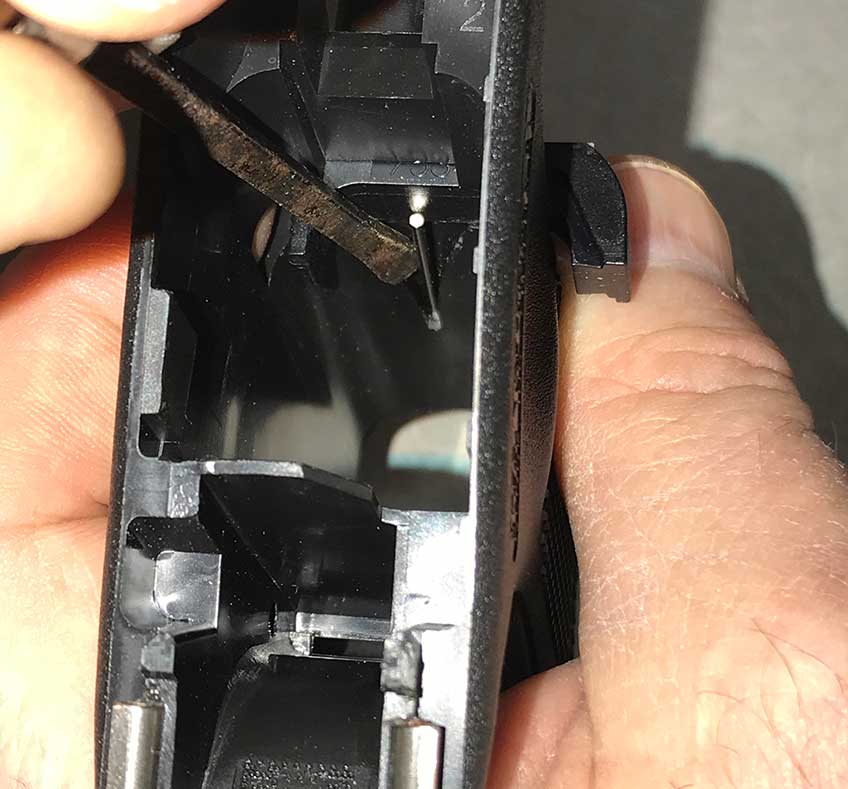
The next pin to install is the trigger pin, but before doing so notice it contains two grooves. Installation of this pin is a two-stage process. Press it in, from right to left into the frame, but only half way—just short of the second groove.
Now, place the slide-stop lever between the frame and the left side of the trigger, orient the lever so is hole is centered with the hole in the frame and press the trigger in the rest of the way until the slide-stop lever rests the trigger pin’s first groove. (Note: To verify everything is seated properly, raise the slide-stop lever and release it. The lever should snap back into place.)
Having successfully reassembled your frame, the next installment will cover putting the slide back together, beginning with the striker assembly.