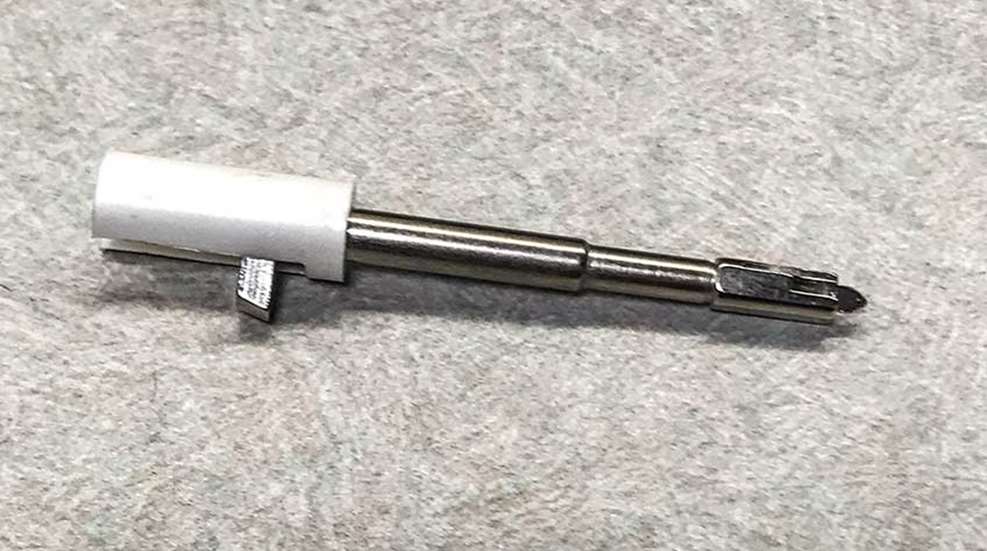
Incidentally, when reassembling the striker, one of the best tools to use is the slide, essentially giving you an extra hand for what could otherwise be a cumbersome task.
Striker Reassembly
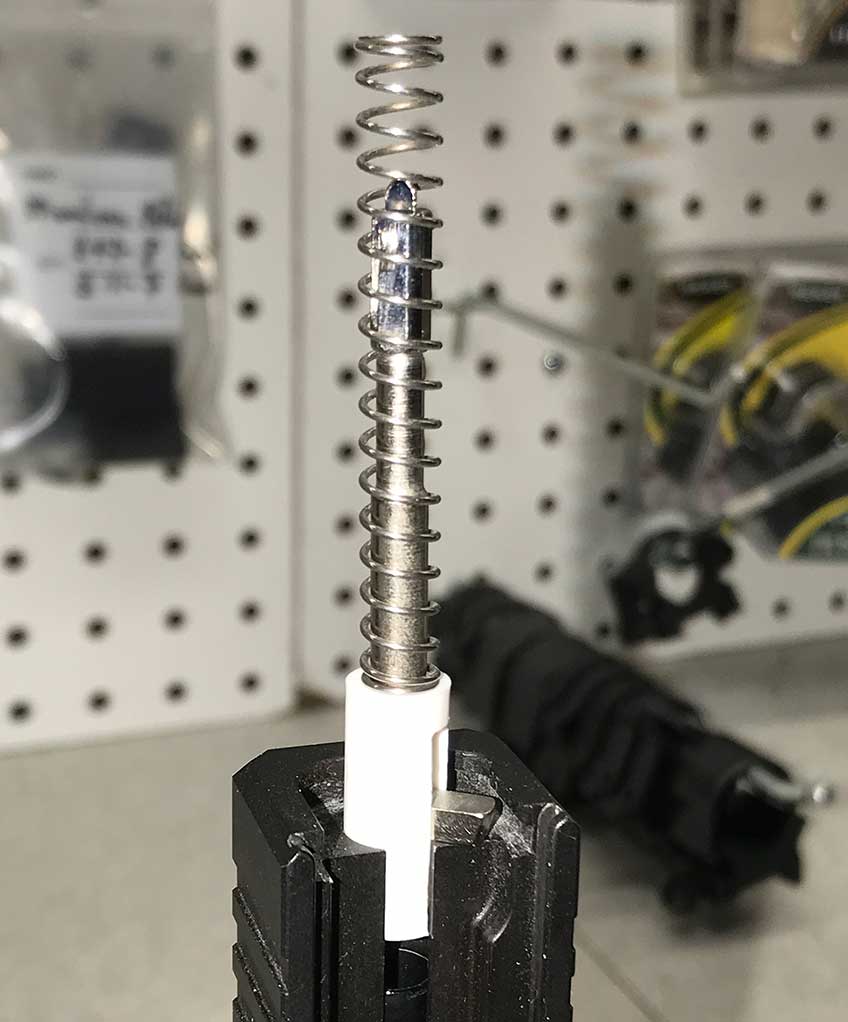
Begin by inserting the striker into the striker-spacer sleeve, making sure to center the striker’s lug at the end of the notch in the sleeve.
Next, insert the striker spring over the striker. (Note: The striker spring can be oriented in any direction.)
The spring needs to be compressed and the best way to accomplish this while keeping all the parts captive is to use the slide.
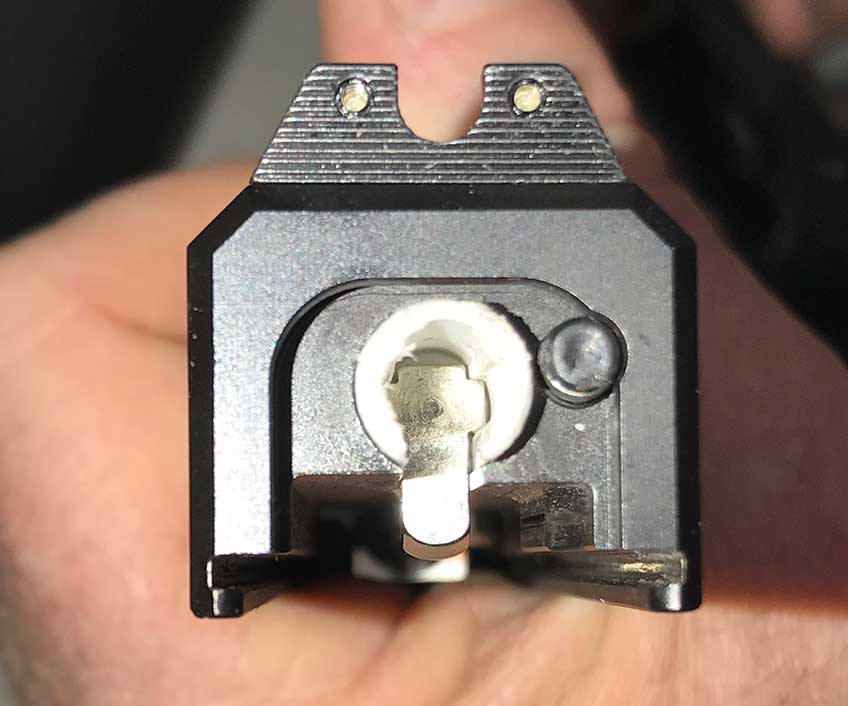
With the muzzle end of your stripped slide resting in your workbench, invert the striker assembly and place it in the striker channel located in the rear of the slide—taking care to orient back portion of the striker’s lug so it rests against the area of the slide where the cover plate would otherwise reside. In essence, the slide becomes makeshift base for you to press against, supplying you with the essential leverage needed to compress the spring until it is even with the base of the striker.
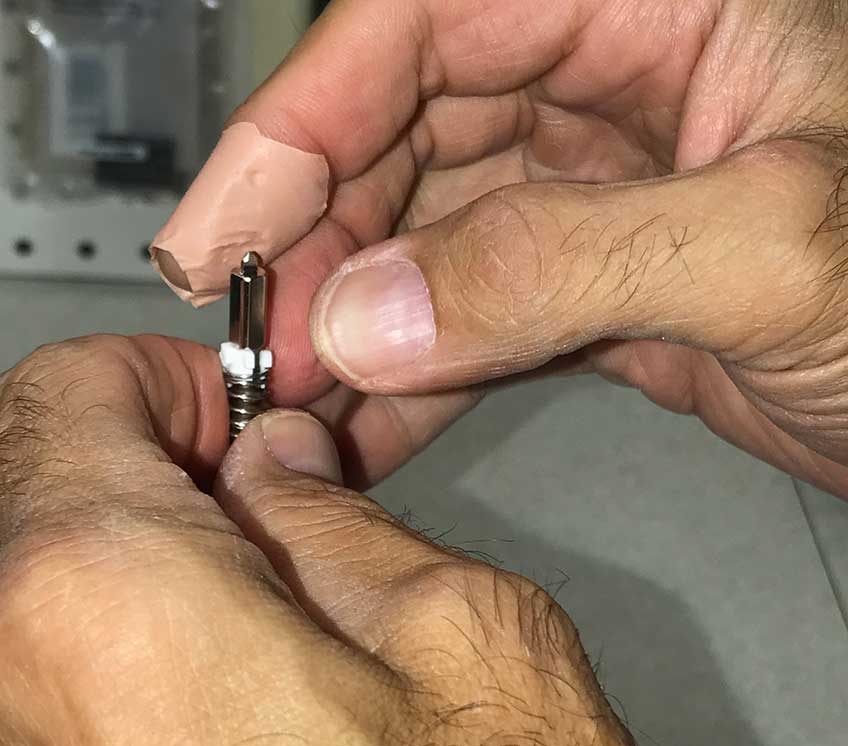
Now, while holding the spring under tension, carefully place each of the two spring cups onto the muzzle end of the striker spring. (Two things of note: First, the spring cups must be placed small-end first, which allows the tapered end under the spring. Second, the spring cups must be oriented so the seams where they come together must not rest on the end of the striker-spring joint. Otherwise they won’t succeed in holding the spring captive.
Extractor Depressor Plunger Assembly
Once the striker is reassembled, set it aside. Then pick up the extractor spring and press either end of it onto the narrow end of extractor depressor plunger. Next, slide the tapered end of the dark-colored bearing onto the other end of the spring.
Firing-Pin Safety Assembly
Once the extractor depressor plunger together, set it aside and locate your firing-pin safety and its corresponding spring.
Next, place either end of the spring into the cup portion of the firing-pin safety.
Compress the spring into the safety and twist counter-clockwise binding them together.
The next installment will cover putting the slide back together.


