** When you buy products through the links on our site, we may earn a commission that supports NRA's mission to protect, preserve and defend the Second Amendment. **
Light years ahead of the handguards of old that were anchored to the barrel via a handguard cap and spring-loaded delta ring, in addition to providing a place for your non-firing hand, while not as easy to install today’s fore-ends for America’s Rifle pay dividends ranging from accuracy enhancement to mounting accessories, making it worth the added effort and expense, rather than a frill or a “Unparsimonious Potential Upgrade.”
The necessary parts and tools are listed below:
Parts
Fore-end
Barrel nut
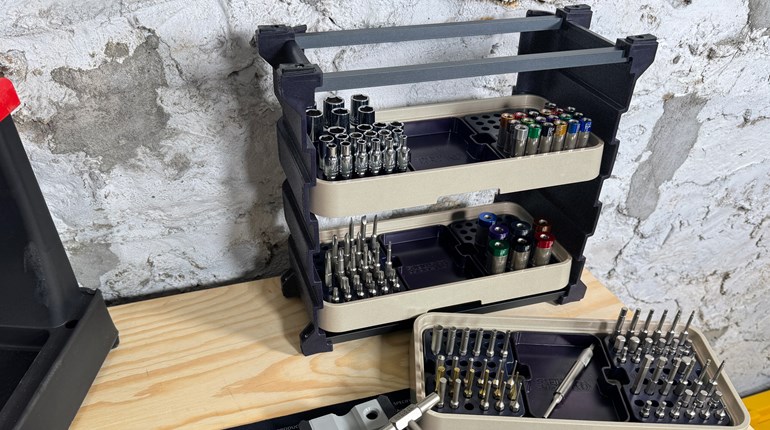
Tools
Fore-end wrench
Level
Brownells upper receiver action block with insert
Bench-mounted vise
Screwdriver
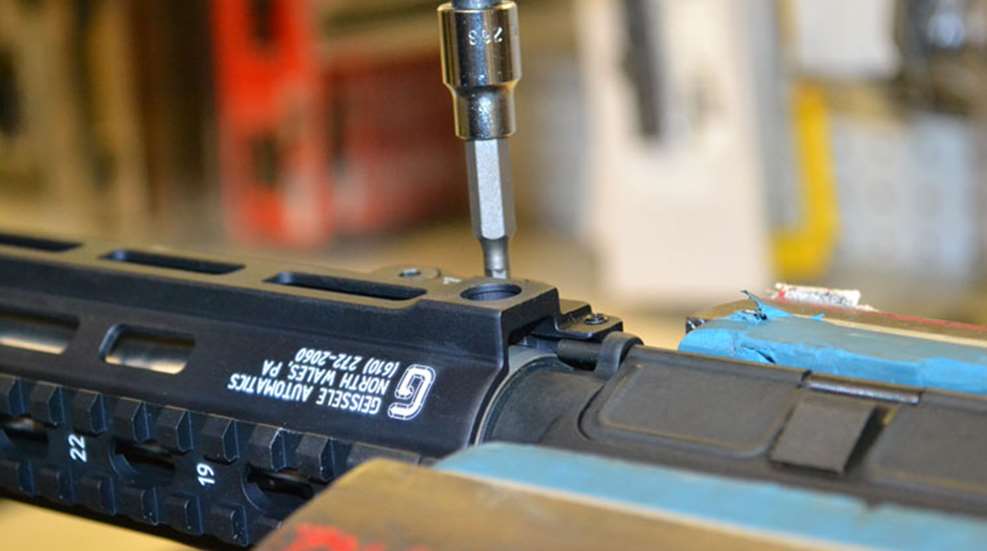
For my build, I chose Geissele Automatics Super Modular Rail MK4 Integrated M1913 Picatinny Fore-End. The reason’s of which are threefold: First, the nature of its freefloating design prevents point-of-impact deviations caused by pressure on the fore-end, while the. M-LOK slots at the three-, six-, and nine-o’clock positions, as well as the 45-degree quadrants enable the luxury of customization—for those who want little in the way of accessories—thereby keeping unwanted bulk and clutter to a minimum. Second, due to my disability I’m unable to grip a fore-end in a traditional manner due to my fused wrist and a lack of fine-motor skills, so the rail is going to sport small piece of Picatinny rail for a vertical foregrip (such as this favorite from Ergo Grips) and little else—though I like the freedom of being able to choose alternate rail locations should the need arise. Lastly, unlike the freefloat handguard Towsley used, newer offerings—like the aforementioned one by Geissele—don’t require being threaded onto the barrel nut. This is a huge plus, because you no longer have to torque the nut to until the float tube’s top-most Picatinny rail is perfectly aligned with that of the upper receiver.
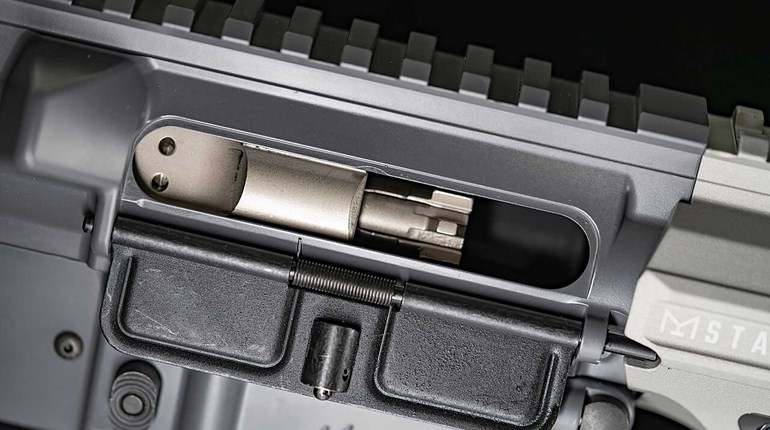
Screw the barrel nut onto the barrel until it is flush with the end closest to the upper receiver. ( In the case of the Geissele unit I selected, you slide it up over the barrel nut.) Then unscrew it 1 1/2 turns. A little grease on the threads will make it easier. Install the handguard, turning it until it contacts the jam nut. Make sure the sling swivel holes are to the front. Align the anti-rotation screws at the three and nine o’clock positions.
 With the receiver clamped in the vise, place a level on the rail of the receiver and level the upper assembly in the vise. Then place the level on the fore-end’s top rail, and turn the fore-end until it is level and in perfect alignment with the rail on the receiver. If you’re using a traditional barrel nut, tighten it using a fore-end wrench. Put some No. 242 Loctite on the anti-rotation screws and install them in the fore-end with a screwdriver.
The next entry will cover installing the flash hider/muzzle brake.
The necessary parts and tools are listed below:
Parts
Fore-end
Barrel nut
Tools
Fore-end wrench
Level
Brownells upper receiver action block with insert
Bench-mounted vise
Screwdriver
For my build, I chose Geissele Automatics Super Modular Rail MK4 Integrated M1913 Picatinny Fore-End. The reason’s of which are threefold: First, the nature of its freefloating design prevents point-of-impact deviations caused by pressure on the fore-end, while the. M-LOK slots at the three-, six-, and nine-o’clock positions, as well as the 45-degree quadrants enable the luxury of customization—for those who want little in the way of accessories—thereby keeping unwanted bulk and clutter to a minimum. Second, due to my disability I’m unable to grip a fore-end in a traditional manner due to my fused wrist and a lack of fine-motor skills, so the rail is going to sport small piece of Picatinny rail for a vertical foregrip (such as this favorite from Ergo Grips) and little else—though I like the freedom of being able to choose alternate rail locations should the need arise. Lastly, unlike the freefloat handguard Towsley used, newer offerings—like the aforementioned one by Geissele—don’t require being threaded onto the barrel nut. This is a huge plus, because you no longer have to torque the nut to until the float tube’s top-most Picatinny rail is perfectly aligned with that of the upper receiver.
Screw the barrel nut onto the barrel until it is flush with the end closest to the upper receiver. ( In the case of the Geissele unit I selected, you slide it up over the barrel nut.) Then unscrew it 1 1/2 turns. A little grease on the threads will make it easier. Install the handguard, turning it until it contacts the jam nut. Make sure the sling swivel holes are to the front. Align the anti-rotation screws at the three and nine o’clock positions.
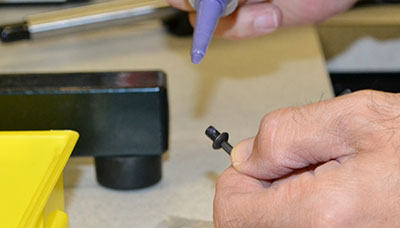
Fore-ends are often unconsciously knocked around. Adding a dab of thread-locking compound to all fore-end screws helps keep it in place while offering welcome peace of mind.
The next entry will cover installing the flash hider/muzzle brake.