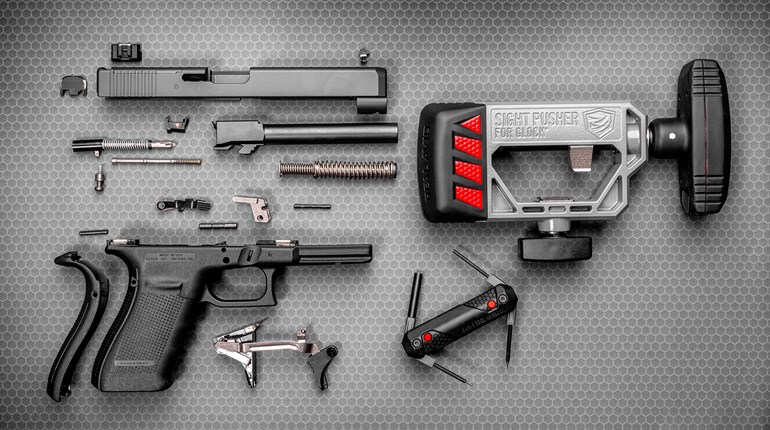
Completely disassembling your frame allows you to replace the pistol’s pins and firing controls, including magazine release, the slide stop and each of the components that make up the trigger module.
One thing to keep in mind when disassembling the frame is the pins should be removed from left to right, and replaced from right to left.
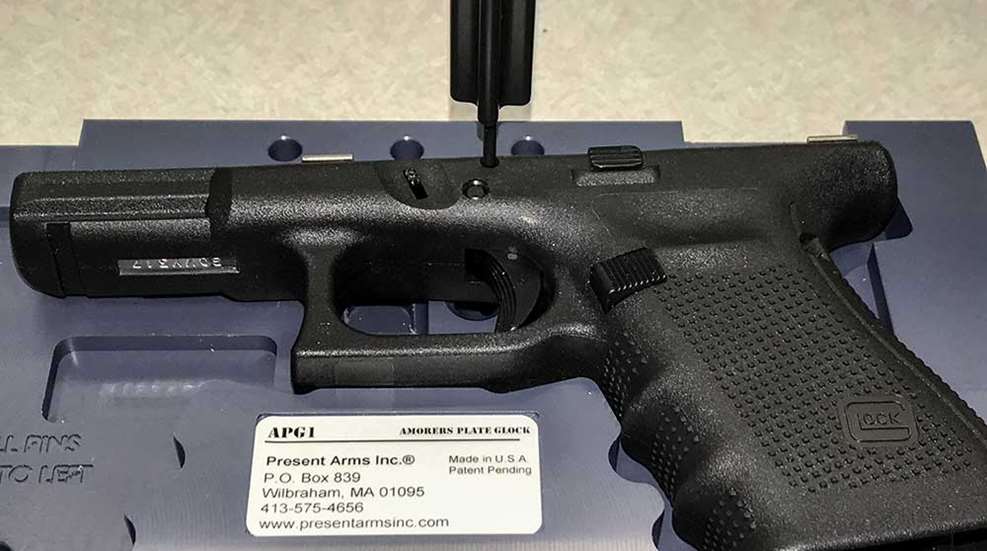
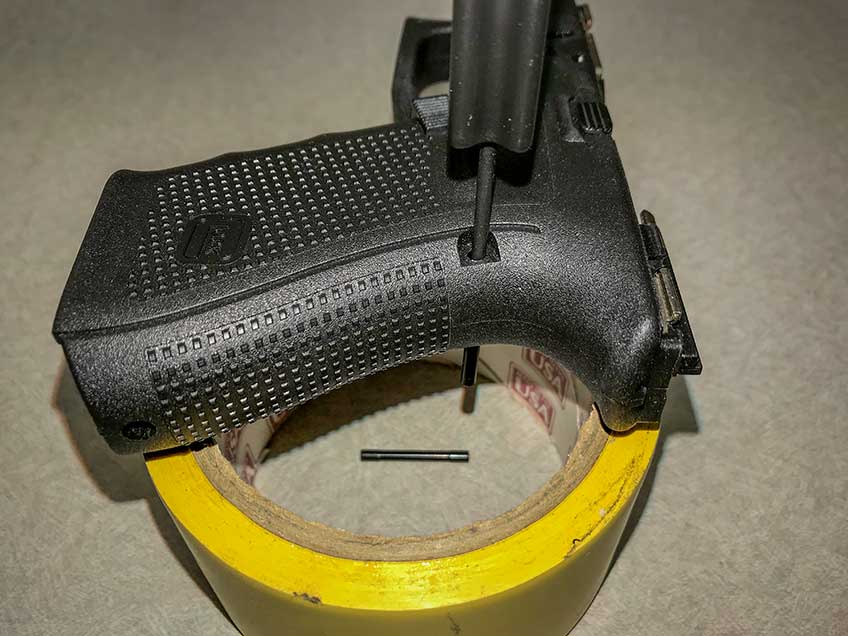
With the pistol field-stripped (guide here), place the frame on (left side up) any of the aforementioned fixtures, such as the Ergo MAST system, Present Arms Glock Armorer Plate or across the tape roll and using a Glock Tool or punch to drift/push out the locking-block pin. (If your Glock is an early model, an early model, such as Gen2, ignore this step.)
While, slightly lifting the paddle of the slide stop upward away from the frame simultaneously
Drift/push the trigger pin out, lift the slide stop out of the frame and set it aside.
Then, remove the locking block from the frame. (If it’s snug, lever it out using the punch or a small flat-blade screwdriver.)
Drift/put out the trigger-mechanist housing pin (the rear one that retains the grip backstrap.)
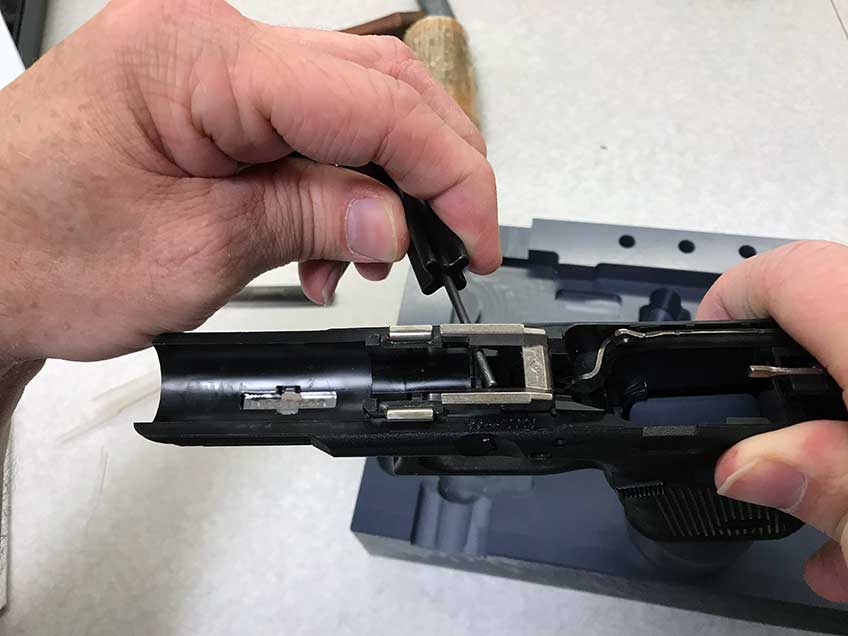
Next, using the punch or a small flat-blade screwdriver place the tool beneath the ejector and lift the trigger module out set it aside.
Using a punch, depress the slide-lock spring. While holding it down simultaneously push the slide lock out of either side of the frame.
Then, use a pair of needle-nose pliers to grasp the slide-lock spring to remove it from the frame.
Finally, while actuating the magazine release, insert a small a flat-blade screwdriver down inside the magazine well and use the blade to disengage magazine-release spring from the notch of the magazine release.
Once the tension of no longer present, remove the magazine release from the right side of the frame.
Finally, use a pair of needle-nose pliers to lift the magazine-release spring from the inside of the magazine well.
The next installment will cover detailed disassembly of the trigger module.