Unlike many other offerings on the market that come type come with an assortment of fixtures and equally intricate (read confusing) instructions, the Harrison Design HD-806 True Radius PRO sear stoning jig differs from its competitors in many ways. The first thing that separates it from the pack is its size. Far from other costly/cumbersome jigs, the True Radius PRO is about the size of pocket change—namely a nickel—and, as such, can easily slip into a pocket or store easily inside a gunsmith’s tool chest.
But size and simplicity aren’t all this tool has going for it. The key benefit/difference between this jig and the competition is, as its name implies, the True Radius PRO helps to form a radial primary-surface angle on the sear nose, as opposed to the single flat angle produced by other gunsmith sear jigs. For added versatility, the True Radius PRO can also be used to cut the secondary angle on the sear. This compact, useful tool—along with the innovative True Radius sear—are cutting-edge concepts of pistolsmith Chuck Warner.
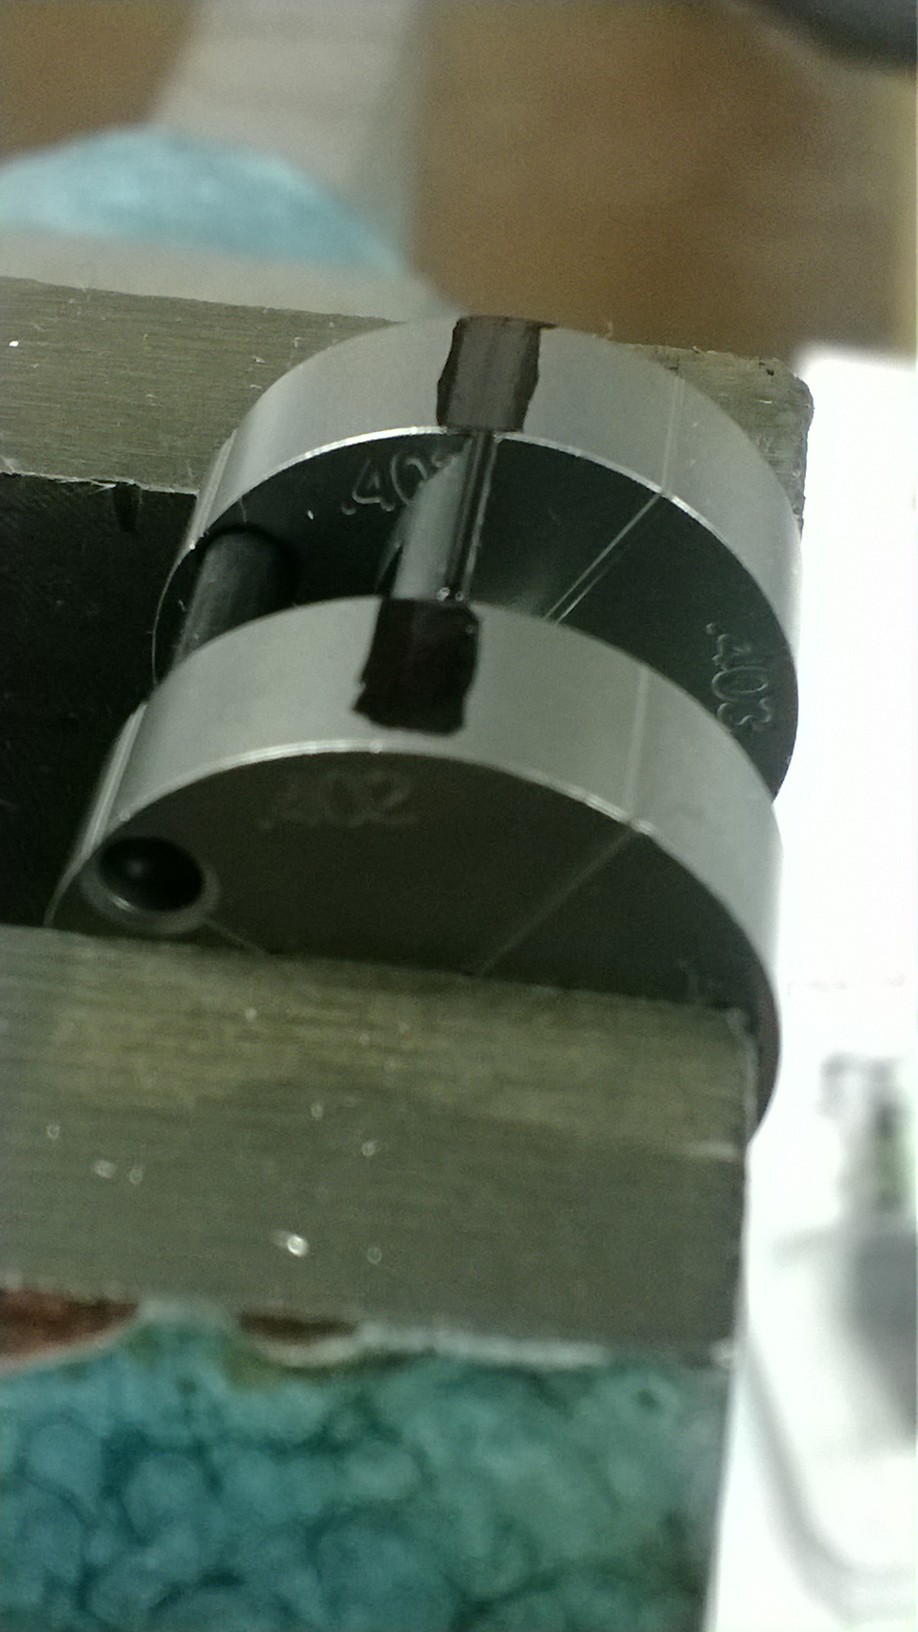
The former is comprised of two EDM-machined discs that contain four 90-degree quadrants, which are sized to a radius of .402-.405 inch. (Also included are two sear pins.) Why the need for the four quadrants and the .001-inch difference? According to John Harrison of Harrison Design & Consulting, “Sears tend to wander [range] in height across the manufacturing spectrum.”
To stone the primary surface, install one of the sear pins in the center hole of one of the discs. Place the sear on the center pin and install the other disc on top (making sure both discs are oriented so the size markings/quadrants match up with each disc).
Once the sear is mounted on the center pin, rotate the nose around until you find the height that just lets the sear nose peek up above the discs. Then, install the outer pin and place the assembly in a vise with the sear nose up and tighten the vise just enough to hold the jig—be careful not to over-tighten.
Next, use a marker to draw a line across the sear nose and the discs so you can see what surfaces you are in contact with. (Harrison suggests using the edge of your off-side thumb as a guide to center the stone over the top of the sear and the other hand to push the stone in short, radial strokes that follow the radius of the jig.)
Start with a fine India stone and polish around the radius until you feel no resistance and the ink is removed from the discs. After about six to eight light passes/strokes, wipe off the nose and check it. If ink is still showing on the sear nose, rotate the sear to the next smaller quadrant and repeat, until the ink is gone and you have a finished radial-engagement surface.
(Harrison uses a 10x magnifier for this stage of the process to verify two things: first that he’s following the radius of the jig and second that the work is even going from side to side. If both are good, transition to a white Washita stone, then finish polishing the nose with a white ceramic stone.)
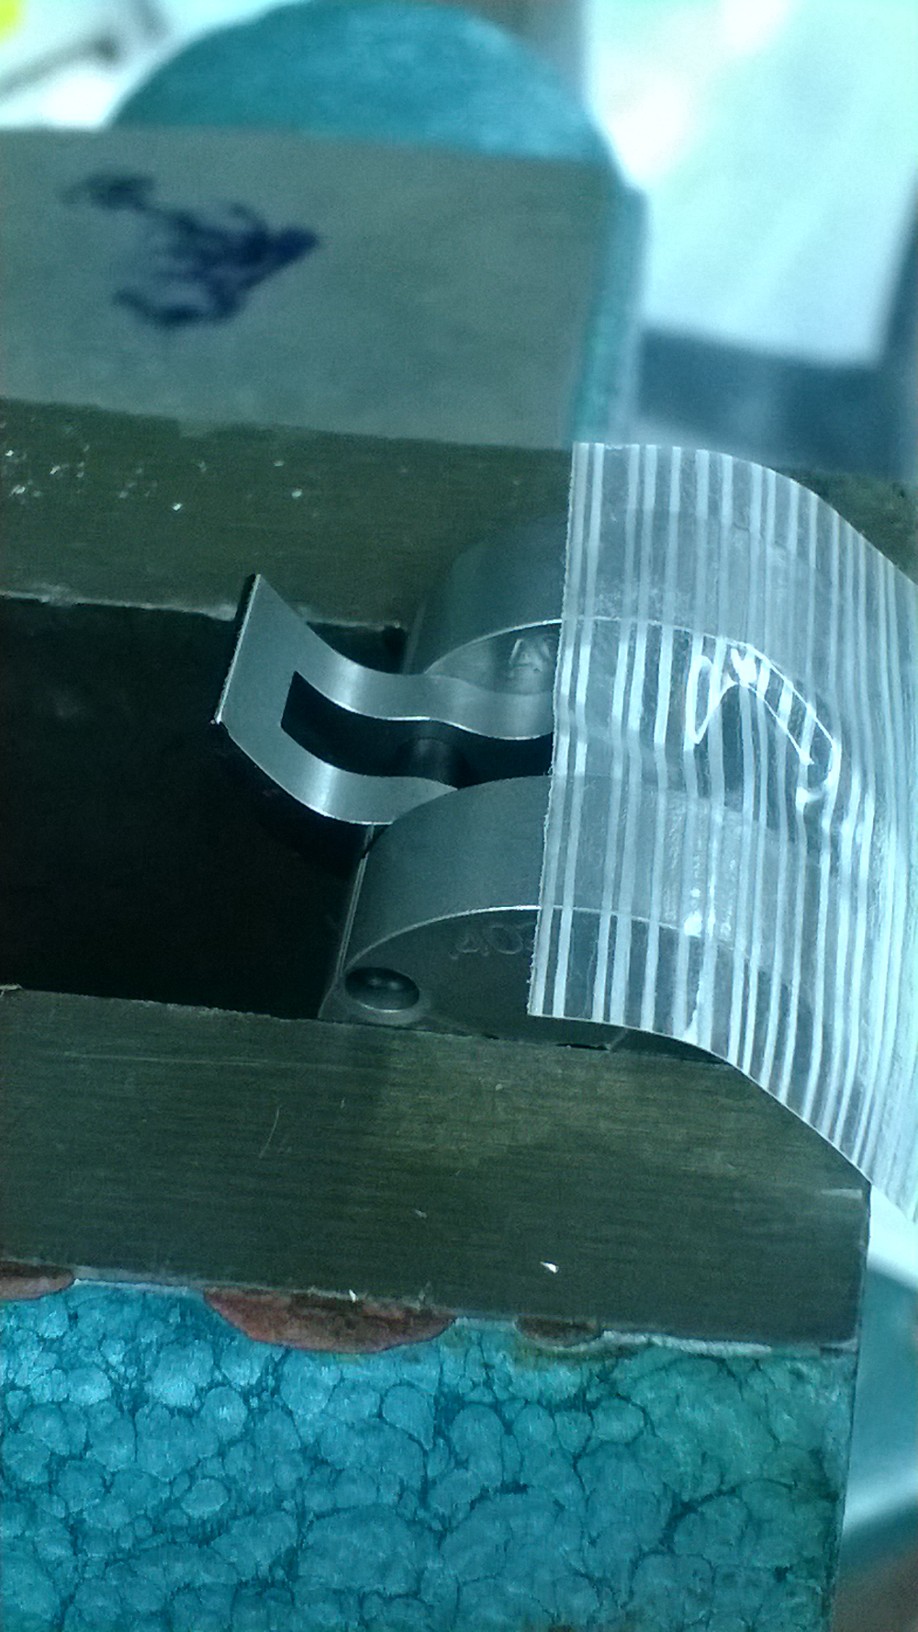
Cutting the sear’s secondary (or what Harrison refers to as the “escape angle”) involves arranging the sear on the outer-perimeter pin with the disconnector side of the sear legs against the center pin. The sear can face either direction for this procedure. Put the jig and sear back in the vise and orient it so the sear is held so the stone can contact the sear and the stone can be guided by the jig to establish the escape angle. (Since the escape angle in question is a flat surface, Harrison adds a piece of tape the discs to protect them from being gouged during the process.)
Using a fine India stone, take eight to 10 passes across the surface, then transition to a tool like the Present Arms 1911 Fixture Block to inspect the hammer and sear interface surfaces to verify the proper amount of engagement.
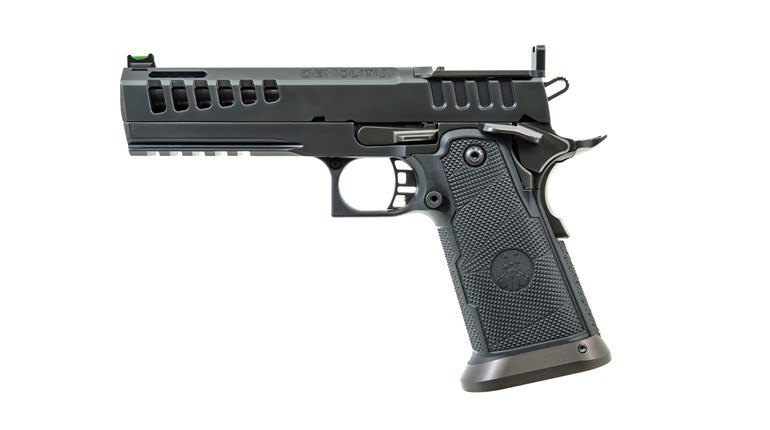
The Harrison Design HD-805 True Radius PRO Sear-Stoning Jig is a compact and economic means of attaining that crisp, “glass rod” trigger pull that every custom 1911 owner wants.