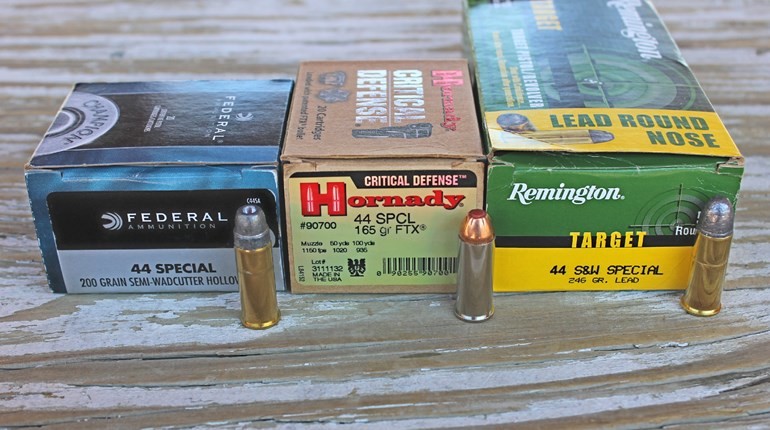

In addition to echoing a sentiment from my last entry—and being a heck of a nice guy—Caspian Arms' Sales Manager, Gary Smith (who recommended Kuleck and Oldham's book) took the time to discuss the process with me, and offer helpful suggestions regarding tools, (like the Weigand Combat 1911 Auto Frame and Marvel 1911 Auto Slide Lapping Tool), which could make the job easier, since my limited upper-body strength and lack of fine motor skills results from cerebral palsy. But undoubtedly, Smith's greatest contribution (besides the Damascus slide) was providing a list of comprehensive, step-by-step instructions on how to fit the slide and frame, from which I gleaned the following tidbits:
- After measuring both parts with calipers and comparing the figures, make some notes regarding what surfaces will require material removal. (Remember, even .001 inch will make a huge difference.)
- Smooth all edges on both surfaces to remove any machine marks or burrs, paying particular attention to the safety-notch cut where it intersects the interior slide rail—where a I found a prominent burr on my slide—Don't forget the bottom of the slide and the top of the dustcover on the frame.
- Then, break any sharp corners (because the inside corners of the slots are never 90 degrees). Slightly bevel the forward edges of the frame rails, where the slide enters the frame, creating a ramp to make it easier to start the slide onto the frame.
- When inking the rails, apply it to the bottom of the slide. Take your marker and paint the sides and top of the frame rails, giving it a minute to dry. (Next, do the same to the bottom of the slide.) Moderate force may be required when initially placing the slide on the frame—enough to start the slide onto the frame about 1/4 to ½ inch. (Turn the slide toward you while resting the frame's trigger guard on the edge of a bench.) Using a dead-blow hammer, tap the rear of the slide gently until it is free of the frame. (Do not wiggle it, and be prepared to keep it from falling off.)
For those concerned about maintaining a consistent height for each rail, consider draw filing across the rails, or another alternate method, taught by Larry Vickers, where the frame is inverted and placed on a granite plate covered in sheets of well-oiled, 500-grit wet/dry sandpaper. (Sensing the latter would yield a more-precise fit, I began filing and switched once the slide began fitting on the frame.)
- Areas where the marker has been scraped off indicates where to start removing material.
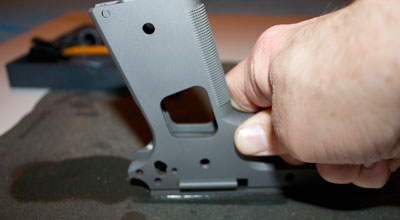
- Chuck the frame in a padded vise with the muzzle tilted slightly away from you. Then, carefully, begin filing the top of the frame. Take it slow. Skill is required to keep the file flat to the frame rails.
- Be sure to put your whole body into it, keeping in mind that the file only cuts in one direction. (Turn the frame 180 degrees so it is now facing toward you and file again.)
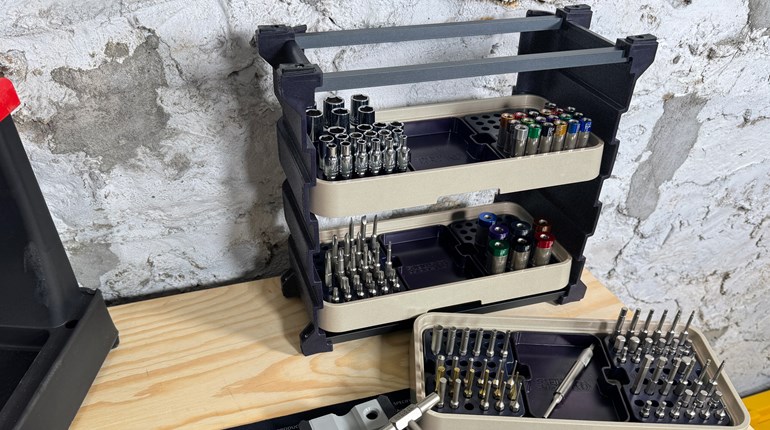
- Now, place the frame to your chest-high platform and lay the frame flat on a cushioned surface. (A mouse pad is ideal.) Then, while using a guide to prevent scratching the sides of the frame, file the sides of the rails, using the aforementioned method (while taking care to keep the file flat to the surface and pressed against the guide on the unmarked areas. (Though I used it in a slightly different (disability-influenced) manner than depicted in the videos on its website, the Everglades Ammo 1911 Frame Rail Sanding or Stoning Tool proved quite the asset.)
- Repeat step 4. Once the slide fits an area of the frame (with some resistance) do not file there anymore.
- Stop filing once the slide almost fits the total length of the frame and repeat step 4 for a final time.
- As an alternative to lapping compound, apply Mil-Comm TW25b synthetic grease to the insides of the slide rails. Tap the slide onto the frame until it starts to bind then remove the slide.
- Check the frame rails for signs of resistance, which will appear as shiny spots (remember to inspect the bottom of the slide rails, too). Work these areas over with your fine file and stones and repeat the process. Apply grease again and repeat.
- Once the slide can be coaxed to travel completely down the frame rails, check once again for trouble spots. When you can work it by hand, apply grease and repeat cycling until it runs smooth.
With a little patience, some time and a lot of elbow grease, getting a "perfect fit" frame and slide is just that easy.