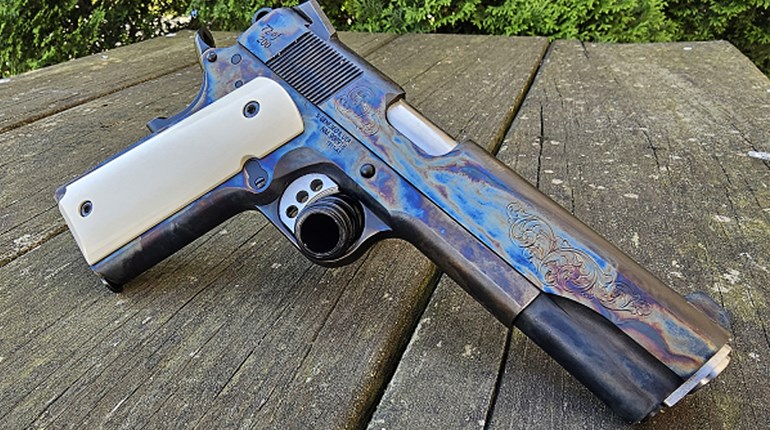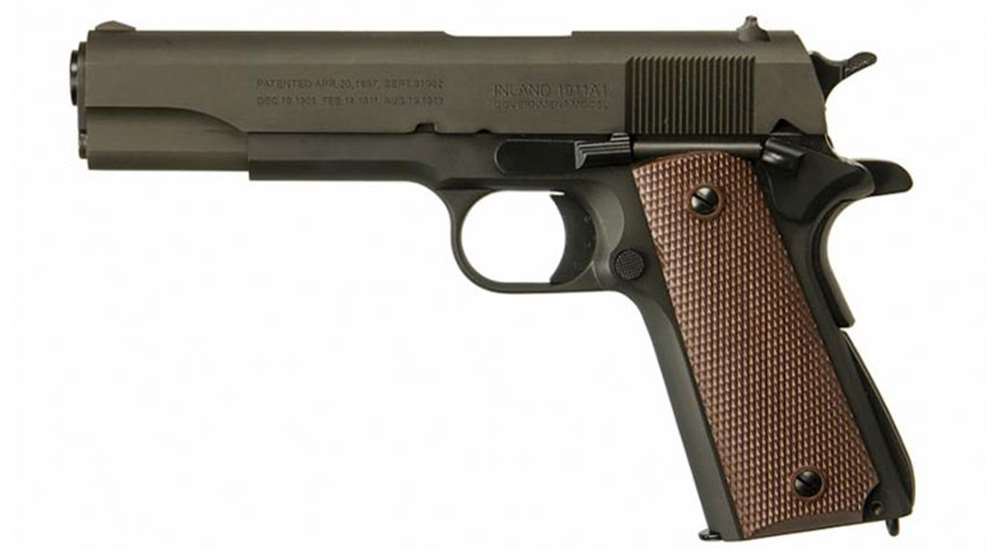
Simply put, taking the time to match the grip safety to the frame (specifically the contours at the top and bottom of the beavertail at the frame's tangs) will amp up your pistol's aesthetics, by making the parts appear to flow together and, if done correctly, those who see your pistol believe it was built by a professional gunsmith.
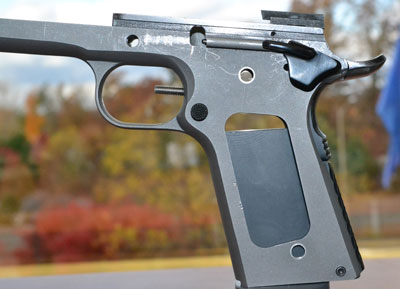
The easiest way to do this is to match the top contour with the grip safety in its activated or relaxed position and to match the bottom contour with the safety in its deactivated or depressed position. In theory, you could duplicate these angles by taping the grip safety down, but that's assuming the grip safety leg on the sear spring has been adjusted at the correct angle to create enough tension to do so. Luckily, the Harrison Design & Consulting Grip Safety Fixture is a handy tool that is simple to use and makes it even easier. The tool fits inside the trigger track and it has an adjustable screw that protrudes from inside the trigger guard. Configuring it to blend the beavertail's top contour simply involves twisting the screw, which pushes a pin against the grip safety, extending it outward to simulate the grip safety in its relaxed condition. Conversely, loosening the screw tool enables you to orient the safety to blend the lower contours.
With the fixture installed, replace the beavertail and mainspring housing, then adjust the fixture to orient the safety accordingly. With the grip safely in the active/engaged position, select a half-round smooth file and begin blending down any edges on the beavertail that stand above the upper tangs. (Some may suggest using a Dremel with a sanding drum for blending. Naturally, the chose is yours but whatever the method, take it slow.) As you get close a match, switch to an abrasive emery cloth/sandpaper. (Wrapping it around the file will keep the paper flat while to helping to maintain the same contour)
When finished blending the upper tangs, adjust the screw of the grip safety fixture tool so the safety is in the deactivated or disengaged position and repeat the process to blend the any high spots of the bottom tang to the grip safety, contouring the radius of the frame/grip safety. While there, you may wish to blend the edges of the thumb safety to the side of the frame, so high spots or sharp edges won't compromise your grip. Should one or both sides of the safety stand above the tangs, simply switch to a flat file, following the same procedure until the edge(s) are smooth and match the contour of the frame.
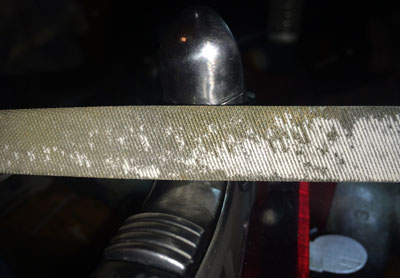
Note: Though your beavertail is installed during this process, as you blend the frame and tangs, the grip safety will free up movement (you may wish to tape it down—especially in deactivated position) and gain more travel while removing material. When finished blending both upper and lower tangs, use progressively finer grits to remove any excess tool marks. (If you're using wet/dry paper, add a touch of Mil-Comm grease to achieve a bright polish, along with a smooth seamless transition between parts.)
When you're finished, remove the fixture and take the time to thoroughly clean and degrease the interior and exterior of any debris before replacing the beavertail and grip safety. Several blasts of canned a home electronics product like Dust Off or access to an air compressor would aid in cleanup. For a degreasing agent, it's hard to beat the ammonia found in run-of-the-mill glass cleaner.
In the next installment, I'll offer some suggestions how to get clean any unsightly dings the backstrap of your frame may have sustained from all that filing.


