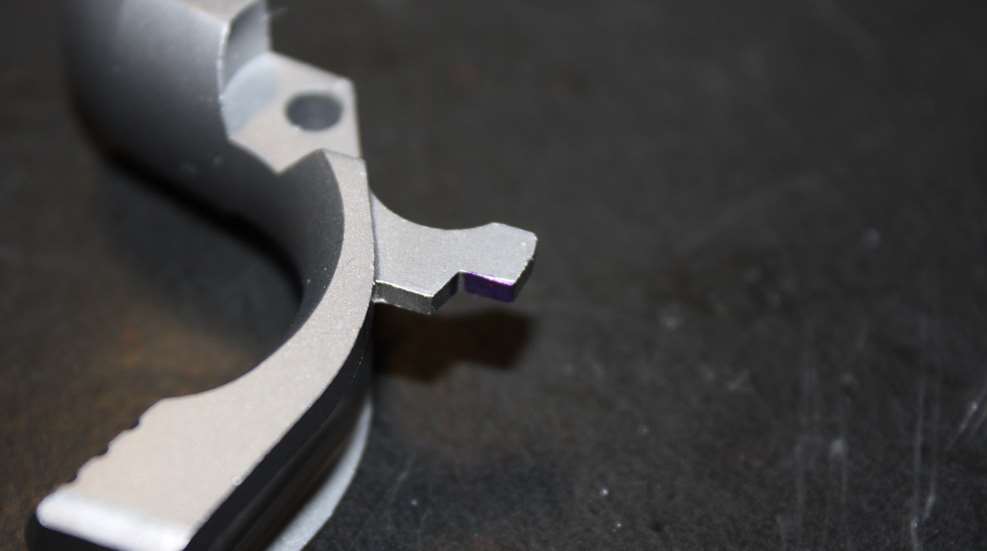
To finalize the fitting process, you need to adjust how far the grip-safety arm has to rotate to clear the trigger blow when the safety is depressed. Conversely, when the safety is released, or in its relaxed position, the arm must rest against the back of the trigger bow, thereby preventing any trigger movement.
In their book, “The M1911 Complete Assembly Guide” Kuleck and Oldham suggest this can be done one of two ways: what they refer to “raising the bridge” or “lowering the river.” Raising the bridge refers to the traditional method, which is to file or stone the portion of the grip-safety arm that overlaps the bow (the bottom-most edge of the grip-safety arm commonly referred to grip-safety interface). File, reassemble and check for clearance. Rinse, lather and repeat, slowly creating more and more clearance until you’re able to depress the grip safety successfully, causing the arm to clear the trigger bow. (The process will require frequent removal of the mainspring housing, too. During which, make sure that grip-safety flange—the lip on the bottom of the grip safety—doesn’t get jammed by the top of the mainspring housing and cause the safety to seize. If so, you may have to clearance the housing to allow the grip safety to move.)
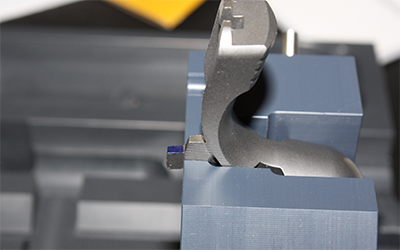
The authors suggest an alternative method. In lieu modifying the grip-safety arm, they suggest filing the right corner of the trigger bow down, checking the needed rotation and repeating as necessary they achieve the same effect while adhering to the rationale of modifying the cheaper part. Granted, triggers are less expensive than grip safeties, but I find myself questioning the heartiness of such a modification. (Kuleck and Oldham also suggest taking a moment to bevel the bottom of the trigger bow at this time to prevent the trigger from interfering with the sear spring.) Whichever method you choose, once the grip-safety arm clears the trigger bow, you’re half way done. Under tension from the right-most leg of the sear spring, releasing the sear spring should cause the grip safety to rebound. If not, file more, but go slow because it shouldn’t take much.

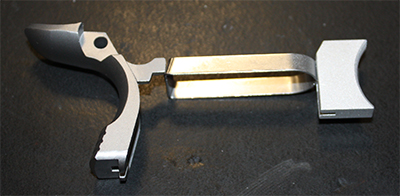
It was during this phase when I discovered the tip of my grip-safety arm was impacting the inside of the frame, which shortened the safety’s rotation before the sear released and marred the inside of the frame. To fix this, I had to use a jeweler’s file slightly reduce the length of the grip-safety arm while maintaining its contour.
Once the grip-safety arm successfully clears the back of the trigger bow when depressed and rebounds to block the trigger from moving in its relaxed position, you’re done.
The next entry will installing the grip-screw bushings.