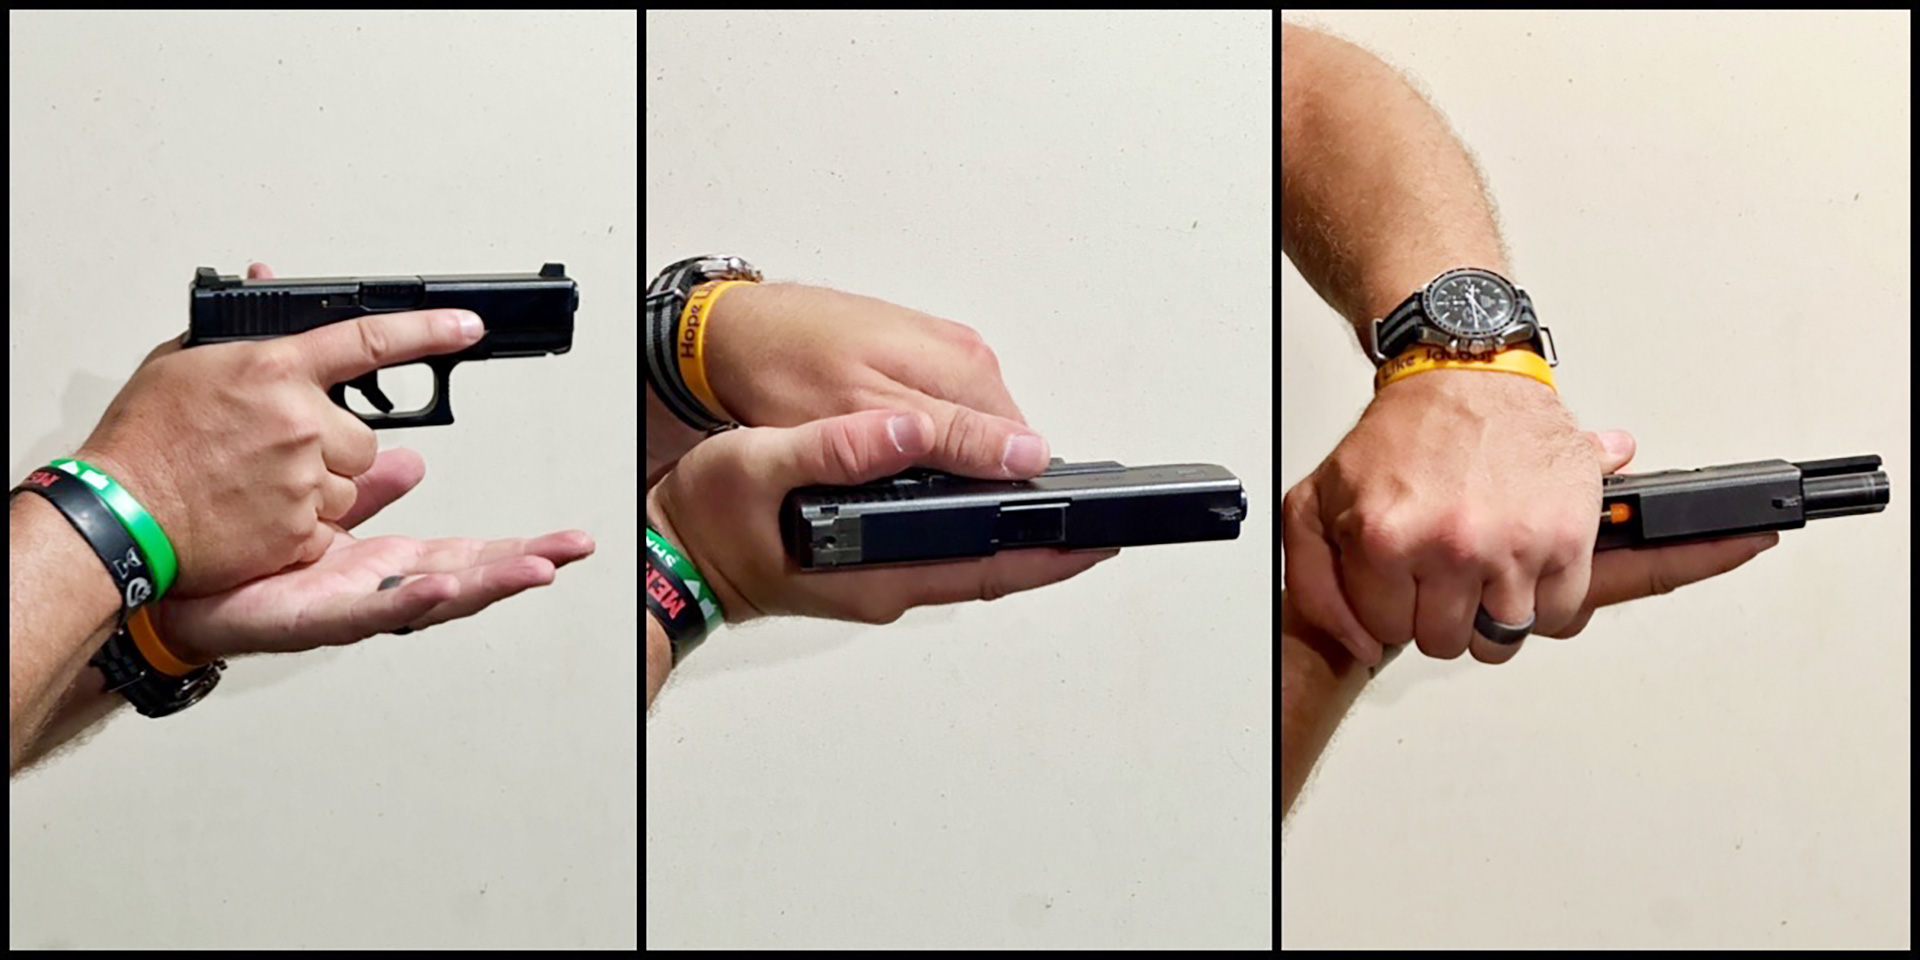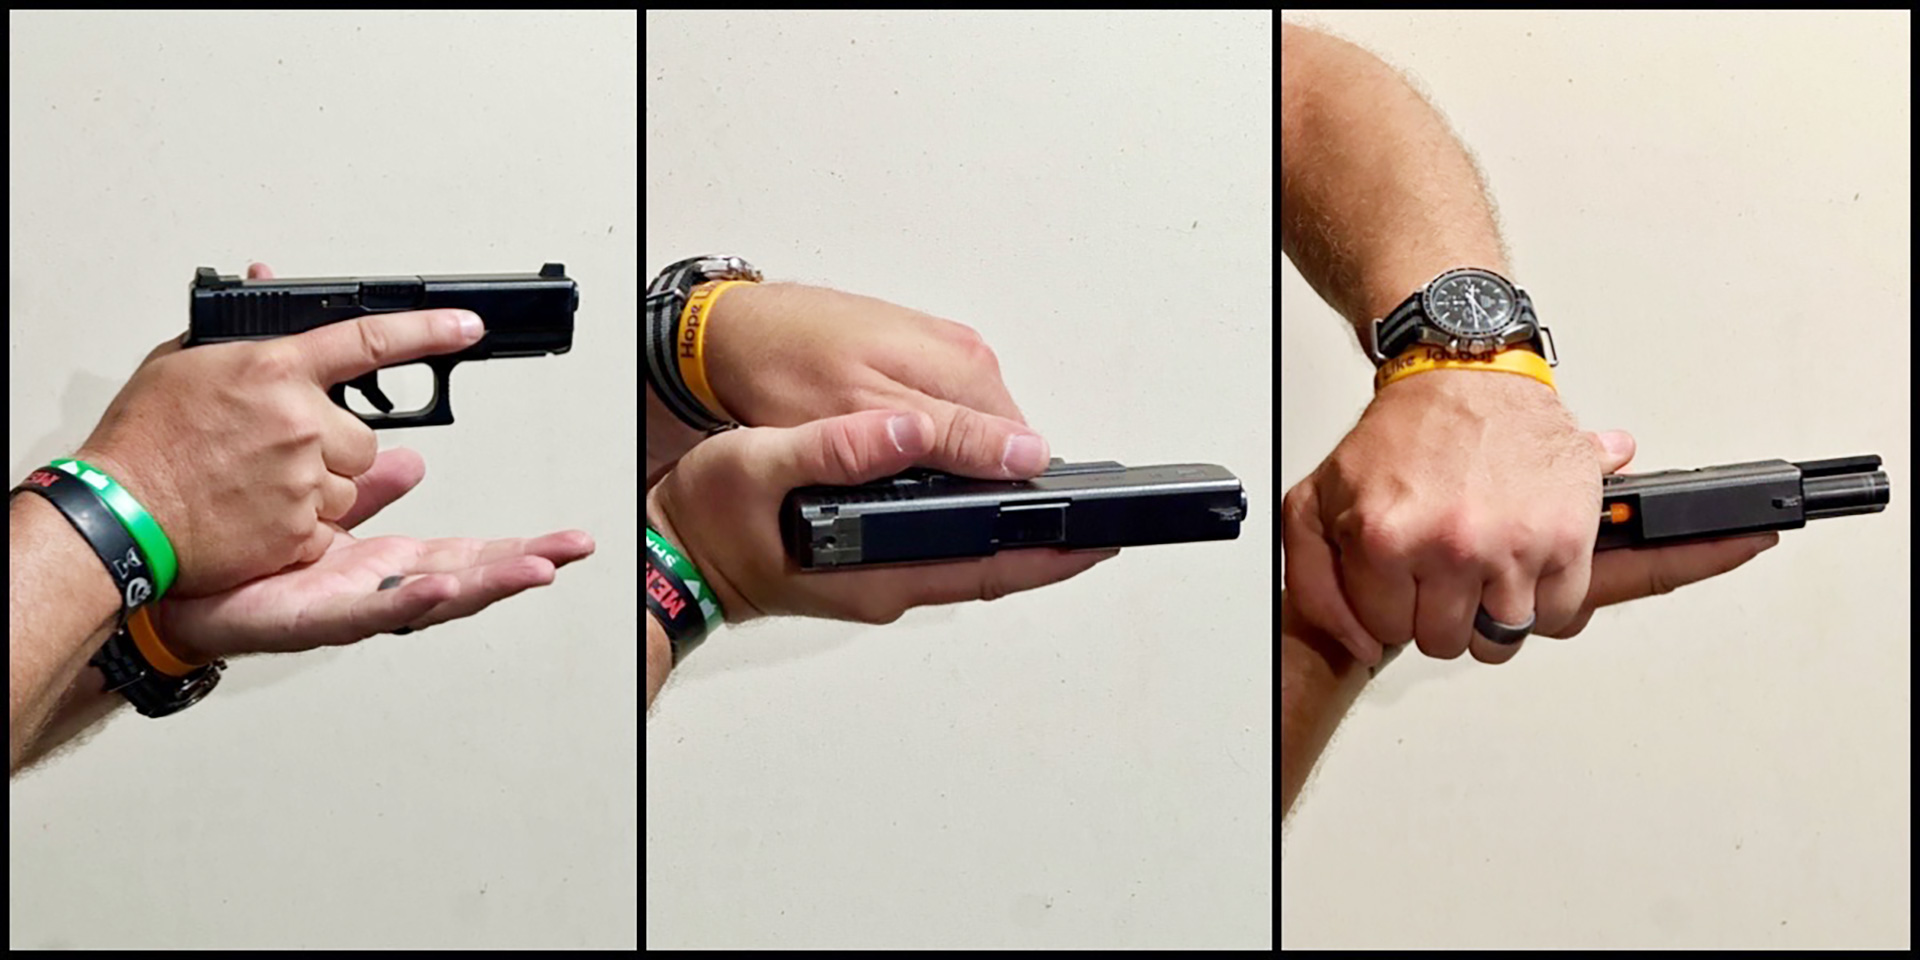
So you finished installing the last grip-screw bushing and let the thread-locking compound dry, so all that’s left is to install the grips/stocks, right? Maybe. If, however, you’re a southpaw shooter, like me, there may be another hurdle to overcome.
Frankly, it depends on the type of thumb safety and grips you selected. Many of today’s ambidextrous variants (such as those produced by Ed Brown, Nighthawk Custom and Cylinder & Slide,) to name but a few, are patterned after a type originally produced by the late Armand Swenson that contained a “foot” located beneath the right-side paddle, which was instrumental in holding the part securely in place.
This type of safety requires a corresponding notch be made to the underside of the right-grip panel. While it’s a bit of a challenge to handle such a feat without access to a milling machine or a router, fortunately many grip makers do offer their products with their products with an “ambi-safety cut.” (For example, 1911 Carry Groove Grips by Harrison Design and Consulting offers feature just such a clearance notch that’s easy to utilize. All you need is a pair of cutters and a small file. The pre-cut notch coupled with the deep vertical grooves that partially span each panel’s exterior make these grips a new favorite that destined to show up on future builds.) But that may not be the only location where clearance is needed.
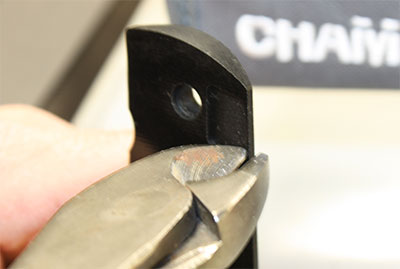
After double- and triple-checking to make sure your pistol is unloaded, test fit the grips, (without the screws) cock the hammer and engage the thumb safety. Now, disengage the thumb safety and try to cycle the slide. If you feel the slide binding at the beginning of its rearward travel, there’s a problem. Examine the left-side of the thumb safety, namely the area where the area behind the paddle contacts the detent captured inside the plunger tube. If you can see the detent recess, located behind the left-side paddle, the thumb safety is bottoming out too soon because the bottom of the right-side paddle is impinging rear upper-most portion of the right grip panel. The solution is to file/sand a small relief notch allowing the thumb safety its full downward travel. You should only need a few thousandths clearance, enough until the aforementioned detent is captured in the thumb-safety notch.
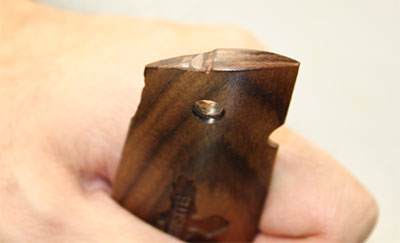
My southpaw affliction notwithstanding, I firmly believe in the added versatility an ambidextrous safety brings to a concealed-carry 1911. As I mentioned in an earlier entry a Swenson-style variant made by Ed Brown had been my go-to choice for years. However, there’s a trade-off with selecting that particular design: The pistol can only wear grips that feature “ambi cuts.”
One possible solution: Wilson Combat offers an ambidextrous thumb safety that contains an elongated hammer pin, that integrates with a notch on the underside of the right lever—a design that puts a lot more freedom in grip selection.
