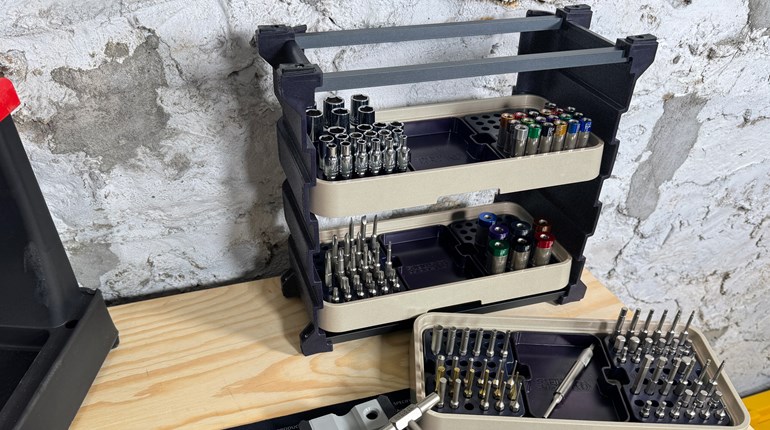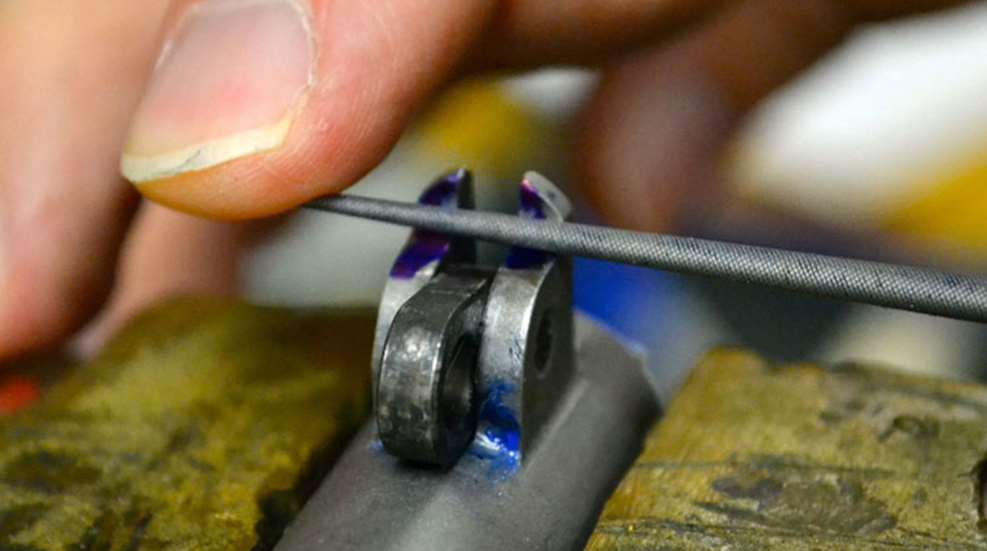
Slow work with a jeweler's file followed until equal wear showed on each lug and the slide-stop
Place the lowers lugs in the channel of the frame, or locking-lug channel, so it rests flush against the end of the frame ramp. The lower lugs should fit snugly inside the channel and be devoid of wobble. Push the barrel down and back as far as it will go. There should be a minimum of 1/32 inch between the end of the frame ramp and the beginning of the barrel's ramp. (According to Kuleck and Oldham, "Any less will require recontouring the barrel ramp (which is really a clearance cut) to create that gap. Because you want to maintain the angle, should you need to move the [barrel] ramp forward, at some point the end of the barrel ramp will begin to expose the cartridge-case body. An unsupported case-head blowout will not be repairable by AAA."
Next, remove the barrel from the frame and examine inside of the frame. That area is known as the vertical impact surface (VIS).
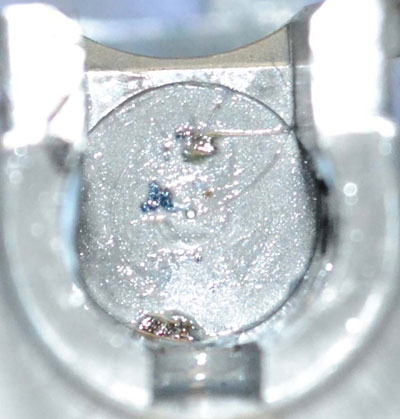
There should be a relief cut at the rear of the locking-lug channel, the lower part of which should contain a circular-shaped recess. In addition, the metal above the recess should resemble the shape of a bow tie. This circular-shaped recess ensures only the top of the barrel's feet strike the VIS as the pistol cycles during recoil. Why is this important? If the lower part of the feet are permitted to strike the VIS it would cause a lever effect, cause unnecessary stress where the feet meet the barrel, and eventually cause the area to crack. Kuleck and Oldham explain by saying, "We want only the upper rear face of the lugs to strike the VIS, so that the stresses are taken in shear rather than tension. The lugs are dimensioned to last essentially forever with the impact so long as the impact isn't trying to lever the lugs off the barrel." (Yes, we went from feet to "bow ties," but bear with me, because this seeming insignificant technical tidbit is far from insignificant, but—spoiler alert—unbeknownst to me, I didn't learn that until much later. )
As the old expression goes, "I told you that story to tell you this one." In spite of Kart's claims of not needing to modify the lower lugs of its barrels, I decided to err on the side of caution, just to make sure. After inking each of the lower lugs (the angled portion the barrel that straddle each side of the link) and allowing time for it to dry, I placed the barrel back inside the slide—without the recoil spring or recoil-spring guide—installed the slide on the frame, making sure to include the slide-stop pin. A few good raps on the back of the slide revealed a slightly greater amount of wear on the right lug than on the left. After double-checking my previous work to shorten the barrel hood and making sure it was square, a few light passes over the lug with a jeweler's file fixed the problem. Repeat the process until the lower lugs show equal wear, then turn your attention to the slide-stop pin. Corresponding marks from where the ink transferred to the pin should show equal contact. With traces of equal contact from the lugs and the slide-stop pin, your work on the barrel is complete.