Another is to buy a stock model and modify it to your specs, but the total cost will likely end up being higher than what it takes to build a carbine from the ground up. Besides, the first option is a lot more fun. What better way to learn the intricacies of the AR than building one from parts?
Let's look at putting together the upper. A beautiful thing about the AR is its modularity, so even if you already have a complete carbine, building a new upper receiver for it can make it more versatile. Assembled uppers are available from numerous manufacturers, but again, the advantage of building your own is getting exactly what you want.
With this in mind, I went about putting together the upper that will serve as the second half of my home-defense carbine. It always helps to have a plan before starting a gun project, and I needed to make some decisions about what features the upper should include. Like when building the lower, I visited Brownells to select and order the parts.
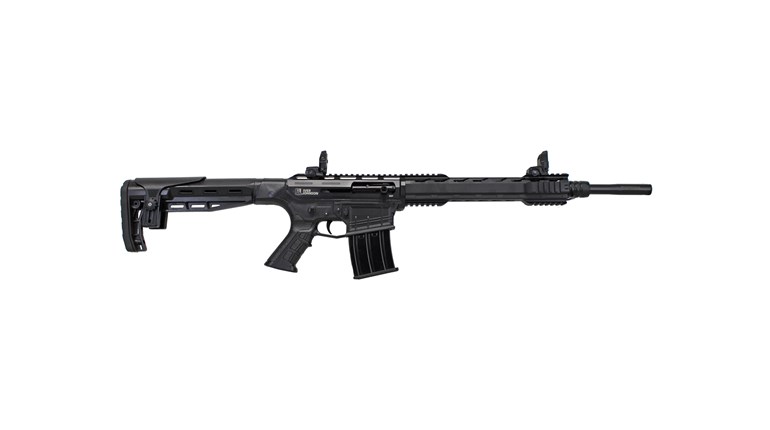
In building any AR, the upper is where the magic happens. The lower lays the foundation, but the upper has the parts that shoot. First among them is the barrel, and this is one place where I could exercise some options that are harder to find in a low-price, off-the-shelf rifle.
For my home-defense carbine, I, of course, wanted a short barrel. The government says we can't be trusted with anything shorter than 16 inches, so that's the length I picked. Most off-the-shelf, M4-style carbines with a 16-inch barrel chambered for 5.56 NATO have a 1:9-inch twist rate. There is nothing wrong with a 1:9-inch twist, but I wanted the ability to shoot a well-stabilized, heavy bullet for better penetration. If I have to shoot through a wall or a car door, or try to disable a motor vehicle (you never know), more bullet weight makes sense.
With a 1:7-inch twist rate, I can use bullets weighing up to 90 grains. If you have good bullets and a good barrel, I don't believe you can over-stabilize a bullet, so this twist rate will also work well with most lighter bullets. The exceptions are lightweight varmint bullets. These thin-jacketed projectiles can come apart in the air if driven fast from a 1:7-inch barrel. But I don't plan on using bullets lighter than 50 grains in this rifle for defensive or sport shooting, so it's a non-issue.
I also wanted a chrome-lined barrel for better life, as I plan to shoot this rifle a lot. The more I shoot it, the more familiar I am with the gun, and my chances of surviving a life-or-death encounter increase with practice.
Brownells offered a Daniel Defense barrel with an M4 profile that met all my requirements, and the price was right at $169.99. Made from 4150 chome-moly steel with a manganese-phosphate finish, it had a ½x28 thread at the muzzle for a flash hider or muzzle brake. I ordered a DPMS A2 flash hider and a crush washer to go with it.
For the upper receiver, I selected a DPMS Lo-Pro flat-top model with an integral rail. I have used both upper and lower receivers from the company on other builds, and I have grown to trust them. A flat-top receiver was my pick because it provides the widest range of options. I can mount a carry handle on the rail if I wish to emulate the classic AR-15 look, or I can mount an infinite number of optics and flip-up iron sights.
I ordered a complete DPMS bolt and bolt-carrier assembly, which was a bit less expensive than if I purchased the individual parts separately. It also eliminated some assembly headaches with the ejector, gas rings, gas key and other components. I needed a charging handle to go with the bolt carrier, so I added one from High Standard.
Another area where building your own carbine gives you more options is the gas block. Most M4-style carbines are shipped with the familiar, triangle-shaped A2 front sight/gas block. When using low-power optics, the assembly's frame is visible in your sight picture and can be a distraction. To avoid this, I elected to install a Brownells Modular Gas Block—a low-profile, low-cost gas block with a rail on the top that allows mounting a flip-up sight. It also allows the option of adding rails to the other three sides if you intend on mounting a variety of accessories. A carbine-length gas tube with a retaining roll pin completed the gas operating system.
Most low-priced, M4-style carbines are going to have an A2-style handguard that attaches at the front and rear. I wanted a free-floating barrel and fore-end because they usually provide better accuracy. The Hogue Overmolded fore-end is a rubber-coated, tubular, aluminum fore-end and comes in a kit with a matching pistol grip. Together they offer an excellent value at $104.95. I ordered the set and used the grip, but ended up going with a quad-rail fore-end from Yankee Hill Machine (YHM) so I could mount accessories.
Other small, but essential, parts for the build included a dust cover with spring, pin and retaining clip, as well as a forward-assist plunger with spring and pin. After checking to ensure I had everything I needed, I started with the forward-assist assembly.
Step 1: Install the Forward Assist
Step 2: Install the Dust Cover
Step 3: Assemble the Bolt Carrier and Charging Handle
Step 4: Install the Barrel
Step 5: Install the Fore-end
Add Ons Quickly Add Up
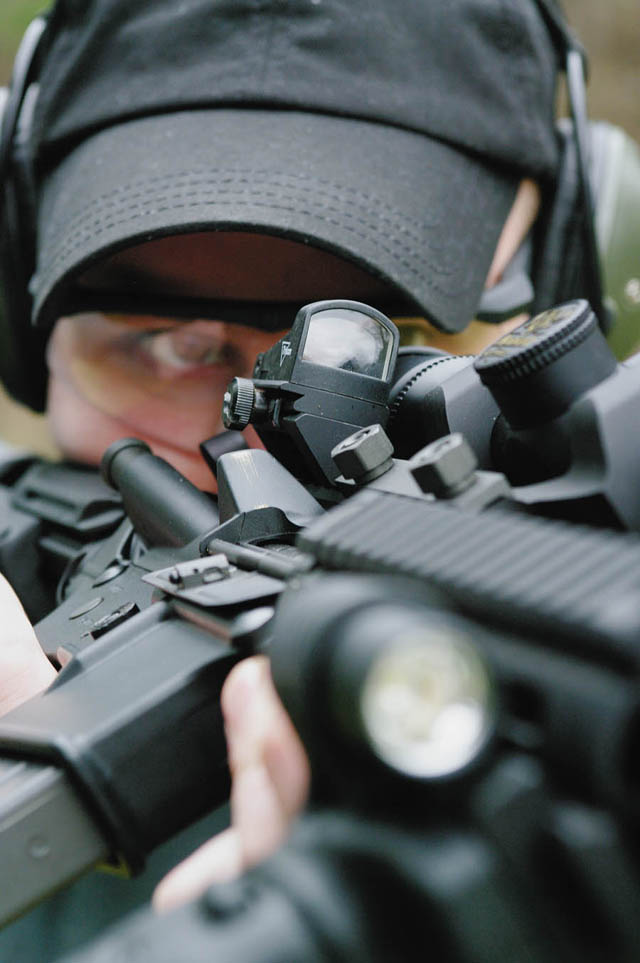
Budget aside, there are some things you need for your carbine. Iron sights are the most economical choice. Brownells has front and rear sights starting at $31.90. To extract all the performance potential from the gun, though, most shooters will want to use more advanced sighting options.
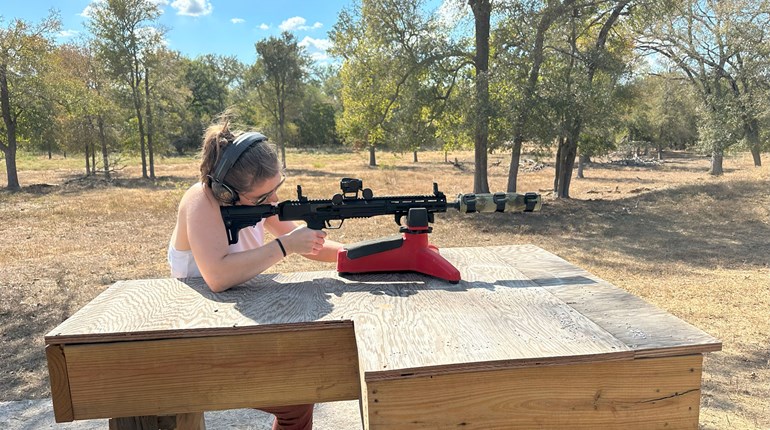
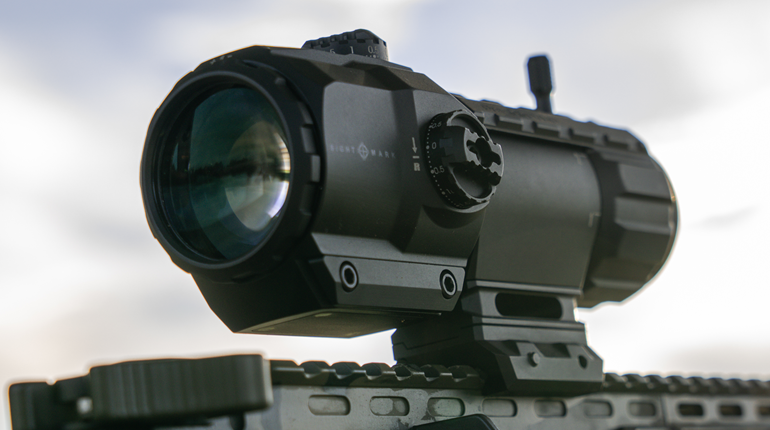
I chose a scope as my primary sight. I chose the Nikon Monarch African 1-4x20 mm scope, which has an affordable MSRP of $279.95. The 1X setting allows fast shooting with both eyes open, while the 4X magnification is plenty for most defensive work.
I mounted the scope in the new Warne Rapid Acquisition Multi-Sight Platform mount. The mount positions the scope forward on the receiver to help with eye relief. It also has rails on both sides at a 45-degree angle to allow mounting a secondary optic. I mounted a Trijicon RMR on the side, available for $425.
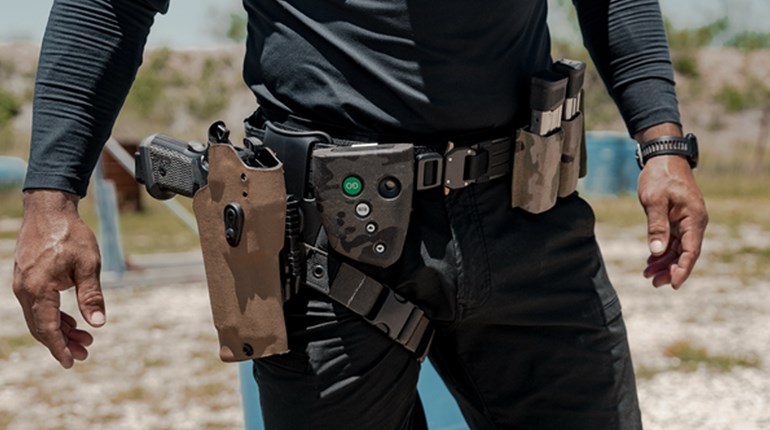
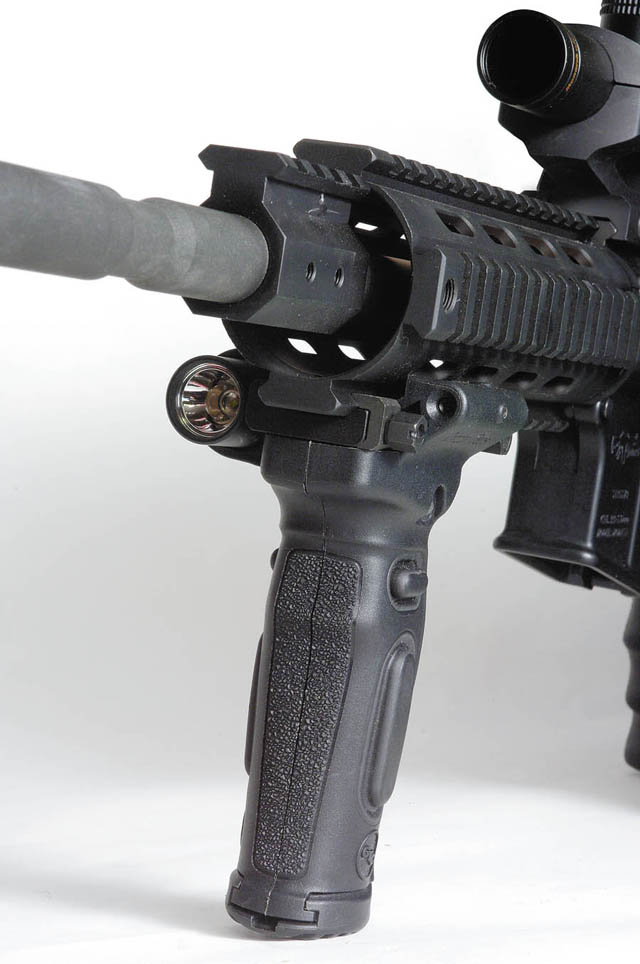
Finally, I am a big believer in laser sights for defensive guns. Not only do they make low-light aiming easier, but they allow you to keep your eyes on the bad guy, where they belong. I mounted the Crimson Trace MVF-515 laser/flashlight/vertical foregrip combo on my carbine. It's worth every penny of its $479 price tag.
When you're ready to build that lower, here are detailed instructions.