As someone who shoots and tests a lot of rifles and scopes, I’ve learned how to make the process as easy as possible. While I usually deal with one or two new rifles a month, there are times when I have set up 20 or 30 for a media event at Gunsite Academy. Here’s some guidance on how to put everything together and zero the rifle with a minimum of difficulty.
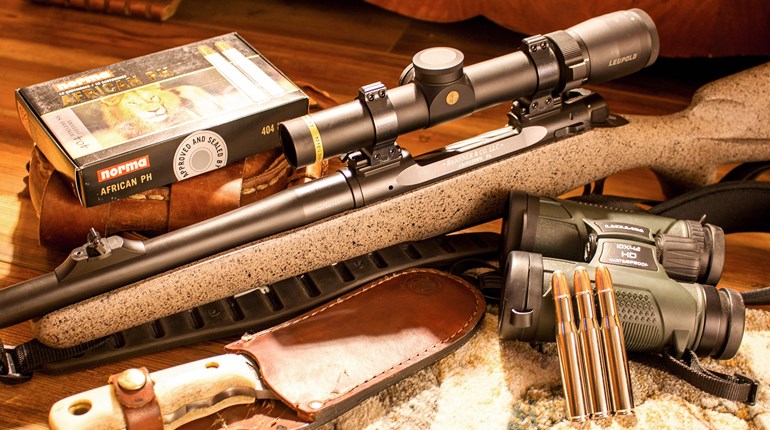
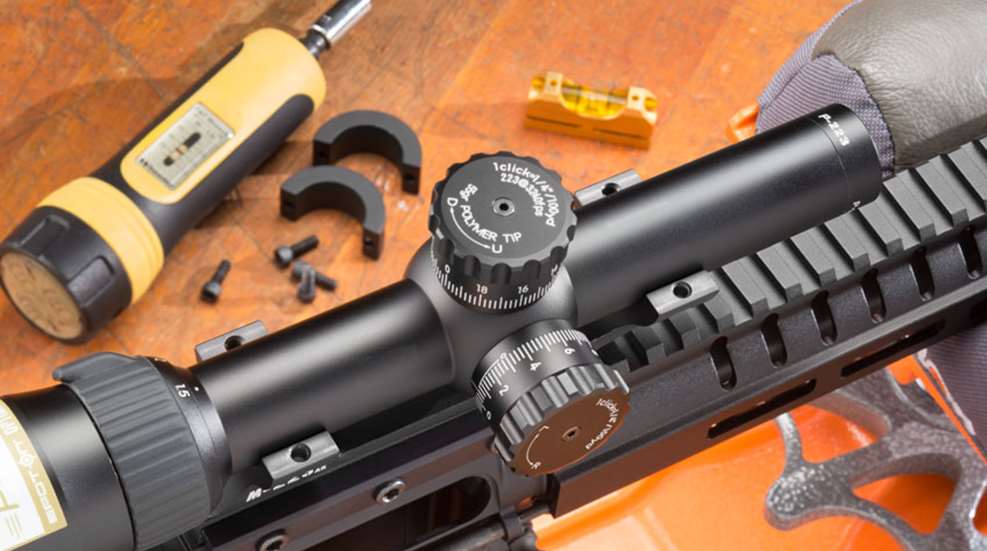
When I set up a new rifle, the first thing I do is go over it and check all the screws and bolts to make sure they’re tight or torqued to the correct value if called for. You’d be surprised how many scope mounts I’ve found that need attention. There have been times when I’ve skipped this step only to find I can’t get the rifle to group because parts are wobbling. Unless you want to get smacked in the eyebrow by a scope, it’s generally a good idea to move the scope as far forward as you can. To determine this, install the scope bases, put the scope in the rings loosely and move it fore and aft as you look through it. If it’s a variable-power scope, do this with the scope set on the highest magnification so you can determine where it needs to be to get a full image in the eyepiece.
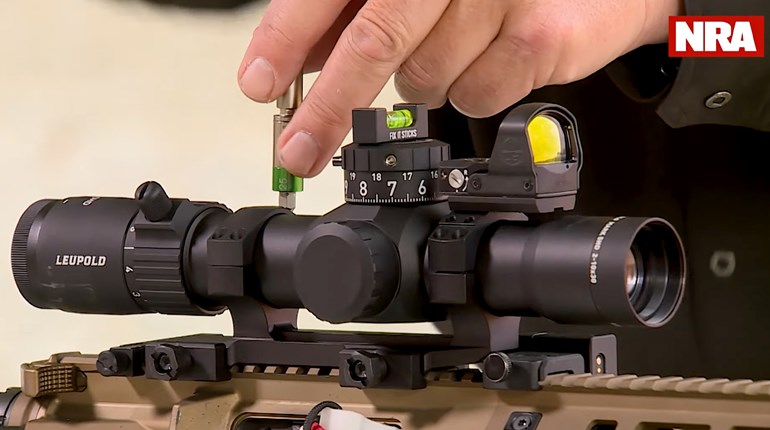
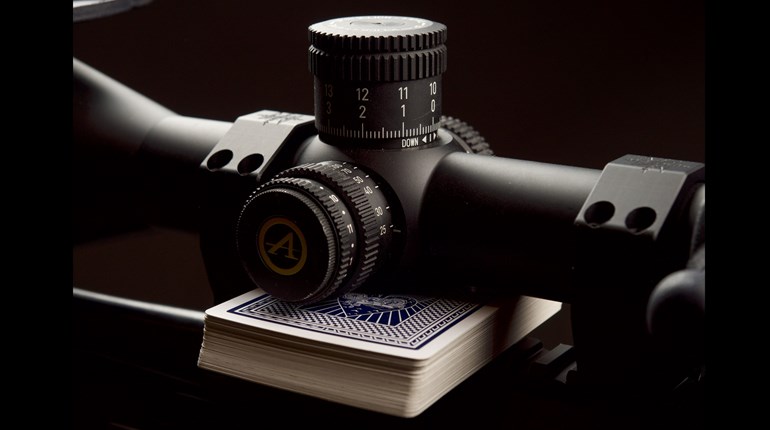
Leveling the scope in relation to the rifle is next. I like to put the rifle in a rest, secure it, level it with a bubble level then place the level on the top scope cap, turning the scope until it lines up. Next, I tighten the rings just a bit, take the rifle out of the rest and look through it with the rifle to my shoulder, both standing and on a benchrest. If everything looks lined up, I’m good to go and can proceed with tightening down the scope ring screws. I usually don’t use thread locker, but when I do, I use non-permanent versions. I move scopes around a lot, but if you’re going for a permanent setup you may want to go ahead and use thread locker, especially on rifles that have a lot of recoil. While you have the rifle in a rest, you might want to boresight it. This involves placing a target at 25 yards (I use one on a cardboard box in my driveway) and looking through the scope to see if the crosshair and boresight are pointing in the same place. If not, adjust the scope until you’re close.
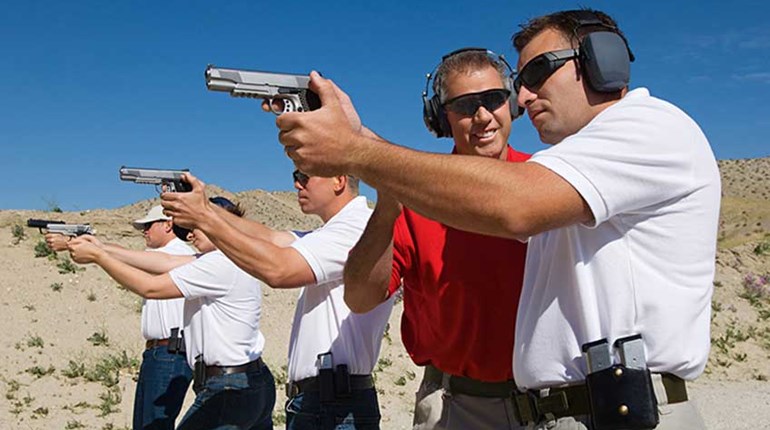
At the range, I first shoot at 25 yards to see if I’m on the paper. If so, a couple of shots can be made to adjust the point-of-impact to coincide with 25 yards. I then move back to 100 yards and refine the zero. Knowing the ballistics of your ammunition can help you determine a zero range. The ammo companies have ballistic programs online and you can download them for your smartphone. Often, the trajectory information is printed on the ammunition box. As an example, for a 200-yard zero you may want to be hitting 1.5 inches high at 100 yards. Although this magazine wants me to shoot five-shot groups, I use three-shot groups when I’m not shooting for an article. I figure those extra two shots tell you more about my skill, or lack thereof, than they do about the accuracy of the rifle, scope and ammunition.
Here’s your drill: With your properly mounted scope, get to the range and properly zero your rifle.
With the rifle in a secure rest, fire a three-shot group at 25 yards.
Noting the distance to the target and the location of your group in relation to your aiming point, adjust your point-of-impact accordingly.
Fire a second, three-shot group to confirm proper zero.
Move the target out to 100 yards and fire a third three-shot group, making necessary adjustments for increased distance.
With proper adjustments and trigger control, this should be easily accomplished with less than a box of ammo.