This article, "A Mounting Task," appeared originally as a Handbook in the January 2016 issue of Shooting Illustrated. To subscribe to Shooting Illustrated, visit the NRA membership page here and select Shooting Illustrated as your member magazine.
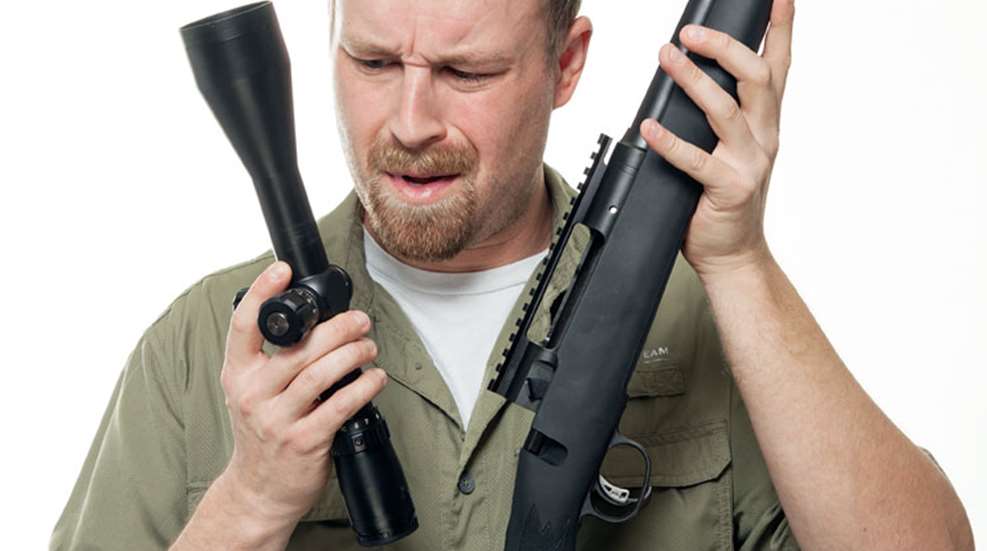
Following a logical sequence of steps will help eliminate mistakes that may lead to trouble when zeroing your scope—or in later shooting efforts. The process is pretty straight forward: Attach the mount, install the scope, set eye relief, level the optic, tighten the screws evenly and check your work. While variations on the details of each step exist, they all follow the same general theme. Here is how I tackle the task:

Preparing the Equipment
Verify rifle is unloaded and cleared.
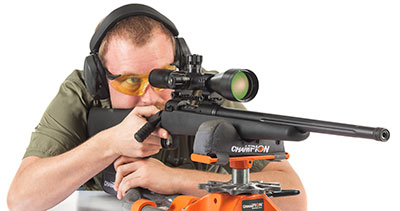
While pointed in a safe direction, place your rifle upright on a gun cradle, bag rest or stout bipod. The rifle needs to remain in a fixed position while you are adjusting the scope and mount. If possible, point it at a light-colored background across the room, or at a distant target if outside.
If using a bolt-on receiver rail (such as on lever-action and older bolt-action receivers), first degrease the rail’s screws and the rifle’s threaded receiver holes with mineral spirits (safe for most finishes), acetone or similar cleaner. Apply a small dab of thread-locking compound to the screws, and then tighten them according to the mount manufacturer’s instructions. Take care not to allow any thread-locker to seep into the action through the receiver’s threaded holes. Excess buildup will bind and interfere with the rifle’s bolt movement. Tighten the screws, but be careful—they can strip or break if overtightened.
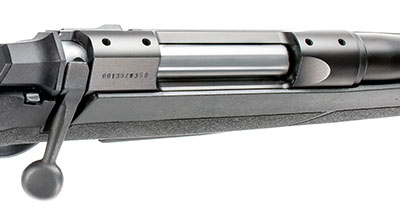
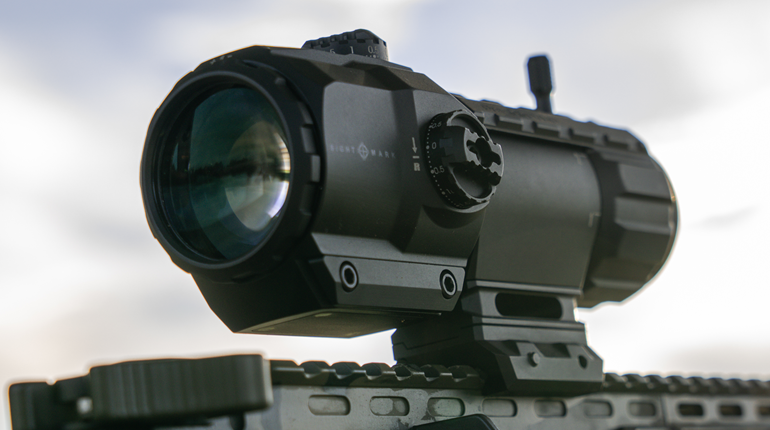
Install the scope mount’s base or scope rings’ bottom halves on the receiver rail and tighten them. If present, torque hex nuts to 65 inch-pounds. Some manufacturers may recommend different torque settings, so check your mount’s literature before tightening. If you cannot measure the torque, make the screws or nuts very snug, but once again be careful to not break them off.

When using quick-detach (QD) mounts or bases, be sure to adjust the QD’s tensioner to eliminate all play between mount and receiver rail when the levers are locked closed.
If you plan to check for ring alignment and/or lap the rings, this is the time to do it. Clean out all remnants of lapping compound from the mount or rings before proceeding.
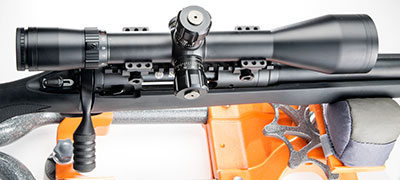
Place the scope in your rings, then install and tighten scope ring top halves. Leave them loose enough to allow some rotation of the scope without it flopping around on its own. The same thing goes for split (side-by-side) ring halves. Dial variable-power scopes down to around 3X at this point.
Eye Relief
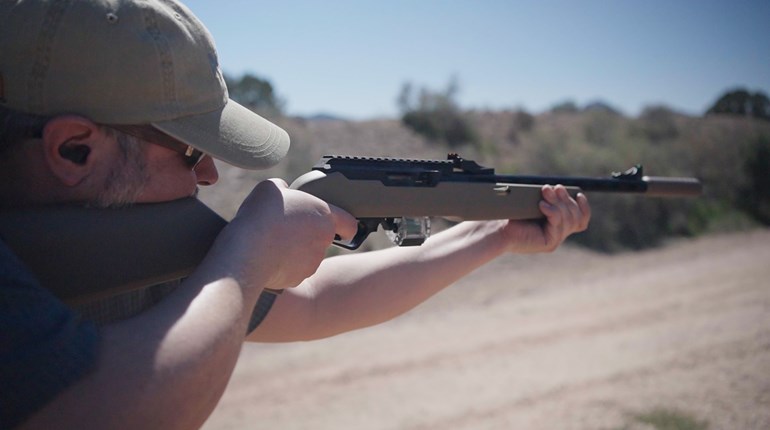
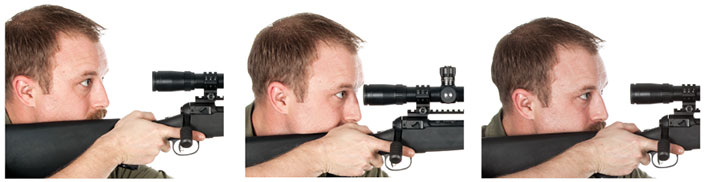
When the shooting eye is too far from—or too close to—the scope’s objective lens, the field-of-view (FOV) is reduced due to improper eye relief. We normally see this as a vignette effect or dark ring around the center of the reticle. Set eye relief while you are in the shooting position you are most likely to use, because the distance from the scope’s objective to your eye changes based on the position of your arms and shoulders. If, like most of us, you do not use one static position all the time, find a happy medium with your most common shooting positions. Move the scope closer to the eye until the dark ring begins to appear while ensuring your head is where it naturally lies on the stock. Then, move the scope away from your eye until the effect goes away completely and you have a clear FOV. Continue moving the scope away until the vignette effect returns. Now reverse the process and find the midpoint where your FOV is clearest. This is the correct position for proper eye relief. You should end up with an inch or so of leeway on either side of this midway point to help when shooting from multiple positions or from different magnification settings, which often change the optimal eye-relief distance on many scopes.
Leveling the Reticle
Remove elevation knob cap, if present.
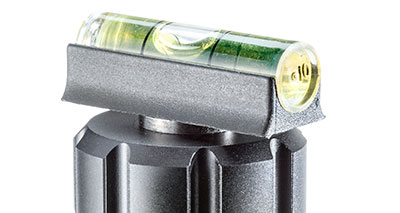
Place one spirit level on a top surface of the rifle that is both flat and timed to the bore’s 12-o’clock. Examples are the top of a Picatinny or Weaver rail on an upper receiver or a gas block’s top rail (assuming they are installed correctly). Rifles with no flat spots on top will require some creativity. Bolt-action rifles’ bottom metal often protrudes far enough below stock line to allow level to be held (upside down) against it. Another area on bolt guns that may work is the rear tang of the receiver, just forward of where it meets the stock. When the bolt is removed, this area can sometimes be used to level the rifle. If the scope mount covers all rail space, levels are available that attach to a single rail slot and extend to one side of the rifle. The goal is to level the rifle’s receiver and bore from left to right. The rifle should be roughly level from front to rear, too, but you can simply eyeball that.
Place another level across the top of the scope’s elevation knob, ensuring it is on a flat. If the protective cap is flatter than the top of the knob, leave it screwed down and place this second level on it. The level should be perpendicular to the bore’s axis. Having it off even slightly will skew the bubble’s level reading.
Adjust the scope until the level on top of the elevation knob matches the level on the rifle’s receiver.
Carefully tighten the ring tops until they are barely snug enough to hold the scope. I do not use thread-locking compounds here unless I have a problem with screws loosening over time, which is rare. Keep an eye on both levels throughout this process, as they will tend to wander when you tighten the screws, especially when using side-to-side split rings. I use a lug nut pattern to tighten my screws, alternating sides, one screw at a time to keep it even. Observe the gaps between ring halves to ensure they remain even all the way around and adjust each side’s screw tightness to keep the gaps uniform.
Sometimes, the riflescope’s elevation-turret top is not level with the reticle. The usual culprit is that the elevation-knob top is not machined true. Before fully tightening the rings’ top screws, look through the scope (without touching it or the rifle) to ensure the reticle is level to your eye. Here is where dialing down in power and pointing at a light-colored backdrop will make things easier. With practice, you can detect very minor deviations in the reticle’s level compared with the rifle. I use the bubbles to get the reticle close and my eye to fine-tune it.
If your reticle is not level inside the scope due to shoddy manufacturing, you have to decide whether or not to proceed at this point. If it is off by even a few degrees, the scope’s elevation and windage knobs will not move the reticle vertically and horizontally when adjustments are made. The center of the reticle will move correctly, but stadia lines will move at angles. If you have no choice but to use it, you can level the reticle to your eye and know the scope’s adjustment knobs will be offset. It will be something you have to remember when making reticle adjustments, especially when dialing in elevation and windage corrections for long-range shots. If at all possible, send such an optic back to the manufacturer for repair or replacement.
Fully tighten the rings’ top or side halves to the manufacturer’s recommended torque (usually no more than 25 inch-pounds) or at least get them snug, again taking care against stripping or breaking the screws. Re-check the spirit levels. One potentially huge mistake made here is to over-tighten the ring halves to the point where they actually compress the scope’s tube. You can ruin a scope by crushing it with mounting rings, so avoid the temptation to turn them into miniature vices.
Shoulder your rifle and check to make sure the reticle appears level when the rifle is held in a normal shooting position. If the scope is still not level when compared with the rifle, repeat the above steps until both rifle and scope are aligned.
Focus
Most modern riflescopes have a diopter adjustment ring at the rear of the eyepiece. Use this to fine-tune the focus of the reticle to your eye. Here again, looking through the scope at an object some distance away or at a light-colored backdrop will make seeing the reticle easier. Set variable scopes at highest power, then adjust the diopter until the reticle is crisp.
While parallax adjustment brings the target image and reticle onto the same plane at a specific distance, we commonly think of it as a focus for the target image. If your scope has a side or front parallax adjustment, use it to focus the target image after the reticle is in focus. Parallax will vary with target distance and should be adjusted later, while viewing your actual target when shooting.
If no parallax adjustment is present, do your best to focus the scope’s reticle against a clear target image at your most likely shooting distance. In this case, the parallax will be set at the factory for a pre-determined distance, such as 50, 100 or 300 yards. Check your optic’s manual for the specific distance and be aware when shooting at targets much closer or farther than this distance, as images may be a little fuzzy. Try to maintain a consistent positional relationship between your eye and the scope to reduce the chance of aiming errors if you cannot adjust the parallax.
After the initial zero session, check all mounting hardware to ensure everything is tight. Re-check things periodically, but do not tighten them further each time. Instead, just check that they remain as snug as when first installed. A tight and level scope is a happy scope and that makes for a much happier shooter.
A Word on Tools
The right tools will make any job easier, and this is especially true when mounting optics. Use driver bits that are made for gunsmith-type work. Slotted driver bits should have parallel sides, not the wedge shaped tips used for old wood screws. Do not use loose-fitting or worn hex keys even if they seem a close fit. Stripped screws look bad, are tough to tighten properly and can be difficult to remove. Spirit levels vary widely in quality. I recommend those with aluminum or steel housings. Treat them with care and they will last for many years. A good torque wrench is an invaluable tool for anyone doing regular rifle repairs, modifications or optics mounting. Inch-pounds are the common unit of measurement for scope-mounting hardware, so focus on smaller wrenches when shopping. Prices range from $20 to $200 and more, and their level of utility follows a similar trajectory.