Holsters provide a safe and convenient way to carry a pistol. So long as a pistol is holstered safely and the shooter doesn’t touch it, we can assume the pistol to be safe. Many training programs require the student to have a serviceable holster, and after drawing the pistol is taught, training drills mostly involve shooting from the holster. But what about folks who are restricted to shooting at ranges that don’t allow working from a holster? Might there be other gun owners who don’t plan on carrying a pistol in a holster, folks like homeowners who don’t carry concealed or youthful, beginning shooters?
At Gunsite Academy, we normally train from a holster, but there are times when we place tables on the ranges and put guns on the tables. These instances include industry events and product demonstrations as well as classes for youths or beginning shooters. Shooters are instructed in firearms safety and gun handling, then shooting starts from picking up a gun from the table while being conscious of keeping the finger off the trigger and the muzzle pointed downrange.
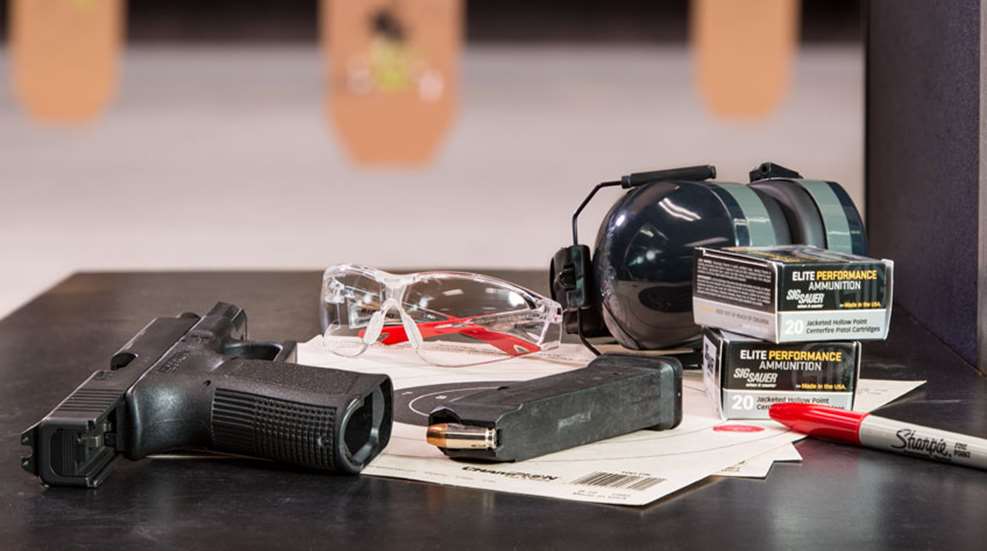
For the purpose of this discussion, let’s assume you’re shooting in an indoor range that doesn’t allow the use of a holster and where your starting position is with the pistol picked up from the bench and held in a two-handed grip with the muzzle depressed. Here’s a practice session you can follow that will make good use of a box of ammunition.
1. After drawing two dots on your target, run it out to the 3-yard line. Fire five, careful, slow-fire shots aiming at the dot. The object is to shoot the smallest group you can by paying close attention to the fundamentals of sight alignment, sight picture, trigger press and follow-through. Repeat on the other dot. 10 rounds
2. Move the target to the 5-yard line. From the low-ready, fire two, slow-fire rounds aiming at the center of your target. Repeat five times. 10 rounds
3. Move the target to the 7-yard line and fire five more, slow-fire pairs to the center of your target. 10 rounds
4. Move the target to the 15-yard line and fire one careful shot to the center of your target. Repeat five times. Five rounds
5. Bring the target back in to the 3-yard line. Fire two rapid shots to the center followed by a precision shot to the dot. (If you’re using a silhouette target, this can be fired as two to center-mass followed by one to the head.) Repeat five times. 15 rounds
Just because your range prohibits drawing from a holster or you don’t plan on carrying concealed doesn’t mean you can’t practice effectively. With a little imagination, it’s possible to develop your skills in a way that is appropriate to your circumstances. Most importantly, keep practicing.
