Max Michel is all about speed. The SIG Sauer Shooting Team captain is one of the hottest shooters because of it. He recently set a record by being the first shooter in history to win all eight USPSA area championships. So when I was invited to a Revision Eyewear seminar on how to shoot faster taught by Michel, I couldn't say "yes" fast enough. (More photos here.)
While Michel's focus was on competitive shooting, he made it very clear his techniques translate to the street. "Speed is a tactic," he said. "Being faster on the range also means being faster in a fight." In fact, the class was primarily designed for law enforcement, and most of the attendees were cops. But, police and civilian shooters share two of the same goals—shoot straight and shoot fast—so it was all good.
It's self-evident that the fastest guy wins only, of course, if he hits the target. In competition a fast miss costs points. In real life it gets you dead. So while we focused on getting faster, we also concentrated on putting all our bullets through the center of the target.
It would have been easy to expect some secret ninja moves to speed things up, but Michel actually stressed what, at first glance, seemed like fundamentals. "It's the foundation of shooting that builds speed," he said. "With a good foundation comes control, and with control comes speed and accuracy."
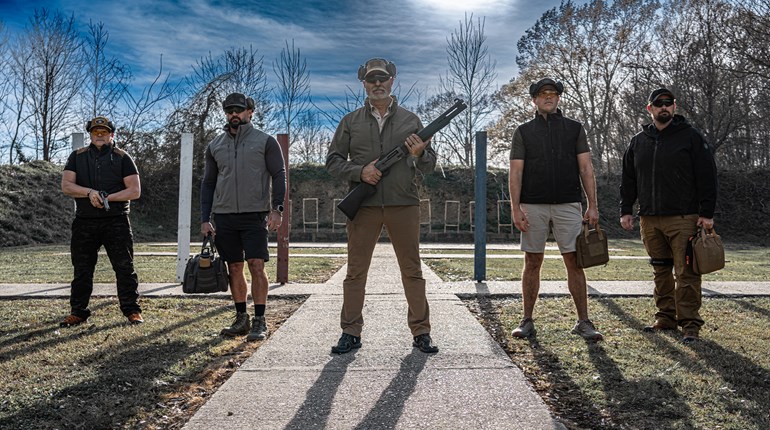
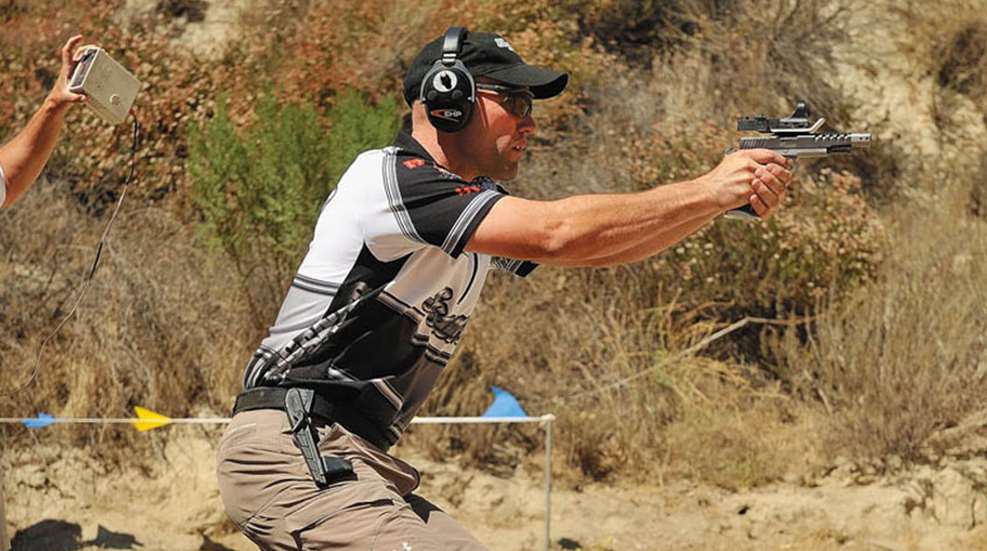
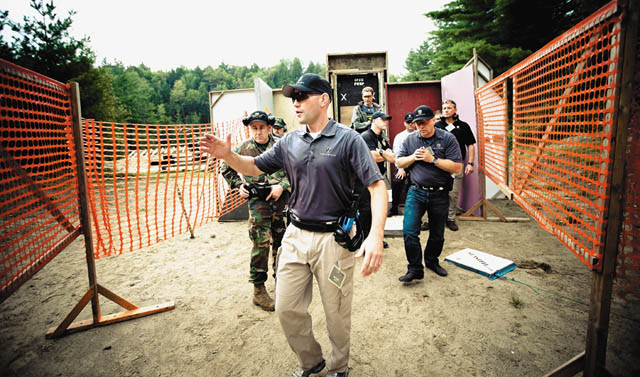
[caption id="attachment_5975" align="alignleft" width="300" caption="Though Michel's class was based on lessons learned in competition, the skills taught were equally applicable to law enforcement or the armed citizen. "][/caption]
For example, you cannot be fast if the sights are flailing around off the target, so controlling recoil is critical. Start with a proper foundation, like stance, and everything else builds from that. If you have the basics wrong, it's all trash from there.
Standing Fast
Michel recommends a similar stance to one used in martial arts. He talks about being aggressive and uses the word "explode" a lot when discussing his technique. The stance provides "a wide, aggressive platform that allows you to explode out of it while helping to manage recoil," he said.
"That means a stance that [puts] you in position to explode out of your shooting location and move very fast to the next shooting location," Michel explained. "The faster you can move from place to place, the faster you can start shooting again. So you must use a stance that not only lets you shoot well, but also positions you correctly to move after you shoot."
It's a much wider stance than many shooting instructors teach. The feet are spaced outside the shoulders and the strong-side foot is slightly to the rear, with its toes in line with the arch of the weak-side foot. Knees are bent, and 70 percent of your weight should be forward on the balls of your feet. Keep your spine straight while you lean slightly into the gun, bending at the waist. This puts your weight forward of your center of gravity, and allows your body to absorb and resist recoil. Push your arms out as far as possible without locking your elbows.
Your shoulders should be down in their sockets. Do not bunch them up and tuck your head between them like a turtle. "That position introduces muscle strain, which will slow you down," Michel said, "and your high shoulders will block much of your peripheral vision."
The purpose of this stance is twofold. It uses every advantage to manage recoil. Fast is only good if the sights are on target. Michel's stance lets your arms, legs and torso work in unison to absorb recoil and minimize movement of the gun.
You must also be able to move—not only from target to target, but also to the next shooting position. This stance allows you to quickly transition from a stationary position to start running.
Michel is tall and lanky, while I am just the opposite. I have wide shoulders and short, muscular legs. I found his stance a bit too wide for me—I was slightly off balance when I started to run. So I narrowed my foot placement a little bit, adapting the stance to my body type but keeping with Michel's concept, and it worked well.
The Hands Have It
I thought I knew all about griping a pistol. After all, I have been shooting handguns competitively for years. But, a couple of little tweaks from Michel made a serious reduction in my times. "The basic function of the grip is to allow you to get more leverage on the pistol," he said. "This helps to control the effects of recoil and allows you to shoot more rapidly."
The web of your strong hand should be as high as possible on the backstrap of the pistol. This gets the bones and muscles of your arm closer to the line of the bore, which helps reduce muzzle flip. Put the middle knuckle of your ring finger directly under the trigger guard. This one is tough for me with some double-stack guns due to my short hands, and it shows the importance of having a gun that fits your build. Place your thumb high on the pistol, and point it forward. On a 1911 or other pistol with a side-mounted safety lever, the thumb should ride the safety.
The index finger of your support hand should be directly under the trigger guard. Point the support-hand thumb toward the muzzle, and position it well forward on the pistol. Torque the support hand down so that when you open your fingers they point toward the ground at a 45-degree angle.
"This will twist your wrist and introduce some tension up the muscle and tendons along the top of the forearm of your support hand, which helps the hand push at the bottom of the gun's grip," explained Michel. "This gives you leverage to fight muzzle flip during recoil."
Your strong hand should have 30 to 40 percent of the total pressure on the gun. Your support hand should apply the remaining 60 to 70 percent. This allows your firing hand to manipulate the trigger smoothly and quickly while the support hand fights recoil.
The first pad on the tip of your trigger finger should be squarely on the trigger. Basic? You bet, but we all forget it from time to time.
These simple tweaks, particularly twisting my support wrist a little more, made an amazing change in my ability to deal with recoil. Subtle changes in hand position were the magic pill I had been searching for, and I started shaving those important tenths off my splits.
Quick Drawing
For competition or fighting, draw speed is critical. Michel focused on that next, and the first thing he said sounded too basic—until I realized a lot of shooters don't do it.
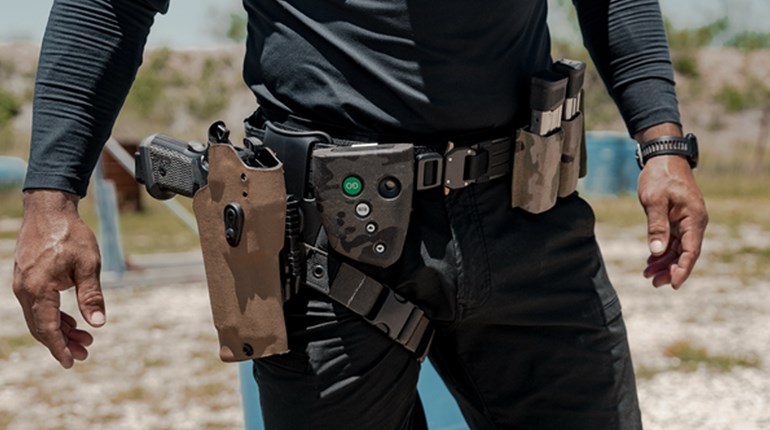
"Make sure your gear is set up exactly the same way each time," he said. "Position your holster and magazine holders in exactly the same place, so when you reach for them, they are where your subconscious expects them to be. Make a point of reference on your belt, such as a mark or even a notch, so that you position the holster in exactly the same place every time you put it on."
Michel teaches a three-step presentation. Many relate to putting the grip concept into practice.
Step 1: Grab the gun. Your shooting hand should meet the web of the gun's frame, with your hand high on the grip and the middle knuckle of your ring finger under the trigger guard, before you draw the gun from the holster. Move your support hand to the center of your chest as you start the draw, so that it is waiting to accept the pistol.
Step 2: Bring the gun toward the center of your chest, where it is met by your support hand. Keep your elbows bent and the gun close to your body with the muzzle toward the target. Grasp your strong hand with your support hand, overlapping the two and placing the index finger of your support hand under the trigger guard. Torque your support-hand wrist to add tension to the grip. At this point, push the manual safety off if your gun has one.
Step 3: Thrust the gun toward the target. "You should be pushing it through your line of sight so that your eyes, which are focused on the target, will pick up the sights," Michel said.
For older shooters, the point when you shift your focus from the target to the front sight can be critical. If you are young, it's not much of an issue because your eyes can focus very fast. But as you age, the lenses in your eyes start to thicken. That causes them to focus slower, so strategy becomes important. I move my eyes to the front sight as soon as possible. With reaction lag time, I pick it up when the gun is about halfway to shooting position. That way the front sight is clear (or as clear as it ever gets) when the gun is in position to fire.
Michel starts staging the trigger as he thrusts the gun forward so that when the gun hits the end of its travel, with his arms extended and the sights aligned, he can break the shot. This takes practice, but it makes that first shot out of the holster come a lot faster. Lots of dry-fire and live-fire drills are key to getting it down.
Rapid Reloads
A fast and smooth reload can be important whether you are fighting for a championship or your life. The conventional wisdom used to be that a gunfight is over in a few seconds and a few shots, but it's a new world out there. Gangs and the threat of terrorism have raised the possibility of multiple threats and an extended gunfight, so reloading skills are important.
"Keep the pistol at eye level and turn it slightly, twisting the magazine well toward your body," Michel instructed. "This will let you see the magazine as it enters the pistol, and also keeps the downrange targets in your line of vision for a faster visual transition from the pistol to the target."
Again, the way you set up your gear is important. Magazines should be placed in their holders top down and with the bullets pointing forward. Make it a habit to position your magazines the same way every time.
To start the reload, push the magazine-release button with your shooting hand as the support hand is reaching for a fresh magazine. When you grab the magazine with your support hand, your index finger will lie flat along the front edge of the magazine, pointing at the bullets. The base of the magazine will be resting on the fleshy part of your palm between the index finger and the thumb.
Turn your hand so the palm is facing you, and point your index finger at the magazine well. Your index finger works as a point of reference as you begin to insert the magazine. Move your finger out of the way once the magazine is captured by the pistol, and simply continue to push up on the base with your hand until the magazine is fully seated. At that point, roll your support hand up into the shooting position.
Once the magazine is captured, shift your vision back to the target. As your hands move into the shooting position, rotate the gun upright and rack the slide or hit the slide release (if needed). Push the gun out to the target while reacquiring the sight picture.
We ended the day with a competition stage. I am proud to say I took second place in my group. In a blatant act of discrimination against old fat guys, we started by running about 40 yards before shooting. The winner was a fit, young cop who was more than 6 feet tall, most of it legs, and he ran like a cheetah. He could really shoot, too!
Still, I was only three seconds and change behind him at the end of the stage, and I sure didn't do it by outrunning him. I got there because I listened and the stuff Michel taught me worked!