At a quick glance, installing an AR-15 barrel doesn't seem hard. Just jut the barrel into its receptacle in the upper, thread down the barrel nut, torque it to 35 foot-pounds, and you're done. However, it's not always that easy, and ensuring a proper installation takes a bit more preparation and work. Here's what goes into a picture-perfect AR-15 barrel installation.
Preparation
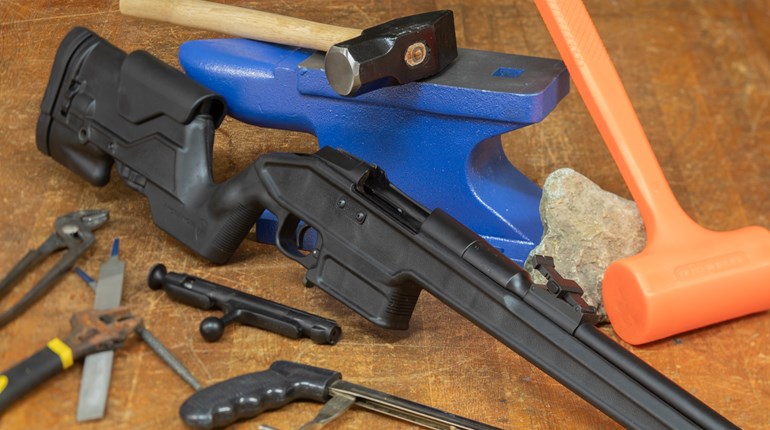
Here’s what you’ll need: upper receiver fixture; barrel nut wrench head; 1/2-inch drive torque wrench; 1/2-inch drive breaker bar; anti-seize; gas-tube alignment tool. And, of course, a sturdy vise.
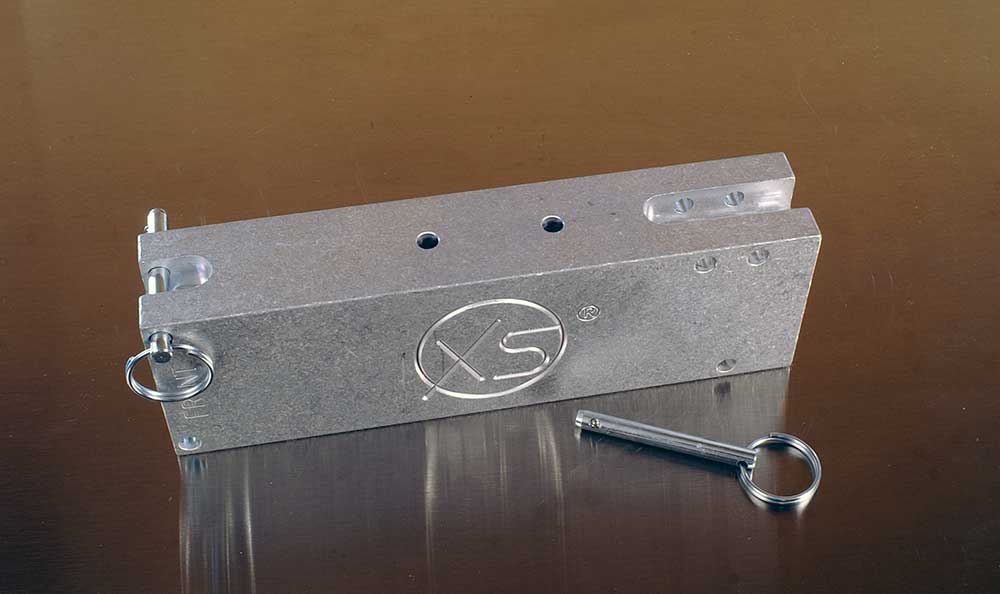
To secure the upper receiver I prefer a “pins”-style block, because it gives easy and clear access to the upper interior to make gas tube alignment checks easier. On these, the receiver lugs nestle into the block and 1/4-inch pins, just like the takedown and pivot pins on the gun itself, fix the receiver in place.
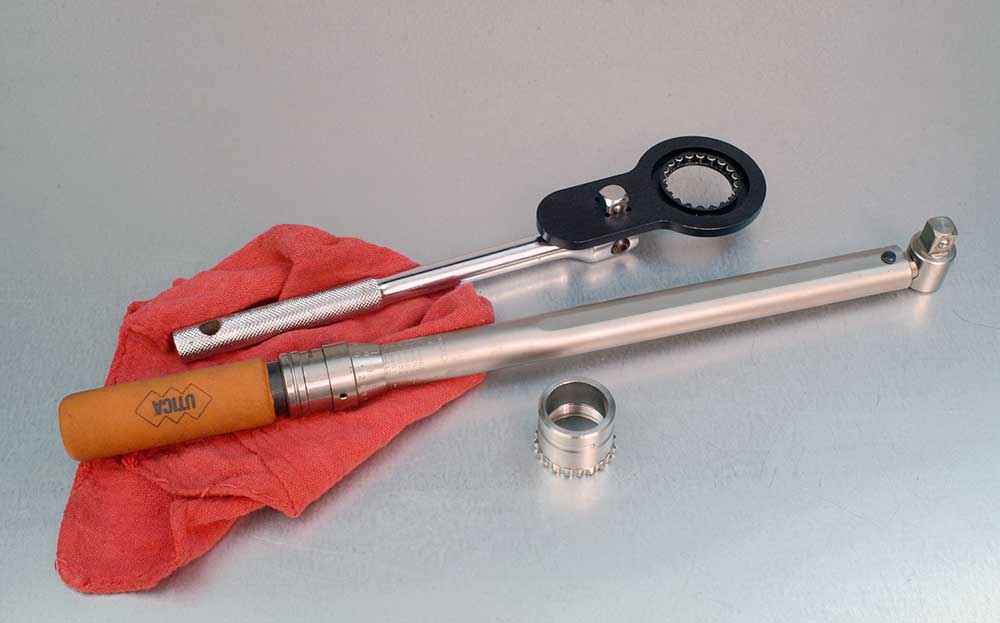
The wrench head can be variable. If you’re working with a GI-standard-style barrel nut (has the spiny scallops all around it), there are many to choose from. I prefer one that engages full-circle; most are half-circle. The more scallops engaged, the more secure the connection is under pressure. Otherwise, the head depends on the particular barrel nut that shipped with the handguard rail you chose. If it’s proprietary, most will provide a wrench head along with the package.
Torque wrench: bigger the better, I say. More leverage is easier to operate. Speaking of leverage, adding the extra length of a wrench head requires an offset adjustment. Torque wrenches are accurate and calibrated at a point halfway up the handle (there’s a mark there) to the center of the drive socket. Measure from the center of the handle to the center of the drive socket. Measure then from the center of the drive socket to the center of the wrench attachment. Add those together.
Now divide that total length figure by the length of the handle to drive center. Multiply that by the torque level you want to apply. The answer is then where to set the torque index. For instance, if you have a 15-inch long wrench, center of handle to center of drive, and attach a wrench head that extends 2 more inches beyond the drive socket center, and you’re looking for that standard 35 foot-pounds -- 15 + 2 = 17. 15 divided by 17 = 0.882. 0.882 x 35 foot-pounds = 30.87. So, dial the wrench handle to “31.”
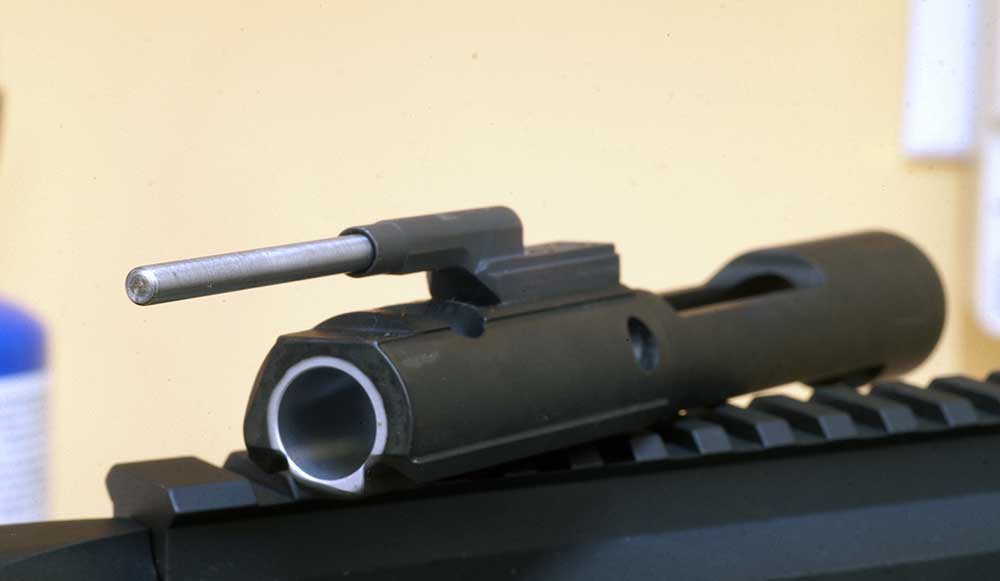
About the gas-tube alignment tool: this can be either ready-made or homemade. I use one that’s a solid steel rod 0.180-inch diameter. If you make one from an old gas tube, for a more precise fit take a section from the gas tube body, not the portion that fits into the carrier key, and make it 3-4 inches long. This is an important tool to have.
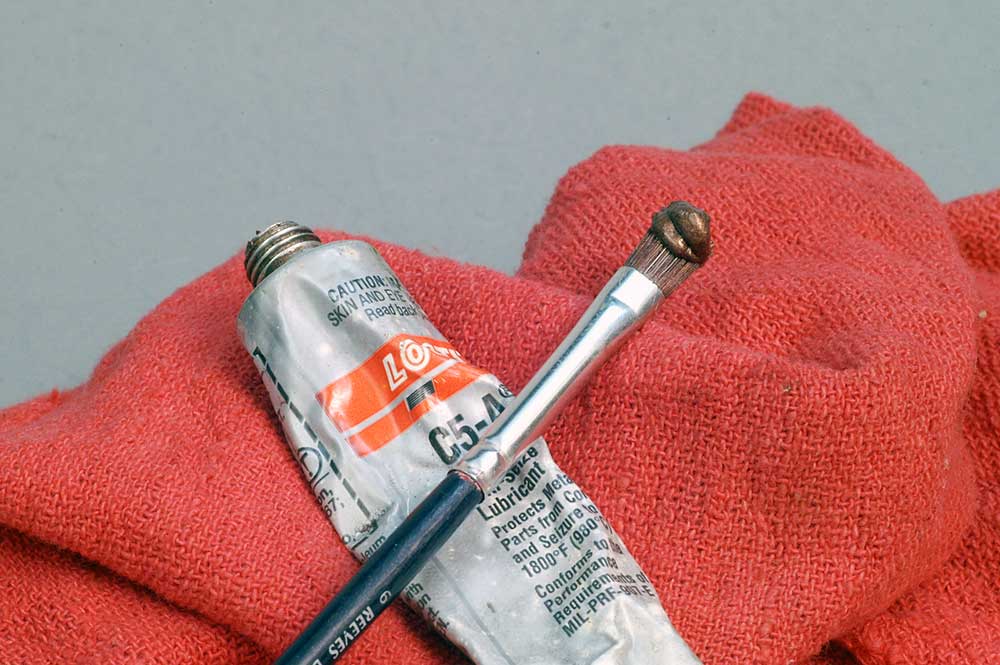
The anti-seize comes from an auto parts store and is a copper-based lubricant that does what it suggests it does: it prevents galling. It also protects against dissimilar metals corrosion, and that includes aluminum against steel. It makes the barrel nut easier to install and then uninstall.
Fitting
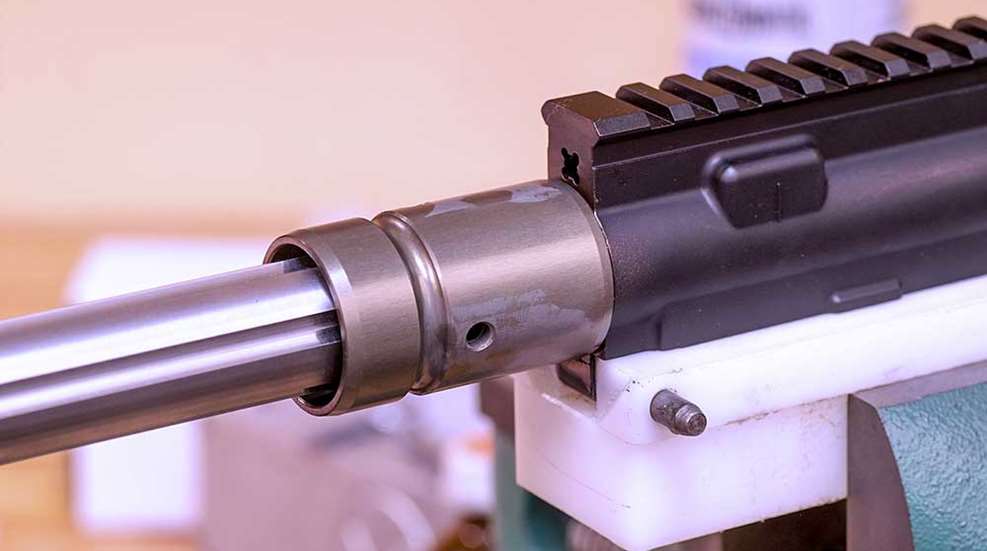
Get the upper fixed into whichever fixture you choose. Get your barrel. Wipe down the soon-to-be-mated surfaces to remove any residue or debris. There’s a pin on the barrel extension that fits into a corresponding slot on the threads surrounding the barrel extension receptacle in the upper. Seat the barrel into this receptacle. It usually will slip back and seat fully. If it doesn’t, don’t worry, because the barrel nut will seat it.
Next, get the anti-seize. Put a thin, even coat on the receiver threads. A flat artist’s brush works dandy.
Now get a barrel nut. I use one that I keep separate just for this next job. It’s a USGI-pattern nut that fits snugly and securely into my wrench attachment. The reason I have one that’s separate is because I sometimes “save” the supplied handguard nut until final install (I encounter proprietary aluminum wrench heads that get loose with use, as well as others that aren’t super-solid in engagement with the nut).
By all means, though, use whichever nut you have on hand.
Fix the wrench head onto a breaker bar. Why? A torque wrench should not be used to loosen. Run the barrel nut on and tighten it firmly. Give it a yank. Then back it off, and snug it down again, firmly again. After experience you get a calibrated forearm, and you’ll get a feel for how much equals what. I take it to at least the 35 foot-pounds I’ll end up with on final install, but I’m not using a torque wrench for this step. You will, by the way, feel the effects and wisdom of anti-seize in this process. Do that a couple more times. This has seated the surfaces. It’s a sort of “truing,” but it’s really more of a mating. It’s facing down slight surface imperfections on the receiver, mostly.
Performing this step is an important one. It’s also a tactic that, when repeated a few more times, can help add a tad additional free nut rotation when there’s a ways to go to attain alignment with the gas tube receptacles. A barrel nut is not a metal-working tool but repeating this process on a stubborn alignment agreement can help, and is preferable to just cranking on more torque. There’s a point, of course, where there’s no more effect. It is compressing tiny bits of metal, and this process can’t continue indefinitely.
Even if I’ve used my “standard” nut for this op, I always take the supplied nut to tight and back a couple of times afterward to work its surface.
Finish
Now, get your torque wrench and install the wrench head. Tighten the barrel nut until the wrench clicks. Only do this once. Don’t continue to repeat the clicks (you’re adding additional torque when you do).
Now. Here’s the trick: The gas tube has to be dead-centered in whatever it passes through. That might be one of the scallops on the barrel nut or a passage in the barrel nut, and, ultimately, the passage through the upper receiver. On some systems, there’s no association between gas tube and barrel nut. Those are bliss.
Check gas-tube alignment. Remove the bolt assembly from the bolt carrier and insert the gas tube alignment tool into the carrier key. Put the works into the upper and push it fully forward. With any luck it will clear, without luck it will have hit the wall that is the barrel nut. If there’s a good ways to go, like a half-hole, start over with a few more sturdy on-and-offs with the breaker bar and barrel nut. If it’s close, I suggest loosening the nut (use the breaker bar) and making a fresh run at it, plus a little. It’s difficult to get an already-tight nut to relinquish its reluctance toward fixedness and tighten a little more. It’s easier to make another run.
Ultimately, this answers the question of “How much torque should I put on my barrel nut?” That 35 foot-pounds is fine and dandy. However, in the years I’ve been doing this, only once did my wrench click and I saw perfect alignment with a GI barrel nut. It’s usually a little more than that necessary to get it (I’ve never seen it be less).

The gas tube has to be dead-center. Perfectly centered. If it’s not, your gun will not group as well as it should. Again, in my experience, this always means more torque. That’s part of the reason for the anti-seize. There is a pressure level that could and likely will cause some structural damage to the upper, and that’s pretty high. A few professional AR builders have told me they don’t sweat 60 foot-pounds of torque. Don’t change the wrench setting, just keep tightening.
Again, the gas tube should rattle. Free and equal movement all around. If the gas tube is binding, it will relocate the bolt carrier, and this will show on target. I have seen some say this just doesn’t matter, but my experience shows that it absolutely does.
After the gas tube is installed, move the carrier in and out (so the key is fully engaging the gas tube) and listen and look for any displacement (movement) in the tube. There should be none. If not, you have a perfectly installed AR-15 barrel.