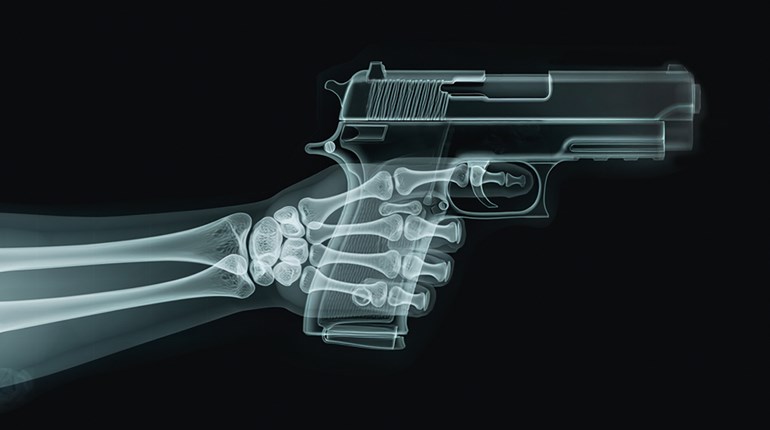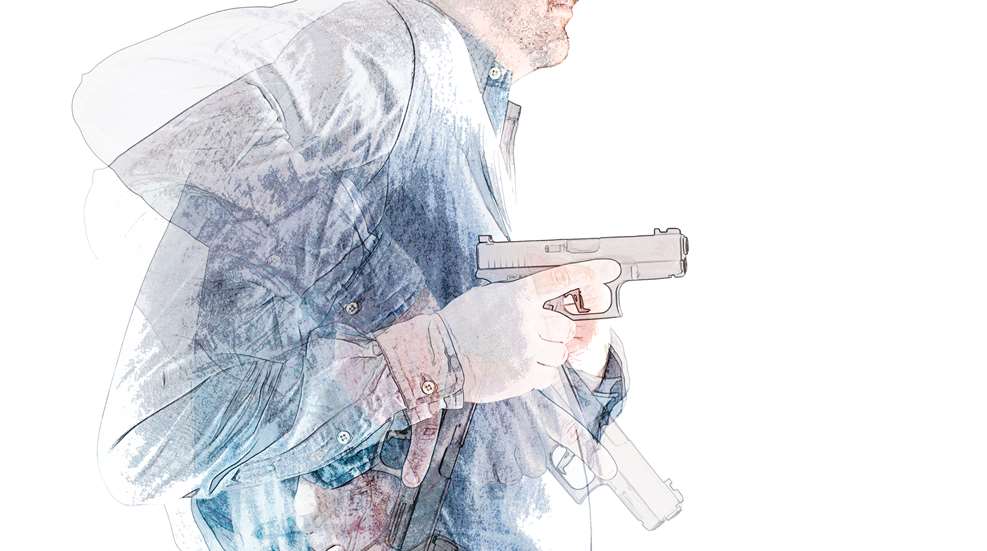
Carrying a firearm for self-defense is only part of the solution. An even bigger part of your defensive plan is knowing when to draw said firearm to protect life. Once the legal and moral requirements have been met, it is all about how you draw your firearm from the holster. The idea is to draw the firearm quickly enough to make a difference, but not so fast you worsen the situation. While there is no getting around practicing, you want to practice correctly, or what I call authentically. There is an old saying in the training community: “Be careful what you practice; you can get really good at practicing the wrong thing.”
There is no simple answer to why a student missed a shot. There can be several contributing factors; some you can control, others you cannot. The most common mistakes we see students of all skill levels make is obtaining a poor firing grip while still in the holster, not driving the pistol to the intended target and failing to have the sights properly aligned once on target.
I like to introduce the drawstroke as early as safety will allow. A lot of times, it comes after a couple boxes of ammunition’s worth of careful instruction. There are a lot of reasons for the early introduction—the biggest being it is much safer to conduct range training when quality holsters are used correctly. Walking around with a firearm dangling at your side, or worse, pointed in an unsafe direction, is a recipe for disaster. However, when the holster is properly used, the condition of the firearm is less important, as the holster acts as a safety device (by covering the trigger) and helps reduce risks. This, of course, is mainly for moving the firearm from place to place. At some point, we will want to practice our marksmanship skills, and therefore I introduce the drawstroke early.
As with anything, there is a right way and a wrong way to do things. The drawstroke is no different, with well-known actions to avoid for safety reasons as well as time-tested tips to use for efficiency. While it may seem counterintuitive, the last thing you want to do is go fast when learning. Most of the mistakes I see can generally be resolved if the student slowed down, and I mean slowing way down when performing the drawstroke. Of course, that is easier said than done. If you cannot perform the drawstroke properly in the beginning, you will be hard-pressed to do it fast when it counts.
There are many details within the drawstroke. When you move slowly, you are provided a huge advantage as you think your way through your movements, which is extremely helpful in decreasing the overall repetitions necessary for achieving automaticity. If you want to quicken the development of your drawstroke to the point it happens efficiently, then slow down at first. Again, it seems so counterintuitive, but it is essential to your skill development.
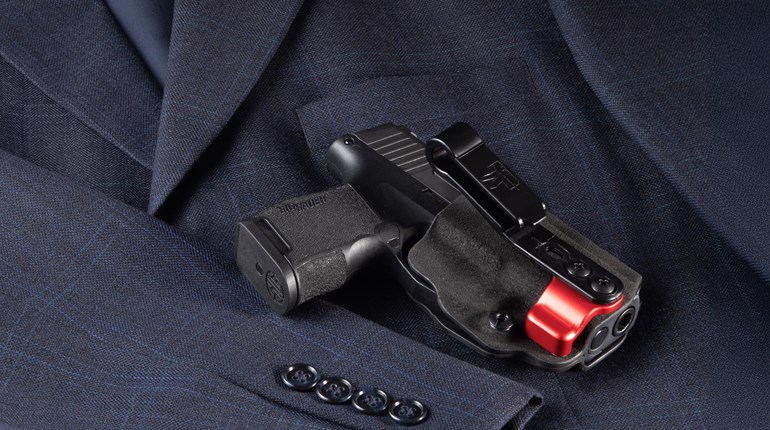
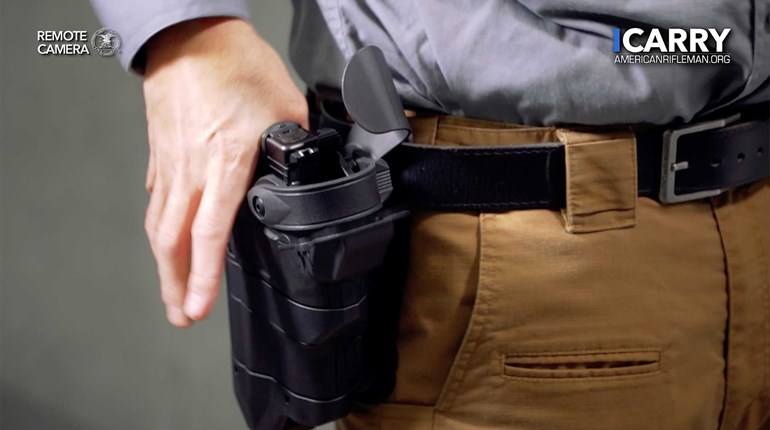
I would be remiss if I didn’t talk a little bit about gear, specifically holster selection. I’ve written countless articles on holster selection, so if you are looking for a deeper dive, I’d suggest researching some of the previous articles I’ve written. However, to cover our bases I’ll give a quick summary.

I can appreciate the desire to have a quality holster at an affordable price. If you know what you are looking for, you should be able to find a decent option. Start with a holster that was made for the make and model firearm you will be using. The holster should always secure the firearm, either through passive or active retention. The trigger should never be exposed to any objects that could move it and discharge the firearm while in the holster. It should secure to your body to prevent loss and to ensure it is in the same position. Then, lastly, it should provide for an adequate master firing grip. If you stick to these tips, generally you will find something decent.
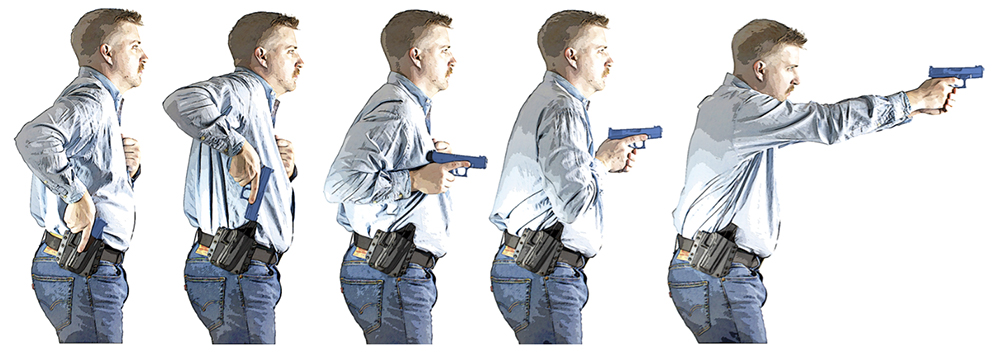
When we are teaching the drawstroke, we do not presume the student has learned how to obtain a proper firing grip. Instead, we take the time to ensure each student understands the principles of a proper firing grip. These principles transcend gender, hand size, grip strength, firearm and experience. I find it important to cover the proper firing grip before the drawstroke because ultimately the student should end their drawstroke on target with a proper firing grip. In essence, we reverse-engineer the process. The student first learns the proper firing grip in order to deliver rapid and accurate fire. We stack the deck in our favor by allowing the student to obtain the best firing grip possible while sighted in on the target. In other words, under the best of conditions. This familiarity will prove incredibly valuable as we move forward, not to mention as the foundation for their marksmanship skills.
Then, we move the firearm to a ready position, usually the compressed-ready position. In this position, the firearm is located tight against the sternum region with the muzzle horizontal to the deck. This accomplishes two things: With both hands on the firearm, it is quite likely the muzzle is pointed downrange, because it is hard to bring your hands together against your chest without the muzzle pointed downrange. From this position, we perform countless repetitions of the simple movements from the ready position, to the target and back to ready. Piece by piece, we work our way back into the holster using this same model.
When we finish with the final step, the student maintains the firing grip on the firearm while still in the holster. This programs the student that every time they obtain a firing grip, it should be this way. If we try to program the student to obtain a firing grip, what feels “natural” in the holster is seldom a proper firing grip for rapid and accurate fire once on the target. A common mistake is when the shooter attempts to acquire their firing grip by grabbing the firearm, then realizes, once on target, their grip is suboptimal. This often results in poor recoil control and subsequent missed shots.
Once we have a solid understanding of the correct firing grip while still in the holster, we next want to get in the practice of always driving the sights to the intended target. I try to encourage students to be as precise as possible with their movements. The more precise your movements, the more accurate you will be with your shots. To help achieve this level of precision, imagine a pipe that extends from your eyes to the target. As the pipe gets closer to the target, it grows until it is the approximate size of the target zone, usually 8 inches. Now, the trick is to elevate the firearm into the pipe as early as possible and extend the firearm while staying in the pipe. If you can manage this, you will find your sights settling adequately on the intended target much sooner.
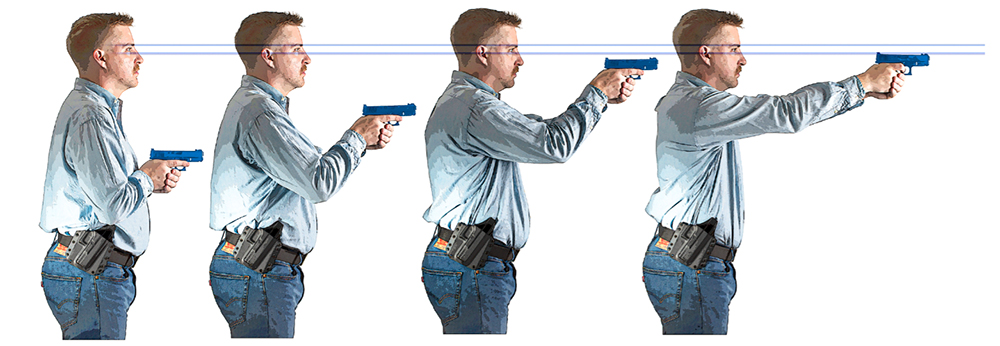
We can get deep into the weeds about shooting fast, and it is easy to consider this the primary goal. I readily admit in a defensive situation, shooting fast may be very important, but not always. Paramount, though, is being accurate enough for the shot required. Another way to think about speed is through efficiency, especially if you define speed as using the minimal amount of movement in the most efficient manner with the fewest mistakes. That being said, if you can slow down your drawstroke so the sights are moving down the pipe, they will tend to be on the target sooner, allowing you to fire your first shot sooner. The subtle difference here is if you extend the firearm to the target and it fails to settle on the intended target zone, you will waste precious time attempting to improve your sight picture. A common mistake occurs when, in an effort to make up time lost searching for the sight picture, the shooter rushes trigger movement, producing a missed shot or shots.
There is an assumption we tend to make regarding our sights. The assumption is they will be aligned without much effort on our part, and there is truth to this statement to some degree. With sustained practice, you can expect your sights to be aligned when presented to a target. However, there is only a slight probability they will be properly aligned in the early stages of your skill development.
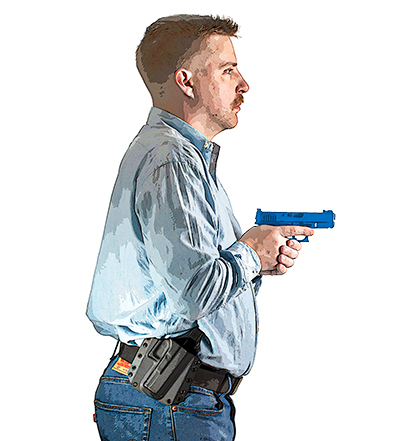
Taking it one step further is the notion your sights will stay aligned while in the shooting process. If you can imagine your sights in a constant state of movement, the next thing to consider is how important it is to manage that slight sight movement. Here is something that might seem obvious, but for many is elusive. When you look at your target and see a missed shot, that missed shot was placed exactly where your sight was aimed. The big question is how and why you aimed off the target.
It’s more of a rhetorical question, but I ask shooters this all the time. What led to the missed shot? While there are several factors, a big one—often the obvious one—was the shooter was not looking at the sights when they fired the shot. Once we can get the shooter to tightly focus on their sights, the hope is they can stay fixated on the sights throughout the shooting cycle. If the shooter can stay focused on the sights, they will have little trouble aligning them. The way our eyes function is remarkable, and if we are focused on the front sight, our eyes will make aligning them pretty easy. The caveat is our eyes must be focused on them to achieve this outcome. So, as soon as the sights come into the line of sight, the shooter must focus on them intently. The common mistake is either not focusing on them in the first place or, more likely, to stop focusing on them while firing.
While there are many other potential mistakes, the aforementioned errors are both quite common and somewhat easy to remedy. Work to reverse-engineer your firing grip from the target to the holster. This will ensure you have the best grip when you first contact your firearm while still in the holster. Once you have achieved the proper firing grip, moving the sights to the intended target is your goal. This will allow the firearm to travel in the most direct path and give you the best chance of seeing your sights sooner. Then, maintaining an intense focus on the front sight during the shooting cycle is the final step. The projectile will go wherever the sights were aimed—so if you are not looking at the sights, you cannot see them drift off the target.
These concepts may seem somewhat advanced, but they are essential and something that should be developed as early as possible. Building correct technique starts with minimizing mistakes or tackling the easy mistakes first.