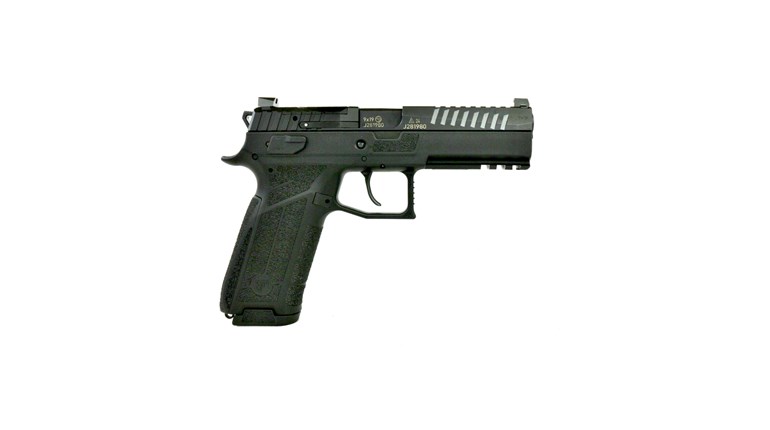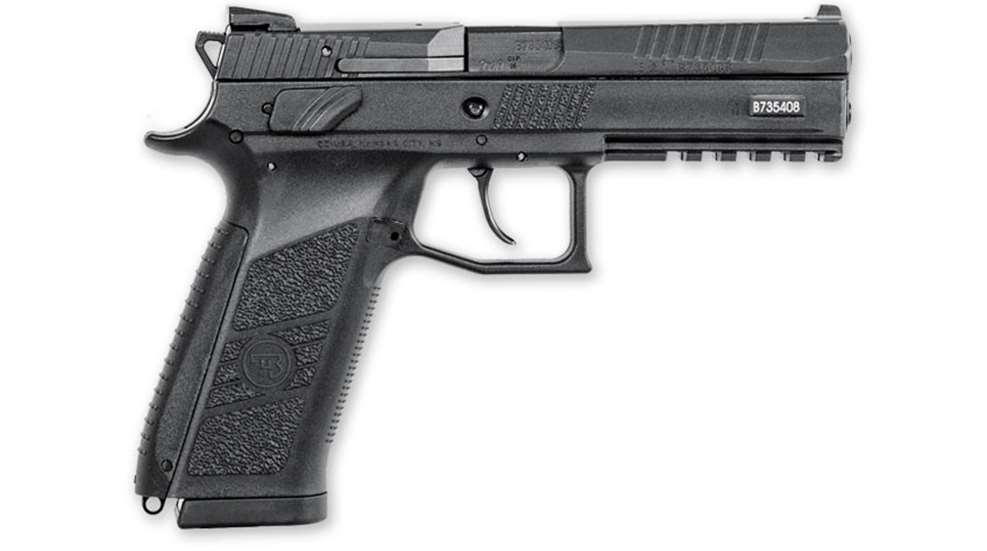
I just picked up a previously owned CZ P-09 with five extra magazines for a really good price. My intent is to make a competition pistol out of it, so it is my current “project du jour.” How do I convert the pistol from its standard double-action/single-action trigger with a decocking lever to a cocked-and-locked trigger with a manual safety, similar to the CZ 75? The double-action pull is OK, but I would prefer one consistent trigger pull for the purposes in which I intend to use the gun. L. C. Crick, Greensboro, NC.
I first became familiar with the CZ P-09 and its little brother the CZ P-07 several years ago when visiting the factory in the Czech Republic. What impressed me the most about each of these pistols was the new Omega trigger design, a simplification and improvement of the already-excellent CZ pistol triggers. Like their predecessors, they can be user-convertible from the decocking version to the manual safety or cocked-and-locked version and back again.
It sounds like you don’t have an owner’s manual for your pistol and perhaps don’t have all the parts you need to complete the task. An owner’s manual is easily downloaded from CZ USA’s website.
The decocking-lever system has three parts, the right decocking lever, the left decocking lever and the decocking-lever spring. When disassembling the decocking-lever assembly, take precautions to guard the spring, which is seated in a hollow roll pin embedded in the frame. The decocking-lever spring has a tendency to disappear when caution is not used during the disassembly process.
To remove the decocking lever, the pistol should be unloaded and fieldstripped with everything but the frame put aside. Although the manual doesn’t say to cock the hammer, in my experience, it is helpful in both the disassembly and assembly process.
By depressing the front of the ejector down toward the magazine well, the decocking-lever shaft is released, allowing the left lever to be pulled out of the left side of the frame. As this is taking place, the shaft is disengaged from the right decocking lever and follows the left lever. The decocking-lever spring tension is released as the shaft moves across the frame. Hold it in place until it is free of the shaft then pluck it from its seat in the hollow roll pin. Put it where you can find it if needed in the future. Finally, depress the trigger bar and rotate the right decocking lever to the vertical position and remove it from the right side of the frame.
To install the manual-safety system, you need the right safety lever and the left safety lever to which the connecting shaft is attached, as well as a spring and the index tab that ensure positive positioning of the safety levers when in either the on or off position.
Start installation by depressing the trigger bar while starting the right safety lever into the frame at the vertical. Once seated against the frame, rotate the safety lever forward, just enough to lock it in place.
On the opposite side, start by ensuring the index tab and spring are securely seated on the inside of the left safety lever. These too, are small parts that like to travel the world, so exercise caution when handling them during the installation process. Depress the ejector to allow the safety shaft to pass across the frame and interlock with the right safety lever. Make sure both left and right safety levers are flush against the frame before releasing the ejector, which will lock the manual safety assembly in place.
Test your work by cocking the hammer and engaging the safety levers, covering the red dot on either side of the frame. The hammer should not fall when the trigger is pulled. Depressing either safety lever will allow the trigger to release the hammer, which should be controlled with a thumb or finger. Once the manual safety has been verified, reassemble the pistol and perform a function check to ensure all systems are working properly.
Finally, the manual safety is not designed to be used with the hammer forward of the single-action notch. In fact, with the safety in the “on” position and the hammer forward in the safety notch, pulling the trigger hard enough could actually damage some of the internal parts.


