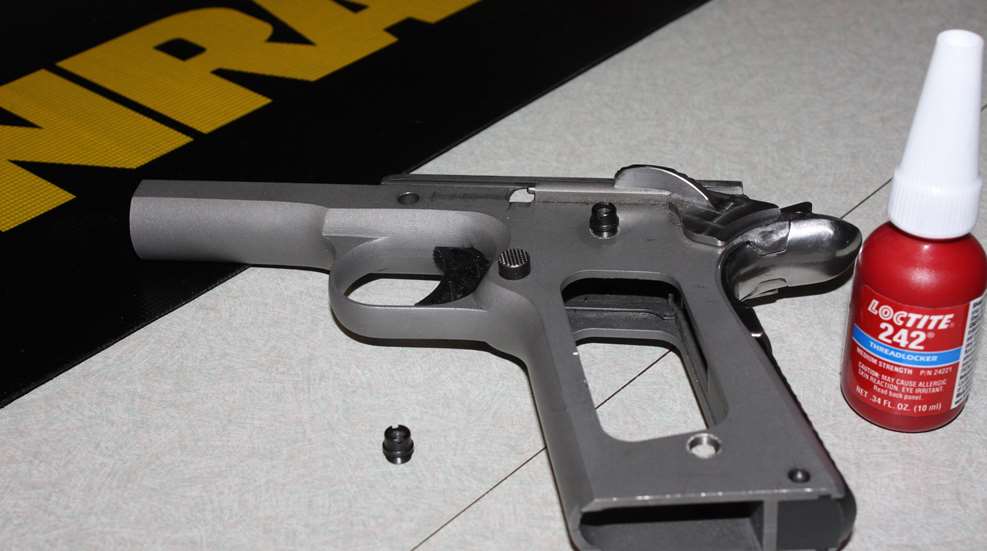
Although installing grips-screw bushings is simple, that simple fact makes the process particularly easy to mess up if you’re not careful.
Put another way, a cross-threaded grip-screw bushing often requires a EZ-Out (broken-screw) extractor tool. Furthermore, once it’s removed, in addition to a new bushing, chances are the hole in the frame will likely need to be re-tapped. Bottom line: Care (and the proper tools) should be used to make sure the bushings are installed properly the first time.
Kuleck and Oldham recommend using a grip-screw-bushing driver, and coming from someone who has avoided them in the past (and subsequently destroyed my share of grip-screw bushings) a driver is a wise, and inexpensive, investment. Be aware however, not all bushings fit a frame properly, so trial fit them before proceeding with the installation.
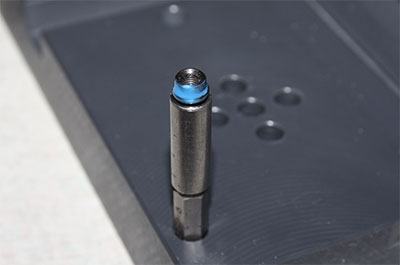
Put a drop of thread-locking compound on the grip-screw bushings and start them in with your fingers to make sure they aren’t cross-threaded. The threads are quite fine, and can easily be stripped out of the frame, so go slow. (I choose thread-locking compound over staking the bushings, because some gunsmiths such as Paul Liebenberg of Pistol Dynamics, claim staking grip-screw bushings in place makes removal impossible without destroying the frame. Non-permanent thread-locking compound offers a quick and economical alternative.

Don’t begin using the bushing driver until you’re confident the bushing is properly started into the frame. Then tighten each one with the bushing driver, and let the frame set overnight, so the thread-locking compound can cure. The next morning, check to make sure the bushings aren’t protruding inside the frame. If any are, dress the offender(s) back with a file.
Next, install the grips (the proper term is stocks) of your choice, then add the screws, and in the words of Kuleck and Oldham, “Tighten them just short of Gorilla-tight.” (More snug than Gorilla, in my opinion.) Lastly, placing a small O-ring under the head of each screw will keep the screws tight, without running the risk excessive torque.
At last, you’re ready to assemble the slide and frame together. As you near completion of your pistol, there are some components and customizations worth consideration as you begin reassembly.
The next entry will, cover what each of them are and why such minor touches are worth adding to your pistol.