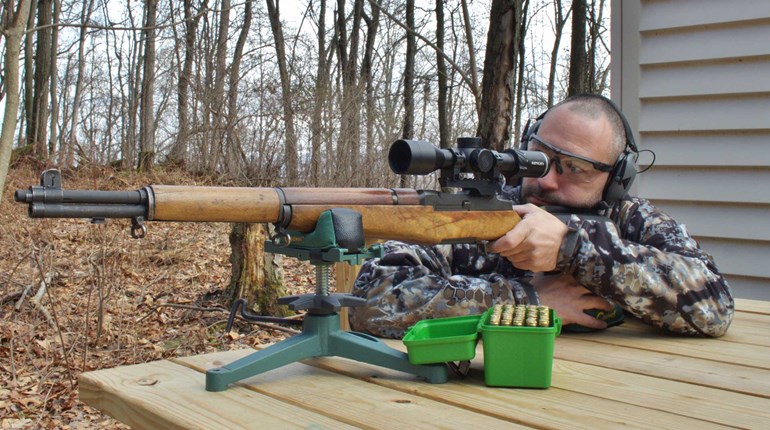
For about the last 5 years or so the popular Dot-Torture drill and target have been showing up in a multitude of defensive courses, both introductory and advanced in nature. If you aren’t familiar with this routine, it is a simple 50-round defensive pistol drill that incorporates nearly every aspect of using a gun for self-defense. While the program encourages a smooth draw, transition and trigger squeeze, it has two fundamental flaws:
- There is no time limit.
- The targets are incorrect with respect to their application.
Not having a time limit just isn’t realistic. The maneuvers that are being taught (or perfected) need to be performed under stress, as someday your life may even depend on them. Perfect sight picture is seldom a part of shooting on the move, or in unorthodox positions. This leads me to my second point-improper target style. Standard Dot Torture utilizes a series of small, round, bullseye-style targets. The problem here is that these are intended for, well, bullseye shooting. These targets command perfect sight alignment, sight picture and nothing short of a perfect trigger squeeze. Again these are all fundamentals that take a backseat in life or death scenarios and even the practical shooting sports to some extent. So what takes the front seat then? Well, I believe it is speed.
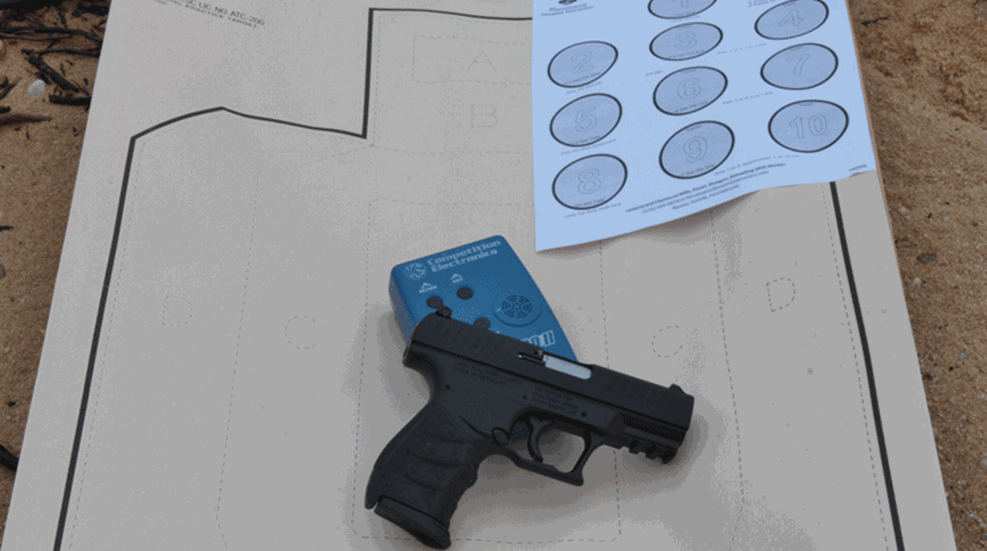
A few years back, I got together with some of my top instructors and re-evaluated the traditional Dot-Torture drill. We kept what we loved and changed what we didn’t to produce a version of this drill that would be more relevant to defensive shooting. Essentially we kept the same routines, but instead of the classic 10-dot target, we subbed in a standard IPSC silhouette at a fixed distance of 7 yards. If IDPA is your sport of choice those targets are easily adopted as well. The major change comes in our scoring system. Our drill is based on the same 50-round count, but instead of having to maintain a 100-percent hit rate, you need to make the time requirements for each repetition to be valid. Hits also have a quality rating on our version, as you can only reach your top score if you consistently hit in the A-zone(s). For each shot in the center A-zone, the shooter will receive two points and one point for each hit in the C-zone. Zero points are awarded for D-zone hits and unintentional headshots. 
So let’s begin with the first drill, which is designed as a warm-up. On the original, the start position was from the low ready and on command five well-placed rounds were to be applied to target number one. We kept this the same except from an audible start tone the shooter must place those same five rounds into the center A-zone in under 7 seconds. If the shooter doesn’t get all five off in that time period they receive a zero……there's your stress factor.
The second drill is fired on target #2 and is one simple shot from the holster, repeated five times. This is exactly how it goes in the original as well, except in ours the student has 2.5 seconds to get out of the holster and score a center A-zone hit. Each attempt that is outside of that time allowance doesn’t count towards their score, no matter how accurate.
The third drill is the first drill where the shooter is tested on their transitioning skills. The original dot requires a holstered start and a single shot to target #3 and then a single shot on target #4. This is to be repeated four times. Our full-sized dot torture carries this same routine but instead of two dots, we utilize the center A-zone and the A-zone in the head portion of our IPSC target. The shooter is allowed 4.5 seconds for each attempt.
Drill number four is a strong-hand-only drill, just the same as in the original. Again the shooter will start from the holstered position. Once the buzzer goes off they have 15 seconds to get out of their holster and get those same five rounds off. Just like drill number one five alphas are worthless unless they are all in on time. This also introduces the shooter to decision making under stress—“Should I yank the trigger and lose a point to keep the eight I already have?”
I consider our fifth drill to be the biggest improvement over the original Dot-Torture version, as it not only utilizes the proper target, but the proper approach as well. If you aren’t familiar with the original I am talking about the double-tap drill. In the original version, shooters had to place two shots on target #6 and then immediately place two shots on target #7….tiny target #6…..and tiny target #7. Double tapping a target isn’t about having a perfect sight picture. In fact, that second shot should be delivered with absolutely no sight picture at all. Slowing down to find your sights to score a hit on your second shot isn’t the performance of a successful double-tap, it’s just two well-placed shots kinda quick. So again we use the center mass area and the head of the target and allow the students to get their four rounds downrange in 8 seconds. Here the focus is on proper indexing and follow-through, not sight picture.
The second to last drill is weak hand only. Our only change is the addition of a 25-second time limit. This is certainly obtainable and designed to swiftly change gears on the shooter, forcing them to use their sights and pay attention to their trigger control once again. Those shooters who find themselves in trouble on stages that go from CQB-type targets to plates at 35 yards will find this drill very helpful as long as it is immediately preceded by the one prior to it.
And wrapping it up is the reload and transition drill. Just like the original, we transition after the reload, except it follows our pattern of starting center mass and transition to the head. We allow 7 seconds for each run to be valid for score. This is even enough time for the revolver crowd to dig out their speedloader and refill the ol’ wheelgun, or at least realize why they need to go out and buy one.
When you have finished the drill you will have fired 50 rounds, if you did it perfectly you should have scored 100 percent. This, of course, poses the follow-up question of “Then what?” Well, cut your time allowances in half. In fact, every time you graduate cut it in half again. The beauty of this math is that meeting the next milestone is much easier than meeting the one prior to it. Getting drill #1 down to 3.5 seconds from 7 seconds is tough, but getting it down to 1.75 from 3.5 is much less of a jump. This routine promotes steady growth and keeps a developing shooter optimistic as they improve.
So next time you are looking to get someone into their first routine for defensive or practical competitive shooting, consider this drill. We utilize it in Renaissance Firearms Instruction as it starts them on the right foot without contradicting some key principals in pistol shooting. A free download of these instructions overlaid on the original dot torture is available in the printable targets section at rfimediaevents.com. With that, all you need is a standard IPSC target and one lonely box of ammunition to train as you fight.