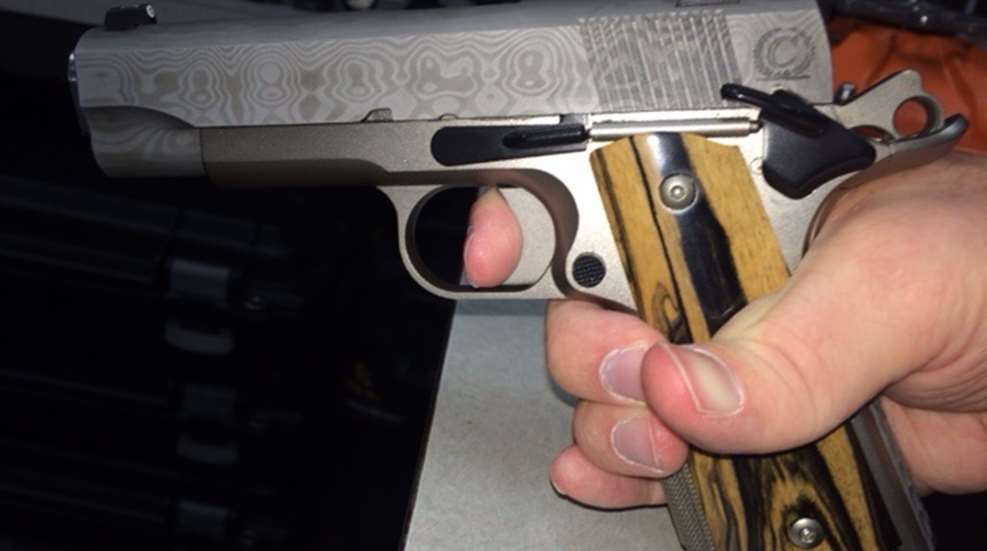
Before beginning the safety checks, make absolutely curtain there is no live ammunition present in your work area. Remove the magazine, lock the slide rearward then visually and tactilely confirm the chamber is empty.
Hammer Hooks Test
Now, with the muzzle pointed in a safe direction, drop the slide by depressing the slide stop. The hammer should not fall. If it does not fall, do not repeat the test as it is extremely hard on the sear nose and hammer hooks and, as such, should only be done on extremely rare occasions. (This message goes double for you, Jay Grazio.) If the hammer does fall, the likely culprit is insufficient hammer-hook engagement. According to Kuleck and Oldham, “Increasing the tension of the sear leaf may provide some `band-aid’ improvement…or you may need to replace the hammer and re-cut the hooks. In any case, hammer fall is a symptom to be taken seriously. If the hammer falls during the test, it’s only a matter of time before the hammer can fall at the end of the firing cycle, resulting in a `double’—two rounds discharging in succession after one trigger pull—or more. Unsafe and illegal.” Assuming you pistol passed the first test, the next portion of the pistol to check is the thumb safety.
Thumb Safety Test
Cock the hammer, engage the thumb safety and, with the muzzle pointed in a safe direction, pull the trigger firmly, and release. (Don’t touch the hammer or trigger again.) The hammer should not fall. If it does, the thumb safety needs to replaced and refitted.
Now, hold the pistol close to your ear, without touching the cocked hammer or trigger. (Note: the thumb safety already engaged already pulled and released the trigger.) Now, while still holding the pistol to your ear, pull the hammer back slightly and listen carefully. If you hear a click, the thumb safety failed to prevent the sear from moving when you pulled the trigger, and the sear partially disengaged from the hammer hooks. This condition also makes the pistol unsafe and requires the thumb safety be replaced and refitted. Provided your pistol passed this test, time to check the grip safety.
Grip Safety Test
Cock the hammer and press and release the trigger without depressing the grip safety. (Do not touch the trigger again.) The trigger should not have released the sear and dropped the hammer. If the hammer drops the trigger needs to be replaced and refitted, and/or the grip safety needs to be replaced and refitted.
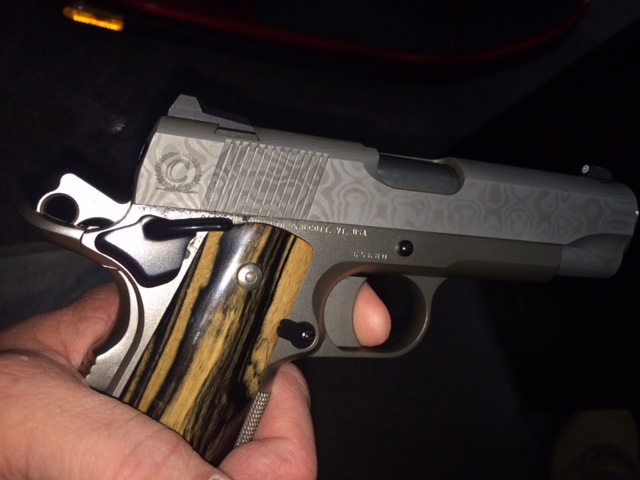
Now, place the pistol close to your ear again, without touching the trigger, grip safety or hammer, and pull the hammer back slightly once more (as you did earlier when testing the thumb safety). If you hear a click, the grip safety did not keep the trigger from moving the sear, and the sear partially disengaged from the hammer hooks. As before, this condition also makes the pistol unsafe and requires the replacing and refitting the grip safety. If the grip safety passes, it’s time to test the function of the disconnector. The purpose of which is to is to prevent the sear from releasing the hammer when the slide is not in battery, and also from releasing the hammer more than once for each pull of the trigger.
Disconnector Test
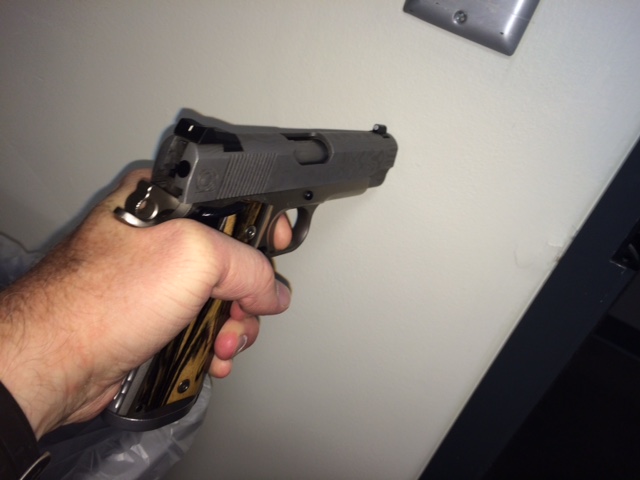
Cock the hammer and hold the hold the pistol as if you’re preparing to fire it. Press the muzzle against a hard surface, pushing the muzzle rearward as far as it will go—roughly .25 inch—thereby forcing the pistol out of battery. While the pistol out of battery, press and hold the trigger. The hammer should not fall. Now release the pressure on the muzzle and allow slide to return forward, placing the pistol back in battery. Now, release the trigger slowly. You will hear a click that indicates the disconnector is re-engaging the sear. Pull the trigger again, and the hammer should fall. Having passed the disconnector test, it’s time for a bit of fun.
Dry-Fire Function Test (The pencil Test)
Having just proved the pistol will not fire when we don’t want it to, now it’s time to see if it will fire when you want it to. First, you want to make sure the firing pin is installed. Second, you want an unsharpened or relatively new No. 2 pencil. (Don’t worry, this isn’t a multiple-choice test, and no Scantron sheets are required.) Then, why the pencil, and why unsharpened? First, because in most cases an unsharpened pencil has a fresh, full-size eraser, which will come in handy. Second, because if your pistol is functioning properly you want a blunt projectile on the opposite that’s incapable of sticking into anything, or inflicting unwanted damage.
Cock the pistol, point it upward and drop the pencil down the bore—eraser-end first—and pull the trigger. The action should cause the pencil to launch several feet into the air. If not, double-check your firing pin is installed, that it moves freely and that the tip isn’t too short or broken off. Also make sure the firing-pin stop is properly aligned with the firing pin so the firing-pin tail has free passage.
Since my pistol is of Series-70 configuration, I’m opting not to address Series-80 safety checks. For those who wish to know about them, consult any of the aforementioned technical sources I’ve mentioned.
Assuming your pistol passes the pencil test, it’s time to test how well your creation cycles rounds before setting foot on a range.
