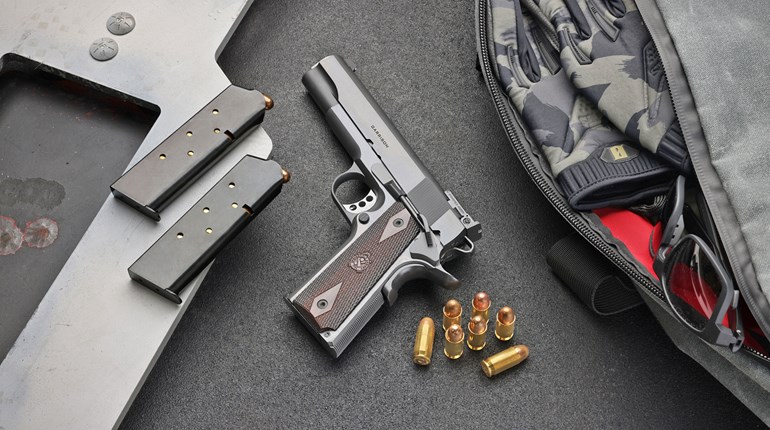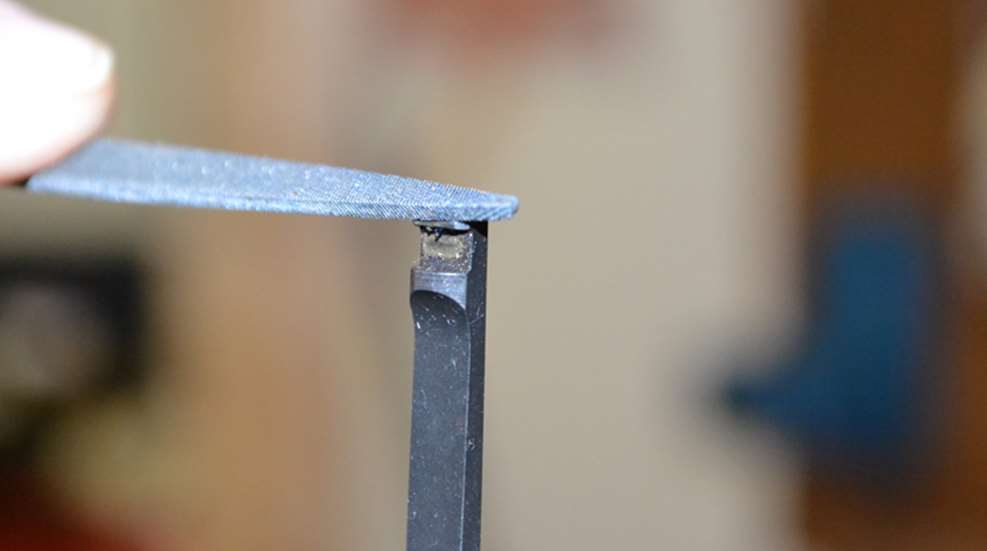
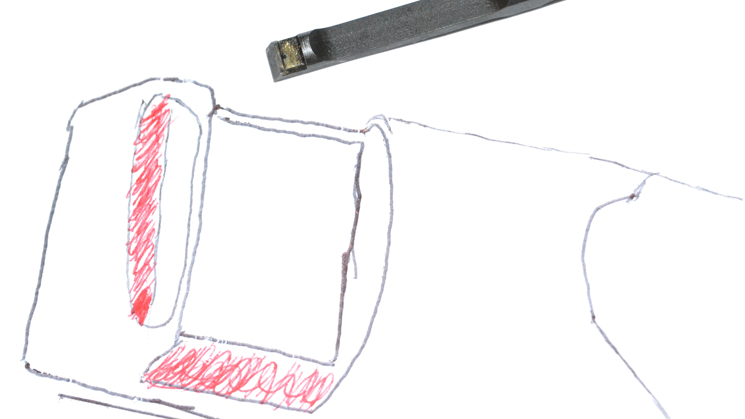
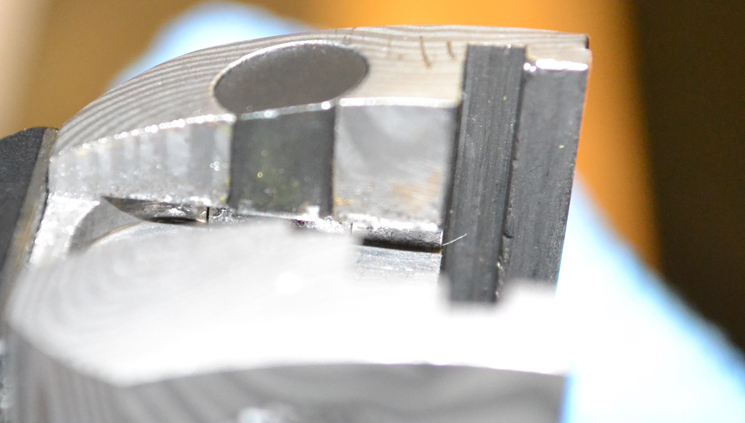
In Kukick and Oldham’s book, they write, “Installing the extractor is simply a matter is generally a simple matter of sliding the extractor into the tunnel provided for it in the slide.” Of course, there’s a bit more to it than that. The unique leaf spring has a fulcrum in the middle and a hook on one end. In addition to applying essential tension, certain areas of the hook must be lightly beveled to foster smooth feeding. In a nutshell, you need to “break” or bevel the outside edges of the extractor and the extractor hook: the bottom of the hook and the engagement flat just behind the hook. Doing so smoothes the entry points for the cartridge rim, thereby enhancing reliable feeding. It goes without saying that dealing with such minute angles will likely require a magnifying visor, a nearby bright light, jeweler’s files and, naturally, a steady (read non-caffeinated) hand. [Don’t ask me how I know that last part.]
While prepping the extractor is more tedious and time-consuming than difficult, I opted to give this the old college try with understanding that since the Caspian is destined to be a carry pistol the pistol’s reliability it best left to a professional gunsmith. Fortunately, extractors are fairly inexpensive, so when I’m told it needs to be replaced, I’ll have the satisfaction of trying it myself—and more importantly—the knowledge base to improve upon with future builds.
Once you’ve completed prepping the extractor by lightly beveling the outside of the hook, try to install it inside the channel located on the right rear portion of the slide. (It should fit fairly easily.) If not, use a flashlight to examine the interior of the channel for any burrs or debris, which can be easily removed by “chasing” the channel by finger twirling a tight-fighting drill bit that fits the larger rearward potion of the channel and a second smaller diameter at the front. If it still won’t fit, ink the rear cylindrical portion of the extractor, try installing it again and check for wear marks. File or sand any offending areas until the extractor fits flush against the rear of the slide.
 With the extractor prepped, now you can focus of applying the correct amount of tension to it.