Most experienced shooters understand the importance of time management when shooting, but what is the secret to using timing to shoot faster? Understanding the difference between time and timing can launch your shooting performance to the next level.
When looking at it from a thirty-thousand-foot viewpoint there are two options to increasing speed – go faster or increase your efficiency. If you need to quickly get from point A to point B on foot, then you have two choices – walk faster or run. No matter how fast you speed-walk it can never match the optimal potential of running. By changing from walking to running you have exponentially changed your efficiency of movement.
Walking faster does accelerate your movement but running changes the way you execute your objective with the potential for far greater results. Both require one foot in front of the other with alacrity and both require moving in the same direction. However, one is more efficient than the other in terms of timing.
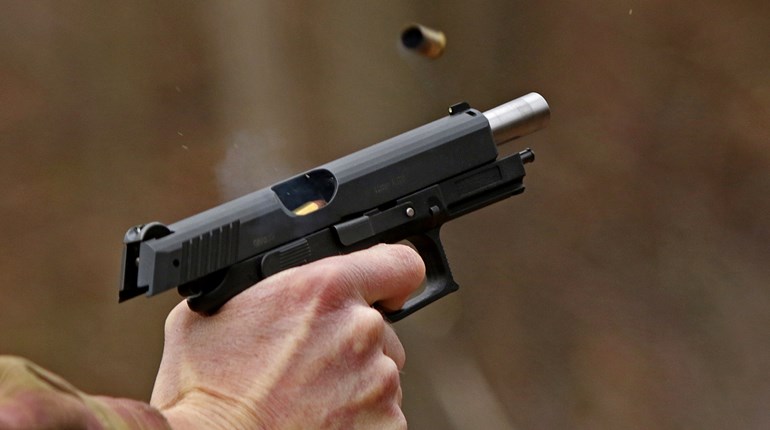
The analogy of changing modalities also applies to shooting. Both the combative and competitive handgun shooter each benefit from rapid deployment. The less time you spend drawing from the holster and aligning the muzzle with your target, then the less time it takes for you to get a round on target. The faster your draw the faster your first-round hit.
Time versus Timing
In rapidly presenting the handgun from the holster, there is a difference between going fast and being efficient. You can look at it from two perspectives go faster by focusing on time or be more efficient by focusing on timing. The difference is try to go faster (time focus) or change the way you perform your draw stroke mechanics (timing focus).
If you go with time focus, then your only option is to simply try and go faster (speed walking). However, should you elect to develop your timing focus, then this affords you three additional tools in your tool kit that can perfect your timing by making it more efficient (running versus walking) and launch your performance to the next level.
In referencing your handgun presentation, the tools are establishing your index positions – the ‘what’ (ex. acquire a positive strong hand grip on the handgun when it’s in the holster, bringing both hands together as part of your drawstroke, etc.), hitting these positions [what] as shooting process waypoints – the ‘where’ (ex. holster position, what exact location in space do your hands come together, etc.,) and then performing them in sequence each at the appropriate time (ex. your hands come together before visual confirmation of alignment). Set your index positions(what), find your waypoints (where), and mentally focus not on the when but the where.
Index Positions
Referencing the draw stroke, you can describe the shooting process as removing the gun from your holster, align your muzzle with the intended target and making a good first-round hit in the visual center of that target. As any experienced handgunner will tell you this ‘simple process’ involves many detailed, refined and complex body mechanics.
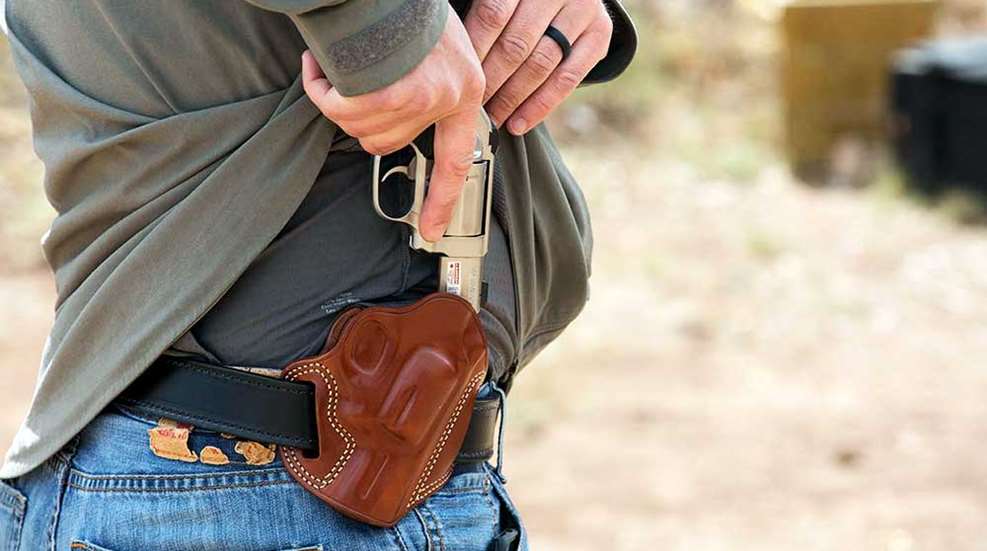
The first of these is to defeat your cover garment (if you are carrying concealed), defeat your holster retention device(s) if you are open carry and if no garment or retention devices and you are drawing from a competition holster, then moving your hand from start position to nearest an initial strong-hand grip.
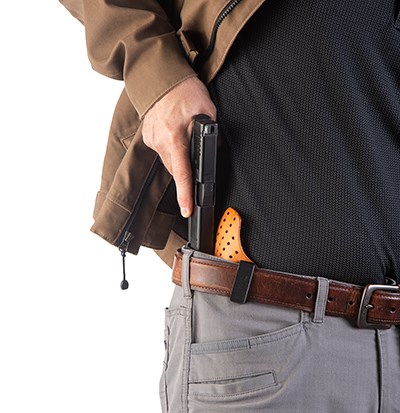
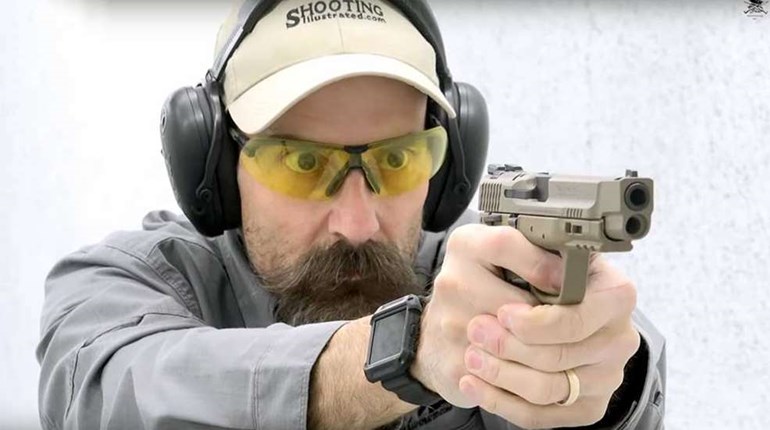
Once you’ve established a positive grip on the gun in the holster (first index position), you then move with alacrity to start the simultaneous two-hand grip and alignment process. The process calls for marrying the two hands together (second index position) and then utilizing kinesthetic alignment to feel your way into visual verification (irons or dot) of that alignment thus establishing your third index position – stability with alignment. While this is all going on you’re also in the sub-process of trigger control prior to breaking the shot (fourth index position) when you have appropriately built the shot.
Lastly, upon visual verification of alignment and a positive hold in bringing stability to alignment you of course flawlessly break the shot which is your fifth and final index position with good follow-through.
Waypoints
Once you’ve determined your index positions, it’s important to isolate each as an individual or isolated skill. In this example, index position 1. initial strong-hand grip in holster, index position 2. bringing both hands together, index position 3. make kinesthetic alignment culminating in visual alignment, index position 4. optimal trigger manipulation leading into index position 5. a well-controlled break with follow-through.
After isolating each set index point now comes the real work. All of this can be done either in dry or live fire. It is recommended to run it dry first so that you don’t have the distraction of a bang to disrupt your keen observation of each index position.
Repeating each index position in isolation (that one position only) for at least 20 to 30 reps helps to build both mental focus and kinesthetic familiarization required for myelinization. The next step in the timing development process is to sequentially layer your isolated index positions stacking your skills and now working on the efficiency of movement in between (connecting) each.
The task is accomplished by the old-school pyramid building process. Execute index position 1 followed by position 2. Start with position 1 again followed by position 2 and now add position three. Start with position 1 again, followed by 2, then 3 and now add position 4. Start with position 1 followed by 2, followed by 3, followed by 4 and now add position 5.
Executing these in order and always starting with the first position establishes each as a fixed waypoint or mental ‘mile marker’ throughout the presentation process. Your familiarization with these precisely placed mile markers or waypoints is what eventually builds familiarity, confidence and eventually repeatability - the earmarks of personal skills development.
Where versus When
The last and final step is to ensure that each waypoint is hit not at a certain time (when) but at a precise physical location in space (where). For example, where you marry your hands (waypoint 2) is more important than when you link them up because if you either fail to hit your waypoints at the right point in space or hit them out of sequence, you then must either make an adjustment or retrace your steps and find that waypoint again wasting valuable hundredths or even tenths of a second. A typical example of this is need for realignment.
Where a waypoint is hit is critical to efficiency. Whereas whit time you hit it is a lower priority - especially if it is out of position or out of sequence. Most shooters try and go fast (time focus). However, increasing your shooting performance is to increase control of how well you perform each index position in sequence and where you hit those waypoints (timing focus).
Being mindful of both time and timing are critical performance considerations especially for those shooters seeking to exploit efficiency of movement - the true secret to speed.