Like many security-conscious gun owners, I keep a few tactical shotguns for home defense. Because I can safely do so, I choose to keep the magazines loaded. The trouble with this approach is the magazine spring can lose strength from being compressed and, over time, it may “take a set” so it will no longer reliably feed the ammo in the magazine. Even the springs in guns left unloaded can lose strength over time. No matter how you store your shotgun, it’s a good idea to replace the magazine spring on a regular basis, just like changing the oil in your car.

The Wolff XP spring provides up to 20 percent more power than a factory spring, and it only costs $5.39 at Brownells, so it makes sense to replace the magazine spring once a year if you keep the magazine loaded and every five years if you do not. In a fighting gun, reliability is everything, and a new spring is cheap insurance.
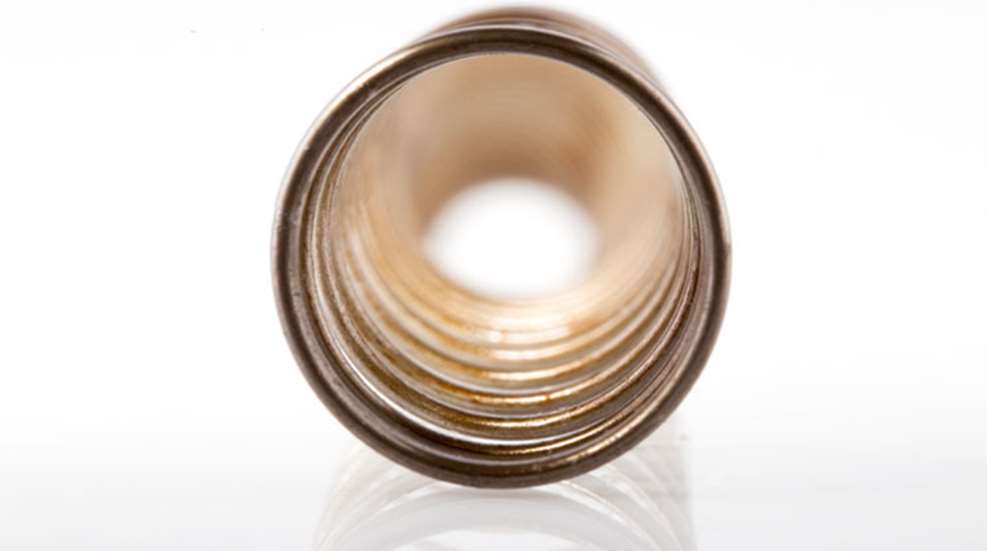
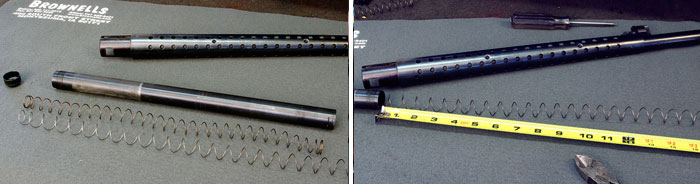
The spring is 40 inches long and must be cut to fit the specific shotgun tube—an easy project. The first step is to remove the old spring and follower from the shotgun. In this case I am changing the spring on a pistol-grip Mossberg 500 shotgun I have owned since the early 1980s. That last point is important because of a difficulty I encountered. I might also add that, to my shame, the Mossberg still had the original spring, which was no longer working.
With this shotgun, the entire magazine tube unscrews from the receiver to remove the spring and follower. I have always taken care of it, but like a lot of shotguns of this age, the magazine tube was stuck in the receiver. It has been on a lot of adventures with me, and for years, it rode under the seat on my boat.
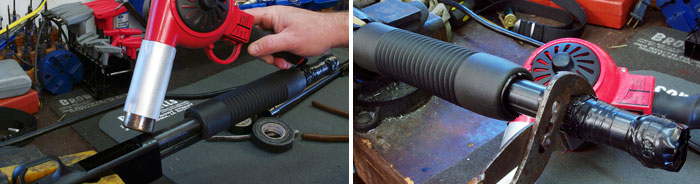
After removing the barrel, I wrapped the magazine tube in two locations with several layers of friction tape. Then, I covered that tape with vinyl electrician’s tape, stretching it to half width as I wrapped. The friction tape provides some bulk and protection, while the vinyl tape adds tension to help it grip.
Using water-pump pliers on one section and my off hand on the other, I attempted to unscrew the magazine tube, but it was stuck fast. You see, the receiver is aluminum on this shotgun, while the magazine tube is steel. These metals expand at much different rates when heated, so I used a heat gun to rapidly heat the receiver where the magazine tube attaches. This can also be done with a propane torch, but be very careful not to overheat the part. The heat causes the aluminum to expand faster than the steel and will break the seal that time created between the two. I could now easily break the magazine tube free and unscrew it. Once I got the spring out of my gun, I found it was so weak and compressed that it was about the same length as the magazine tube, which is why it no longer worked properly.
Next, clean inside the magazine tube. Inspect the tube and the follower to make sure they are not damaged or rusty. If they are, replace them.
When installing a new spring, experts—like Mark Roth, owner of RCI, and Kenny Andersen from Nordic Components—suggest the spring must be 12 to 18 inches longer than the magazine tube to start, depending on the length of the tube. These guys are shotgun magazine experts, so I pay attention to what they have to say.
It’s always easier to cut off some of the spring than to buy another, which is what you will need to do if you cut it too short, so leave a little extra. I cut this spring 12-inches longer than the tube, and it was acceptable, but borderline. I should have made it a bit longer.

The goal is to be able to load the number of shells the gun is designed to hold, then insert one more about a third of the way. In this case, the shell went almost half-way, so I could have left still more spring.
For safety, it’s always best to use dummy ammo when working on the gun, but remember to try the shells you plan to use later. For example, slugs are often longer than birdshot or buckshot shells, so make sure they work correctly and you can get them all in.
It may take a few attempts to get the spring length right, but be patient. It’s better to go slow and get it correct. Like a work buddy used to tell me, “if you ain’t got time to do it right, when you gonna find time to do it over?”
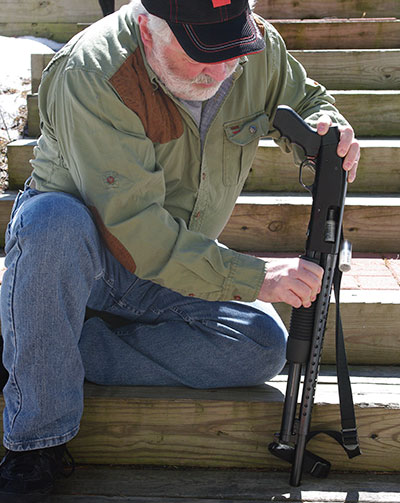
Once you have the spring length correct, load the magazine using dummy ammo that is fully weighted. Stand the gun up with the muzzle down so the spring is pushing against gravity. Cycle the gun through at least two full magazines of rounds. All shells should feed with absolute, 100-percent reliability.
Remove the spring from the gun. Bend the last quarter-inch of the spring, where you cut it, in and down. This procedure is to ensure it will not catch inside the gun or block the rest of the spring as it compresses.
Now put the gun back together with the end you bent at the top of the magazine tube, not at the follower. Test again with dummy rounds.
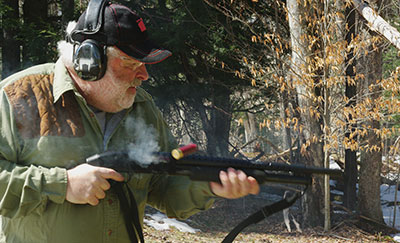
Finally, test fire the gun at the range with live rounds to ensure complete reliability and proper function. This quick project can add to the reliability of your home-defense shotgun at minimal expense and effort. What are you waiting for?