The sheer number of AR platforms and associated aftermarket components in circulation today all but ensure that if you dabble in more than one or two of these firearms, you will eventually encounter a new part that has problems right out of the box. While I come across component issues in several different areas of the AR system, the barrel is where the majority of pre-assembly flaws arise. Most off-the-shelf parts that I use are ready to go as received, but those that are not, always need addressing before a build can proceed. Some of what follows may apply to other platforms too, particularly those that use AR-type barrel extensions.
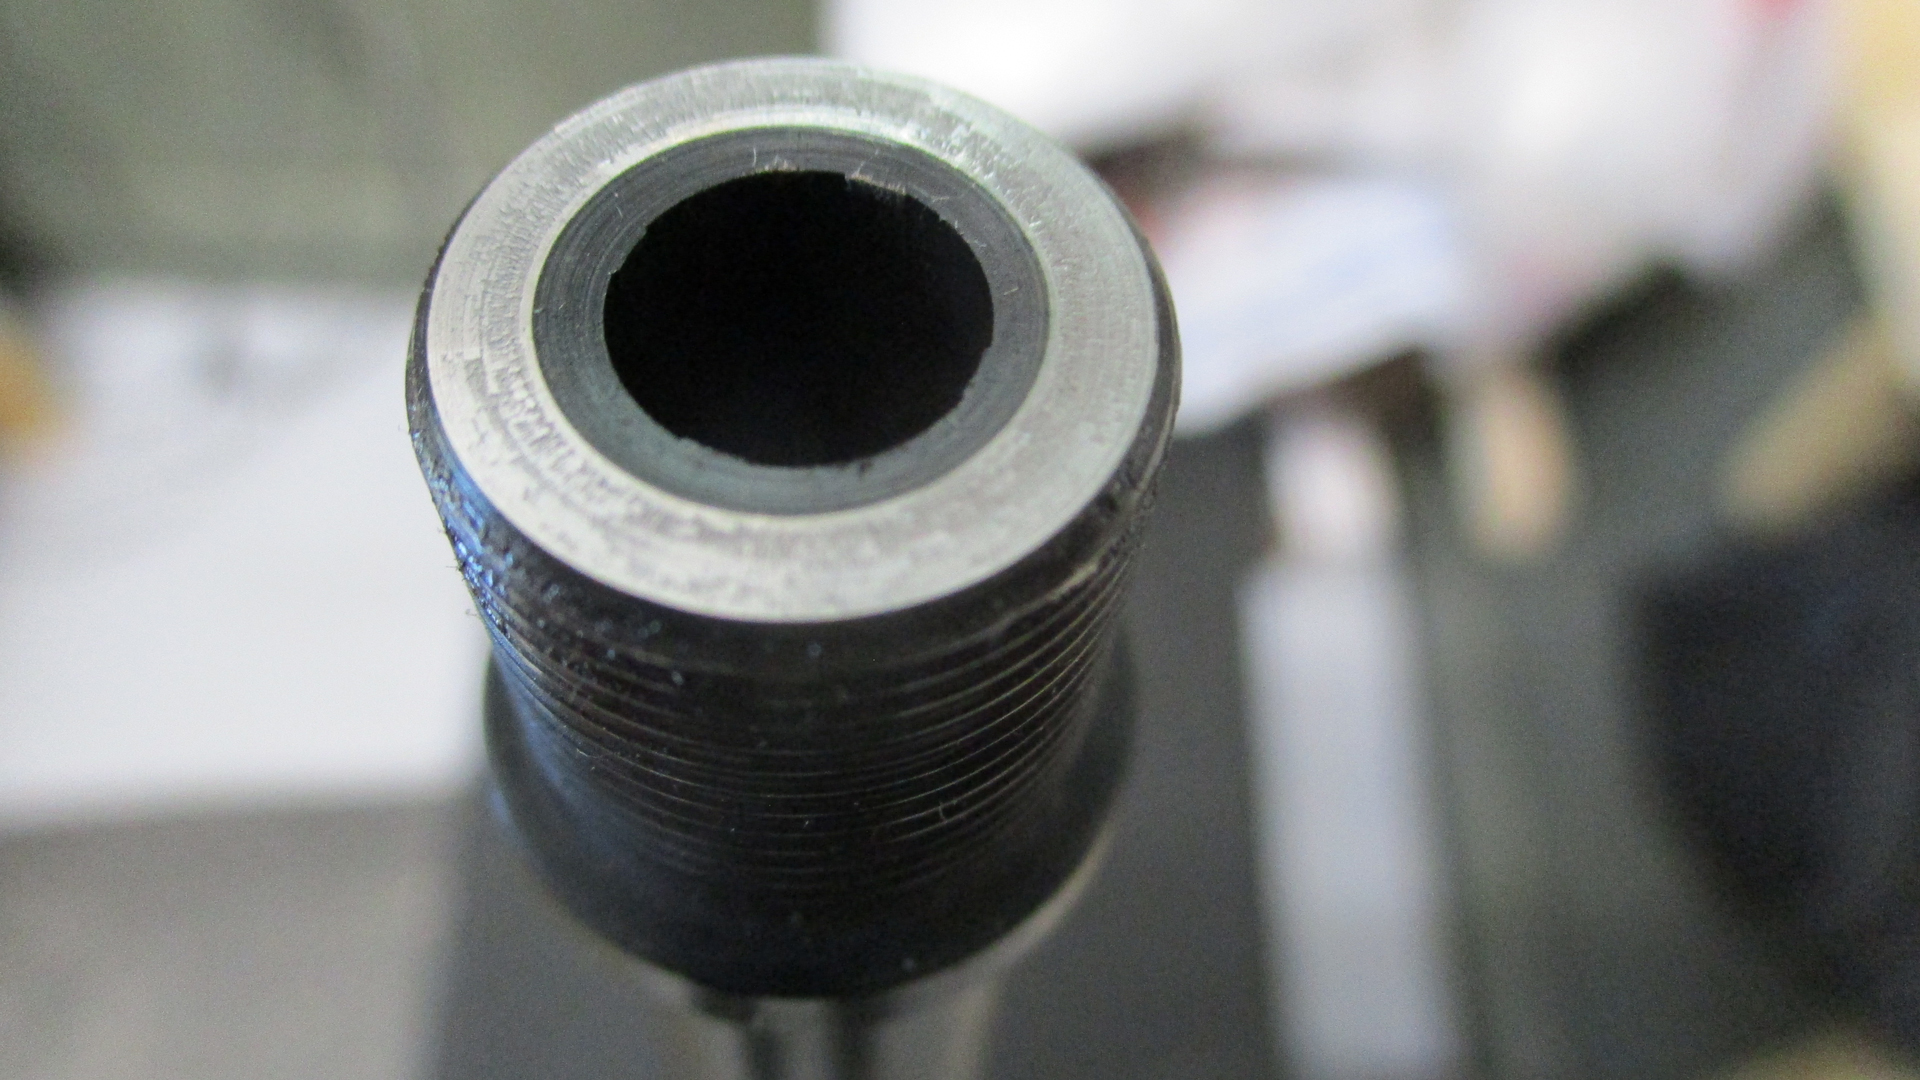
In addition to recording a series of internal and external measurements, I visually inspect every barrel that comes into my hands from end to end, inside and out. Special attention is paid to the crown, feedramps, gas port, muzzle and bore. The crown is checked under high magnification for burrs, gouges or other imperfections that can cause projectiles to leave the barrel inconsistently, diminishing potential accuracy in the process. A magnifying glass or jeweler’s loupe and a good light will go far to help you see how this critical transition from bore to muzzle face has been cut. Most barrels have some form of recessed crown that are cut at varying angles, depending on the maker and barrel type. My experience is that the degree of crown is far less important than how cleanly cut and uniform it is.

Damage to a new barrel’s crown can be caused at any point along the way between production and installation and this is certainly not unique to the AR. Crown damage on any rifled barrel should be carefully evaluated to ensure it is not going to cause problems during firing. If the barrel arrived with an already-damaged crown, I would contact its source in hopes that they will exchange it for a new one before troubling yourself to fix it.
Flawed or damaged crowns can be cleaned up through the use of either hand crowning tools or a machine lathe. If you are only dealing with a single barrel, the most cost-effective route to repair is through a gunsmith. However, if you lack a lathe but are regularly dealing with banged up crowns, investing in a good hand crowning tool will pay for itself in the long run.
After checking the crown and if the muzzle is threaded, I always “chase” the threads with a properly-sized die to ensure they are fully cut and cleaned up. Just behind those threads, the shoulder is the next area that I check. If you plan to use a sound suppressor, this shoulder should be square with the bore and threads to ensure proper suppressor alignment.
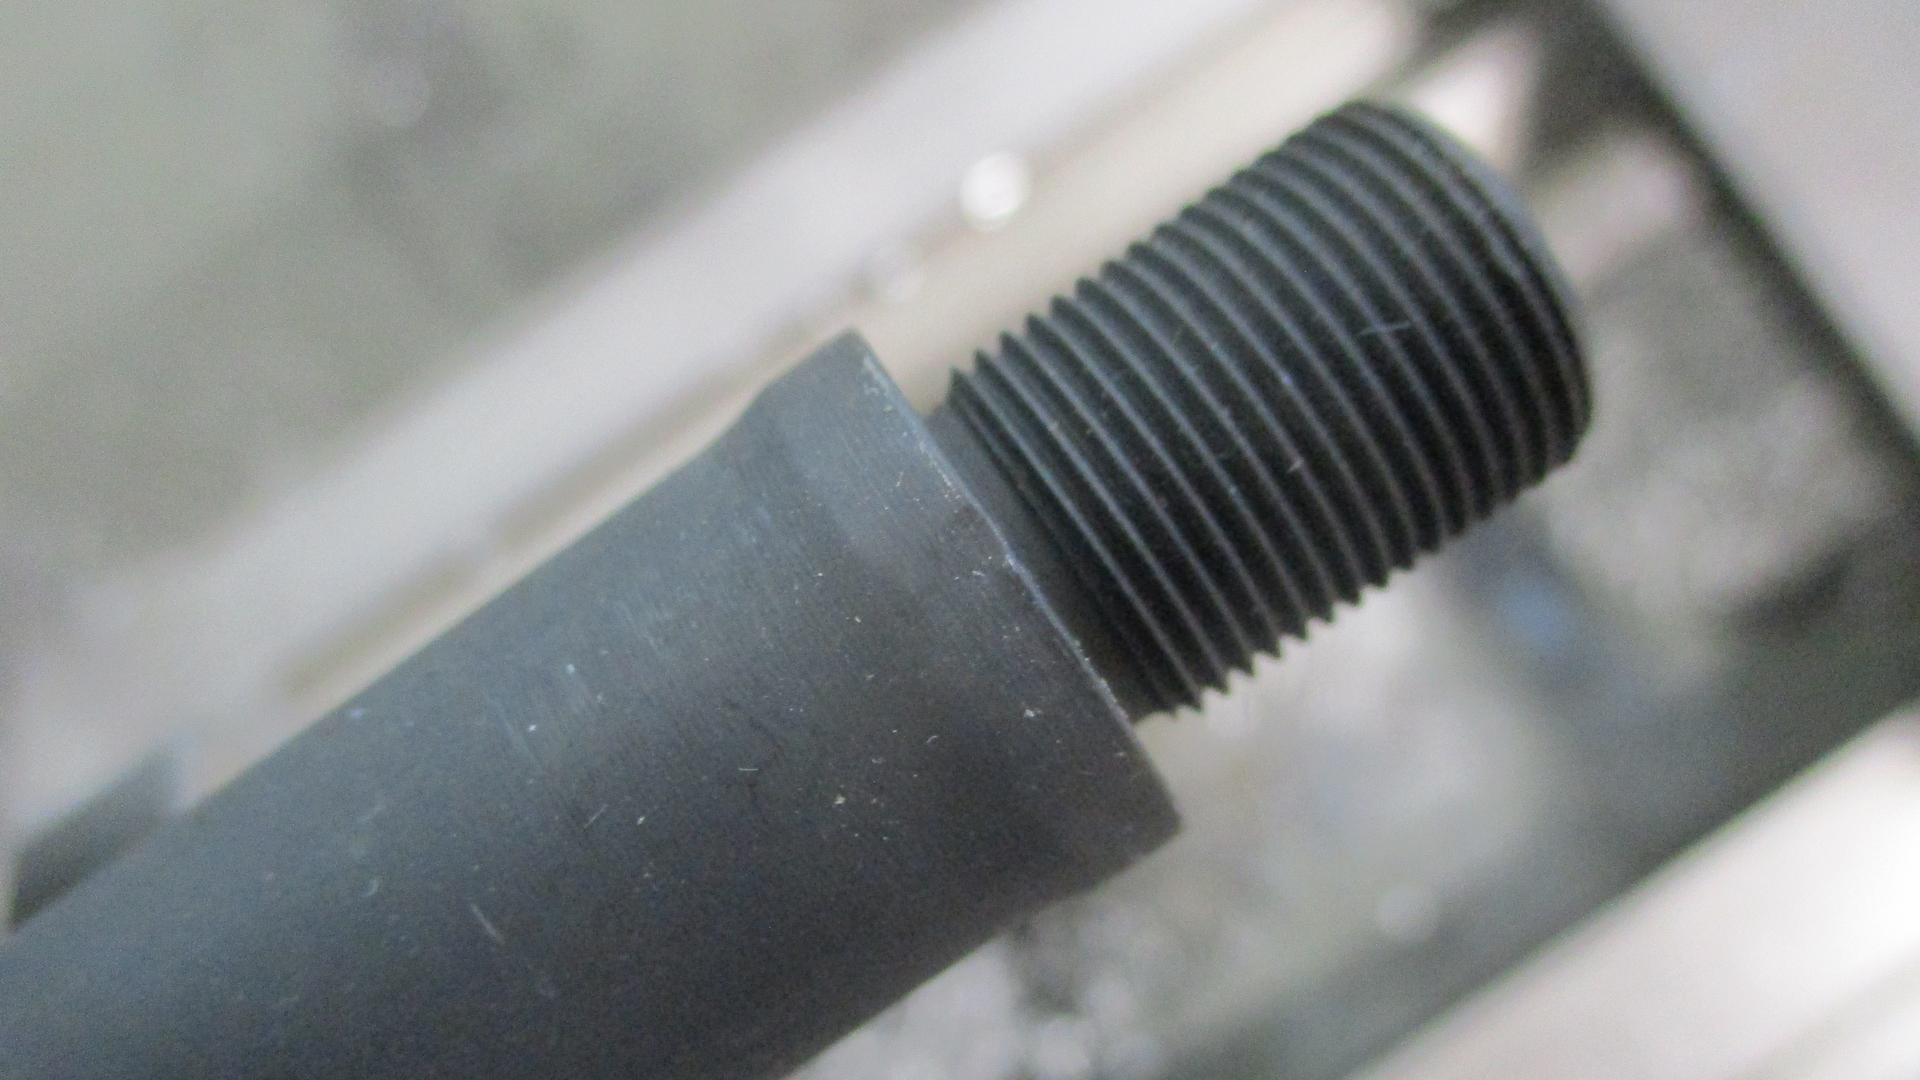
This is true for both direct-thread suppressors and those that use QD mount-style muzzle brakes and flash hiders. If your muzzle device seats on the face of the muzzle instead of the shoulder, the muzzle face will need to be checked instead. I seldom see damage in these areas, but occasionally a barrel comes from the factory with a flaw that would prevent a muzzle device from seating squarely. I use a lathe to slowly spin barrels while I check runout [with gauges] on shoulders or muzzle faces, then remedy any flaws at that time. Again, a gunsmith or machinist can perform this check in just a few minutes and even if it needs to be re-faced, it is a simple operation.
Whether or not you have this check performed, I strongly recommend that at a minimum, you use an alignment rod to verify that your suppressor and bore line up correctly before live firing the system.
Sliding back along the barrel a few inches, we should find a gas port that is drilled at top-dead-center of the barrel when mounted in a receiver. Most manufacturers drill their ports once the barrel extension has been installed so that the index pin, which nests in the upper receiver’s index notch, actually performs its namesake function. Nonetheless, once in every hundred or so barrels, I find one that has the gas port and index pin out of alignment. If the misalignment is more than a couple degrees, there is a pretty fair chance that a properly timed gas block will result in reduced/restricted gas flow, impeding operation and increasing wear of the gas block itself. Unfortunately, there aren’t any great options to repair this problem. If you lack the correct tooling to install and remove a barrel extension, this manufacturing error is best left to a gunsmith or (preferably) the manufacturer to remedy.
A simpler and far more common problem is having an undersized gas port. A decade or so ago, barrel makers tended to oversize gas ports, especially on service-grade barrels. The prevailing wisdom being that it was better to have too much gas and keep the gun running rough and dirty than too little gas preventing it from running at all. It was left up to gas block makers and gun builders to figure out how to modulate the excess gas, especially when using a sound suppressor.
The situation is nearly the opposite today, as both match and rack-grade barrels are frequently sold with ports that are either undersized or only marginally functional as-is. Therefore, gun builders oftentimes must open ports according to the configuration of the gun and its intended use. Opening a barrel’s gas port is not difficult, but knowing how far to open it is a critical part of the process. I measure every gas port that comes across my bench and cross-reference it with a database of the 1000+ barrels I have previously measured to ensure that the size is appropriate for the length, caliber, gas system, gas block type, planned suppressor use and bolt carrier/buffer system weights.
When working with a new caliber or barrel type that I have no data on, I start by testing the factory port size to see if it provides enough gas to lock a bolt back on an empty magazine. If it does, I check feeding of multiple rounds and empty mag lock backs with different mags and ammo types. If all is well, I leave the port alone. But if the bolt fails the lock back test with multiple magazines, I open the existing port two to three thousandths of an inch at a time, testing to see which size gets the gun functioning correctly.
When opening a gas port, the best way to ensure your bit stays square to the barrel (preventing elongation, angling of the port or a broken bit) is to use a vertical mill and machinist’s vice. A drill press will also work, so long as you can lock in the barrel and square it to the bit. In a pinch—such as when doing a range repair—a steady and practiced hand can open a port with a hand drill. I do not recommend this method because it is too easy to mess up a barrel if you are not careful. Regardless of method, positioning a steel, aluminum or brass cleaning rod in the bore and under the port will help prevent drilling too far, damaging the barrel’s rifling. I place one hand on the rod where it protrudes from the muzzle so that I can feel the instant the drill bit comes into contact with it, indicating that I am through the port. This is the time to stop drilling and carefully remove the bit.
I should add that regular drill bits leave a lot to be desired for port work. They tend to dull easily—especially when drilling through nitrided barrels—and they leave the port’s interior opening very rough. I use dedicated gas port bits with carbide shanks, dual straight flutes and Titanium-Nitrided coatings as well as cutting oil. If you do not know your optimal port size, this can be a slow process as you drill a step at a time, then assemble the gas system and test the rifle or pistol before repeating the process until it is fully functional. The payoff is a gas system that works as designed once you find the sweet spot.
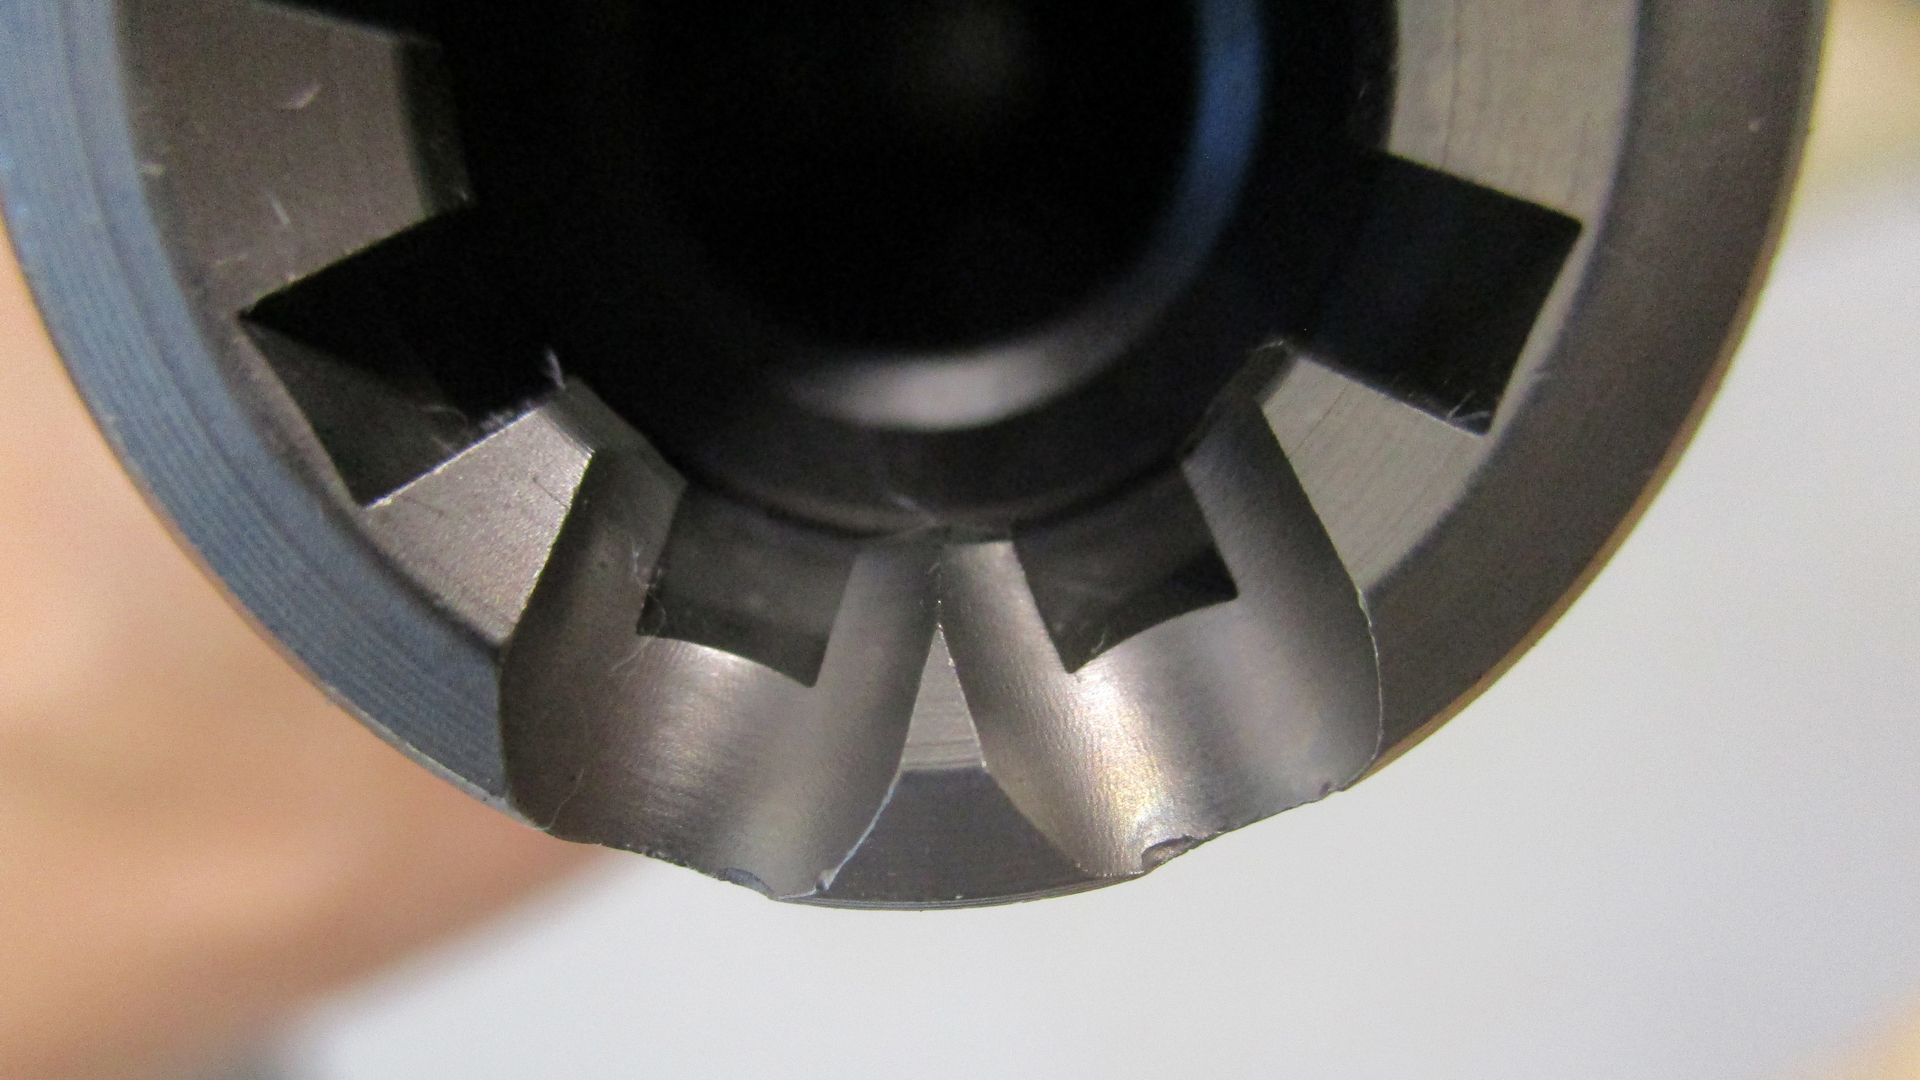
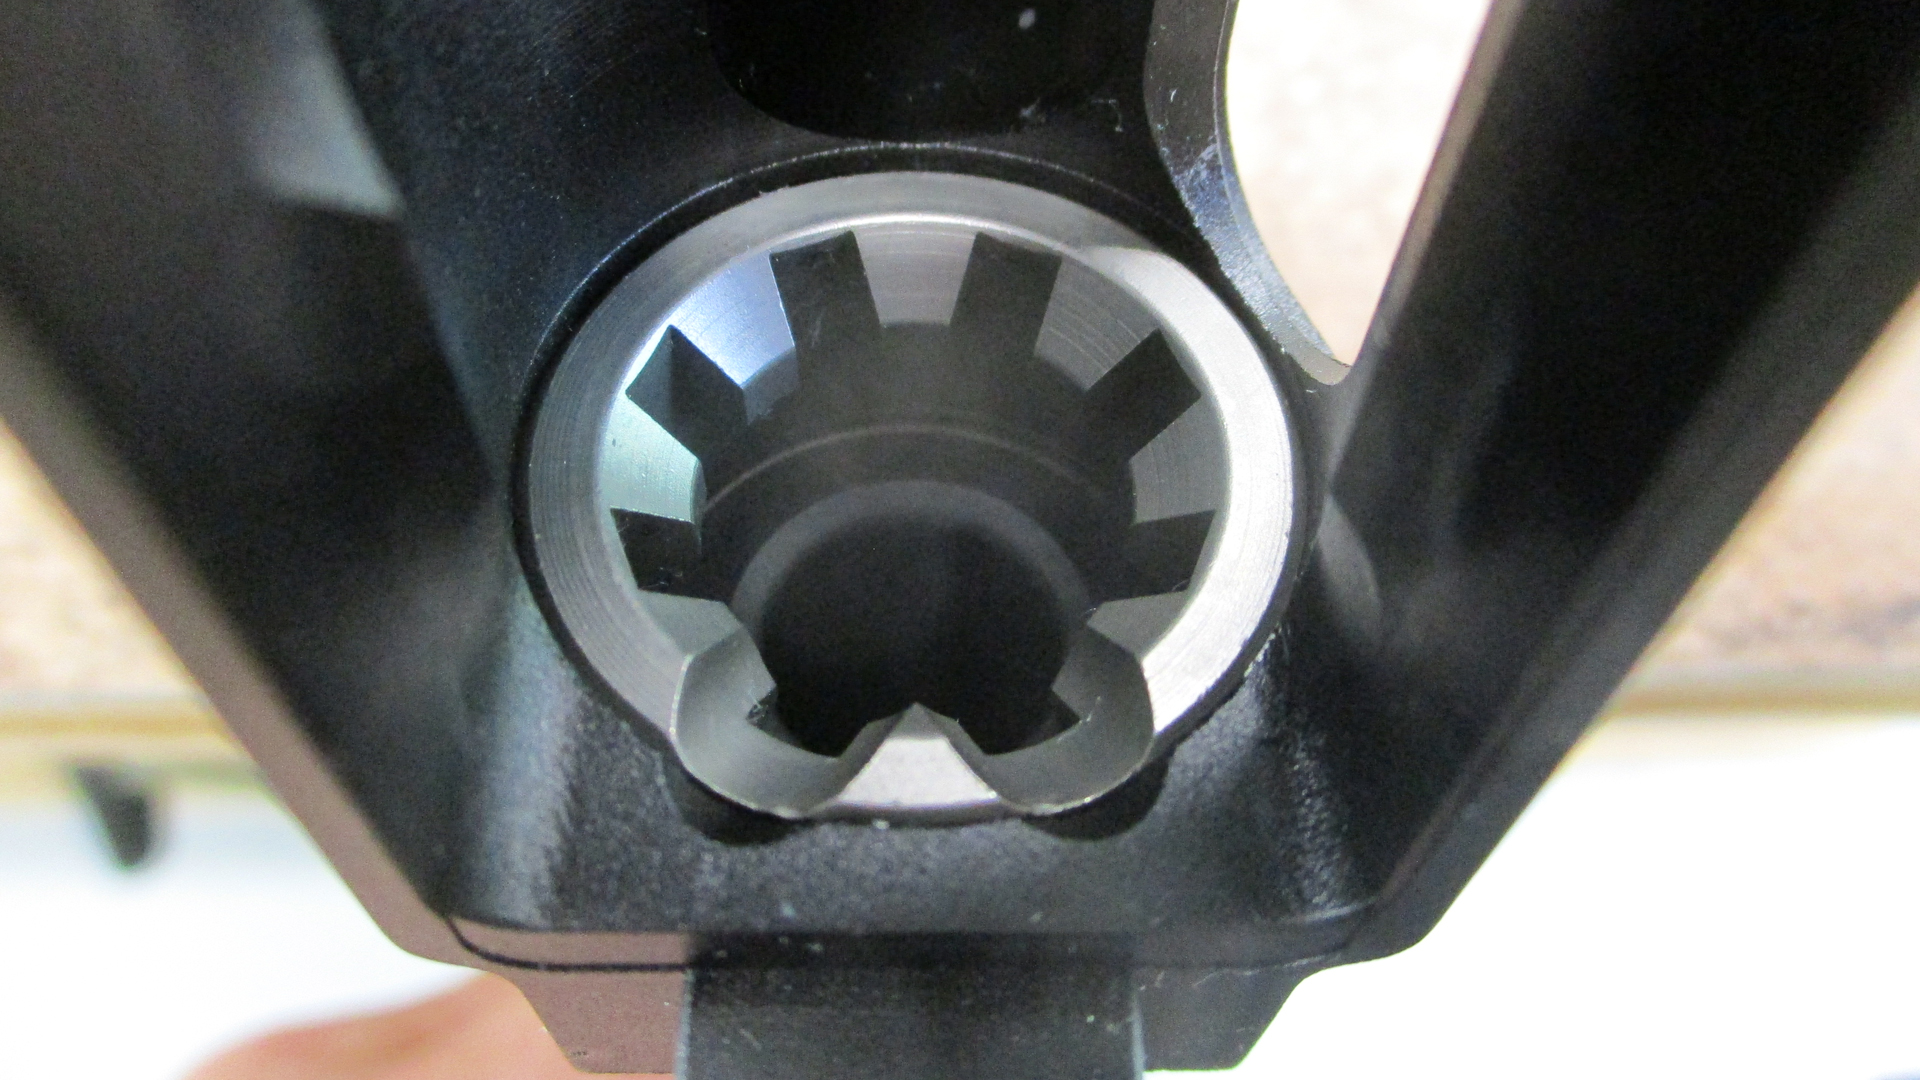
A variation of the gas port and index pin alignment problem is a barrel extension that has an improperly placed index pin. The result is that once installed in the upper receiver, the feedramps will be offset from the receiver’s feedramp extensions to the degree that feeding issues result. If you install a barrel and it looks like this inside the receiver, contact the barrel’s maker or source to arrange a replacement.
Another common problem that I encounter with new barrels (of all grades) is chipped and/or rough feedramps. Repairing these flaws is a simple process if you have a rotary tool with polishing drums that are the same (or smaller) radius as your feedramps. A more deliberate approach is to use a needle file to break those rough ramp edges before polishing. It is important to maintain the original angle of your feedramps when repairing or polishing them. I place a slight chamfer at the bottom edges where the ramps meet the upper receiver and then smooth and polish the remainder of the ramps. Every so often I have ramp edges that protrude past the upper receiver’s feedramp extensions.
This creates small, sharp lips inside the receiver that are sometimes in the path of cartridge tips being fed into the chamber. These edges can be trimmed back with a fine needle file or mildly abrasive polishing drum, turning at low RPMs. Here again, it is important to proceed slowly, taking care not to remove too much metal, change the feed angle or heat up the hardened barrel extension. Work the ramps a little at a time and install the barrel into the receiver frequently to ensure you do not cause bigger problems than you set out to remedy.
The above issues can arrive on raw component parts or on ARs that are already built and sold in retail settings. They are far easier to fix in their unassembled states, so if you discover that you have one of these problems on an existing gun, the upper receiver may need to be pulled apart to remedy the issue(s). There are other parts that can have flaws right out of the box as well as problems related to poor quality control during the assembly process of commercially-available ARs. Those will have to wait for another day and fortunately, they are not typically as significant as the above barrel issues.