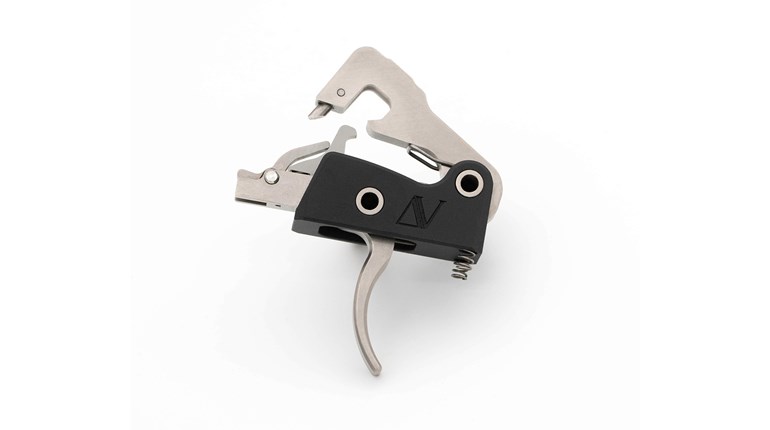
As the part of the pistol that interfaces with your finger to initiate the firing sequence, for the trigger to perform its job at peak efficiency, it must slide within the frame track with little effort and without excess up and down or side to side movement—for lack of a better term, “slop.”
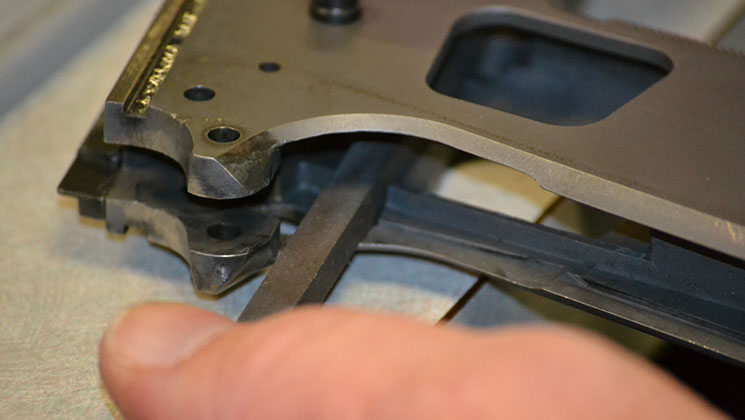
The first step in installing a trigger involves checking the fit of the trigger bow in track provided for it in the frame. A quick-and-easy method of doing so is to insert the trigger backward in the frame tracks (Before doing so, notice how the trigger bow attached to the trigger shoe more toward the top than the bottom, so be sure it is facing right side up.) If the bow slides in with little-to-no effort—and no slop—phase one complete. If not, more work remains to achieve the aforementioned smooth fit.
Should the trigger's stirrup not appear straight, install it on a trigger-stirrup die and lightly tap the offending are with a non-marring mallet to correct the problem.
Note: In this context “shoe” refers to the portion of the trigger that your finger touches, rather than an add-on aftermarket component that typically fits over a triggers integral shoe to make it feel wider.
If there is traces of resistance as the bow enters the frame, first try to remove any debris from the tracks by blasting the area with compressed air, chase it with a rag and try again. If that doesn’t work you can remove any burrs from the tracks with a ¼-inch square stone. (Brownells sells a “trigger-track stone,” which is superb for this task and many others.) Add a light coat of grease or oil and go to work sliding it back and forth along each of the tracks until said resistance is gone.
Now, turn the trigger around and try to install it normally. Chances are the shoe is oversize and won’t fit through the opening behind the trigger guard. (That is by design to eliminate unwanted vertical slop.) To compound matters, the presence of the trigger guard makes measuring the aforementioned opening difficult. However, with some trial and error, a magic marker fitting the trigger isn’t difficult.
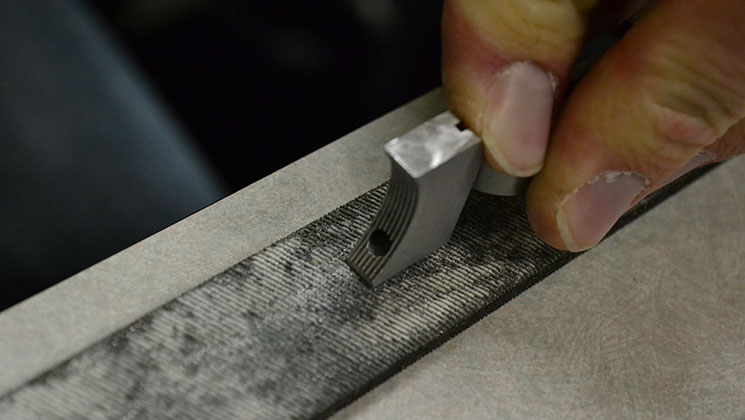
Ink the top and bottom of the trigger shoe, and after allowing time for it to dry, use your trigger-track stone to smooth the hole the shoe passes through to access the trigger guard. After a few minutes, try installing the trigger again by pressing firmly on the rear of the bow. But, don’t push too hard because too much force will spread the bow outward ruining the fit.
Remove the trigger to see where the ink is rubbed off. Using a smooth chalked file or fine-grit oiled sandpaper, remove metal from the are in question. Re-ink and repeat. Check the fit and continue as needed until the trigger move passes through the area in question and passes through its normal travel. (Note: you may have to fit the sides of the trigger, too.)
If your trigger has an overtravel screw, go ahead and install it now, and adjust it so it doesn’t protrude from the back of the shoe. (At the moment, we don’t want the screw to interfere with the trigger from moving completely rearward until it hits the magazine catch. There will be time to take the slack out of the trigger after you’re finished installing and fitting the remaining fire-control components.) Now that the trigger fits, remove it and use some oil and varying degrees of fine-grit sandpaper to finely polish the bow and shoe to remove any sharp edges or remaining tool marks.
In the next entry, you’ll learn a few steps you can take to reduce your trigger pull—without having to alter hammer-hook or sear-nose geometry.