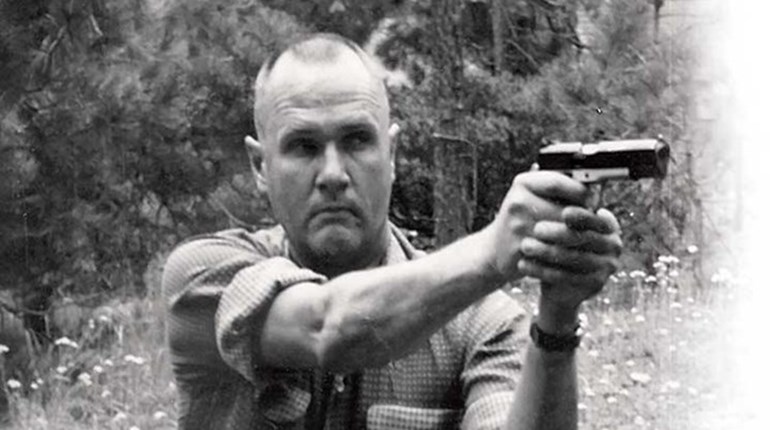
When Jeff Cooper established the American Pistol Institute (now Gunsite Academy) he envisioned Gunsite as the premier institute of higher learning for defensive-shooting skills. In keeping with that vision, he assigned numbers to each course, along the lines of what you might expect at a college or university. This numbering system for classes continues to this day with Defensive Pistol, Intermediate Defensive Pistol and Advanced Pistol course numbers of 250, 350 and 499. Each one has its own drill; an exercise designed to demonstrate and test the skills learned in the course.
Drills are fired on an Option target featuring an 8-inch circle center scoring ring and a scoring area in the head box that’s about 3x5 inches. The target is scored 5-2, with hits in the scoring area being worth five points and all other hits on the target worth two points. We looked at
the 250 drill in the March issue, so let’s take a look at the 350 version.
The Intermediate Defensive Pistol class at Gunsite emphasizes movement and shooting at greater distances, so the drill requires movement at the beginning of each stage and requires shooting at 25 and 35 yards. All stages start with a holstered pistol concealed by a cover garment. On the start signal, take a step to the side as the pistol is drawn. Here’s how it goes:

Starting at 3 yards, fire a single shot to the head within 1.5 seconds then repeat for a total of two shots. Move back to 7 yards and fire two rounds to the body within 1.5 seconds then move back to 10 yards and fire two rounds to the body within 2 seconds. The next stage is fired at
25 yards. On the start signal draw the pistol, take a step forward, drop to a kneeling position and fire two rounds to the body within 3.5 seconds. Afterward, stand and holster. The final stage is fired at 35 yards. At the start signal draw the pistol, take a step forward, move into a prone position and fire two rounds to the body within 7 seconds. Stand and holster.
When stepping to the side you will find drawing the pistol as you step works best, while bearing in mind Rule 2: Never let the muzzle cover anything you don’t want to destroy, and Rule 3: Keep your finger off the trigger until your sights are on target. In other words, don’t cover your feet or legs and don’t be too quick to get on the trigger. When moving into kneeling or prone it’s best to draw the pistol first and, with the muzzle pointed in a safe direction, move into position. It is safer, as well as tactically sound, to stand—we call it fighting your way back to standing—from kneeling or prone before holstering. You wouldn’t want to put the pistol away too soon and doing so before standing risks pointing the gun at various body parts. Remember, too, once finished shooting, and any time you are moving, your finger comes off the trigger and remains straight along the frame of your pistol.
This drill requires only 10 rounds of ammunition and has a possible score of 50 points. I suggest you run through it a couple of times without worrying about the time limits before picking up the speed and seeing if you can qualify for Gunsite’s 350.